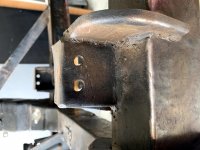
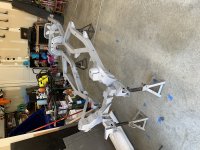
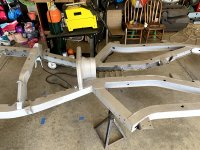
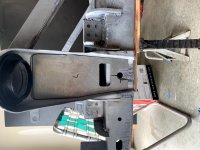
Dane....you have done a very nice job in restoring and strengthening the chassis and still retain the original factory look.
Please pardon my following comments..
")
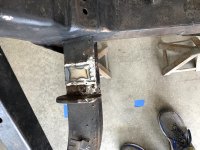
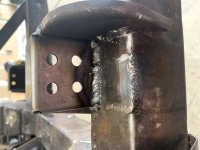
.....I notice that you have welded in seperate plates rather than one continuous strong inner strengthening plate through the cruciform area.
IMHO, the chassis will still flex and twist to some extent as the originals did. The fact that yours is not an IRS car puts additional stress on the cruciform area as the back of he chassis is loaded/unloaded via the rear leaf spring mounts.

 Hey Guest!
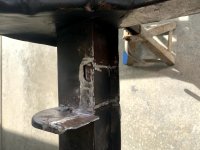
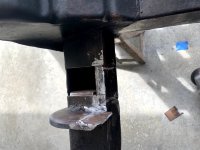
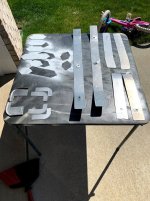
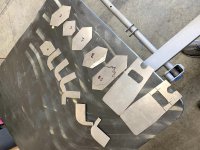
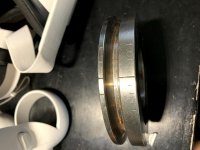
") . I hadn't planned on going as thick as 8mm but definitely thicker than the existing metal that the frame came with. I've also considered adding some sort of gusseting external to where the trailing arms would mount and the rear frame rails since my car is not a IRS car.
. I hadn't planned on going as thick as 8mm but definitely thicker than the existing metal that the frame came with. I've also considered adding some sort of gusseting external to where the trailing arms would mount and the rear frame rails since my car is not a IRS car.