71TR6
Jedi Hopeful
Offline
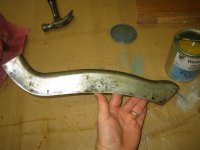
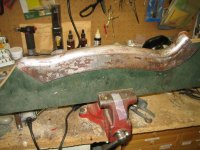
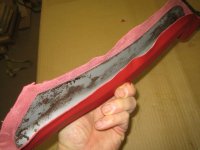
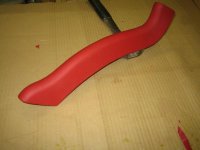
I just finished covering my TR3 doglegs with leather and have a slight tweak to Art's method that he illustrated in his post TR2/3/3A Carpet and upholstery installation (britishcarforum.com) .
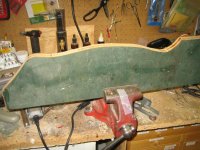
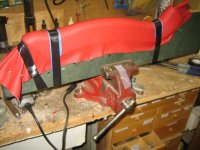
I used a method in Cechaflo's Youtube video Cechaflo - YouTube where he applied a mixture of baby shampoo, rubbing alcohol and water to the leather to soften it and stretch it. He then stretched it and nailed the leather to a wooden form holding the part he was covering and let it dry. He then peeled the leather off the form and glued it down. I did this with the doglegs and it turned out great. I attached the covering with Weldwood Landau Top adhesive (by far the best stuff I've found for vinyl and leather car interiors). I got an empty 1 qt can from Lowes and found a local auto upholster filled it for me for $20.
Using this method eliminates the hassles of trying to stretch and glue at the same time. One word of caution- DO NOT tape as I did- it does leave a slight indent. I didn't need to do this but did anyway as a belt and suspenders step and regret doing it. I'm hoping with a little time and maybe some steam the slight indent where the tape was will come out.
Doing it this way seemed to make it go easy and wasn't anywhere near the challenge I'd been led to believe it would be. By far the most difficult pieces to cover on the whole interior were the door caps with those button ends- I couldn't find a decent method to do these so experimented and they turned out OK but not perfect.
I hope this helps someone in the future!
Ron


 Hi Guest!

 smilie in place of the real @
 Pretty Please - add it to our Events forum(s) and add to the calendar! >>


