Hey Guest!

 Hey - did you know if you click on the title of a thread it will take you to the first unread post since you last visited that thread?
 but were afraid to ask:
  STOP!! Never post your email address in open forums. Bots can "harvest" your email! If you must share your email use a Private Message or use the
  smilie in place of the real @
 Pretty Please - add it to our Events forum(s) and add to the calendar! >>
Gblake2613
Jedi Hopeful
Offline
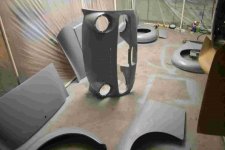
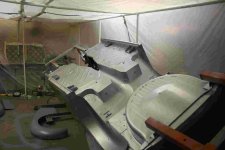
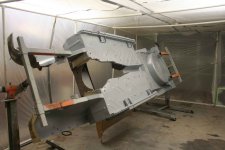
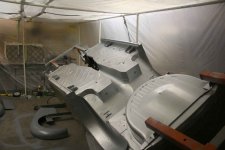
Project up-date
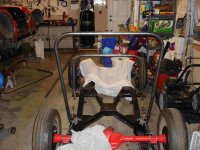
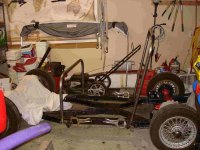
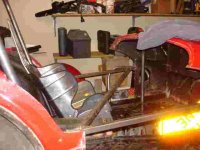
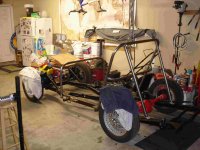
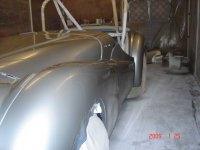
Thought I would post some pictures of the roll cage under construction. After alot of debate, I choose to use the four body mounting locations to bolt in my two main hoops. I will have two rear braces to the rear spring pearches and two foward from main hoop to front hoop. A seat hoop behind the seat back and a few diagonals also remain.
Greg