
 Hey Guest!

 Hey - did you know if you click on the title of a thread it will take you to the first unread post since you last visited that thread?
 but were afraid to ask:
  STOP!! Never post your email address in open forums. Bots can "harvest" your email! If you must share your email use a Private Message or use the
  smilie in place of the real @
 Pretty Please - add it to our Events forum(s) and add to the calendar! >>
HAN8L1965
Jedi Warrior
Offline
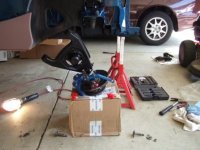
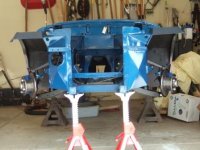
Tony here are the pics you requested. Went fairly easy, it is a little tricky squeezing the new A arm bushings into position. As you see I used a box to get me to the work heigth. Made it fairly easy. I did have a slight issue on the passenger side the clearence between the top of the pin and the lever shock was minus about a 1/8" it really fought me but I one. Now all I need is a 200+lb neighbor and a floor jack and hopefully the springs will go back in as easy as they came out. I will have to release the top of the pin to accomplish this. Hope this helps someone.
Mark
Mark
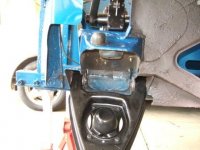
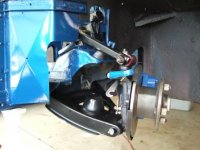
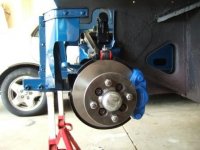
 What else is wrong with those pictures? When you do things on the bench and they lay for sooooo long you just don't comprehend until you put things back on.
 After doing this and thinking about what Jim said and I said regarding the lower A arm bushings I think we are making this more work than necessary. It is only necessary to put the bushing on the screw side or inner side of the arm. You can put the other one in after getting the pin screw into position and then put the other bushing in through the open hole and cap off and bolt.