• Hey Guest!
    British Car Forum has been supporting enthusiasts for over 25 years by providing a great place to share our love for British cars. You can support our efforts by upgrading your membership for less than the dues of most car clubs. There are some perks with a member upgrade!

    **Upgrade Now**
    (PS: Upgraded members don't see this banner, nor will you see the Google ads that appear on the site.)
Tips
Tips

Miata seat prep continues

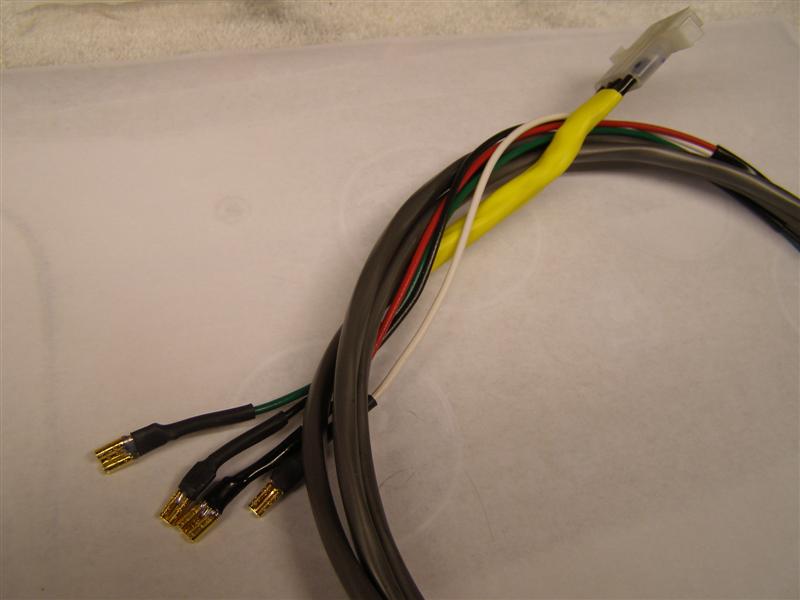
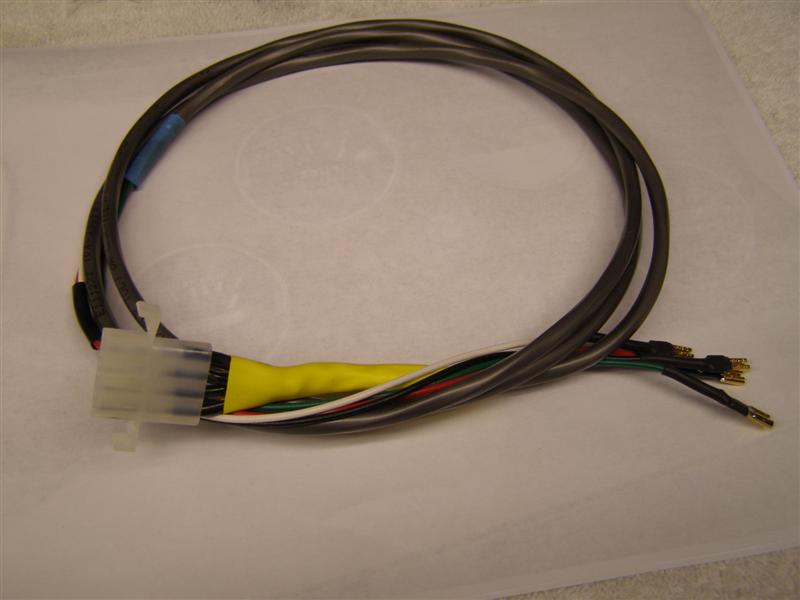
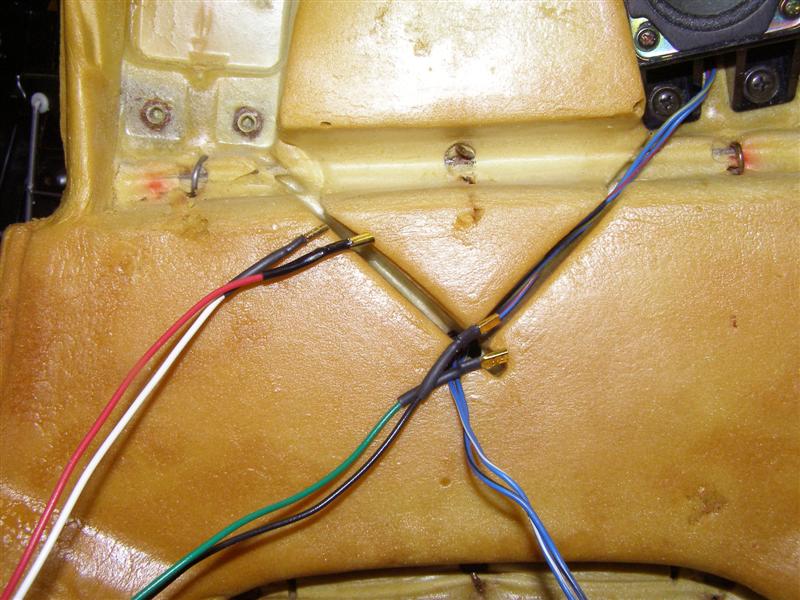
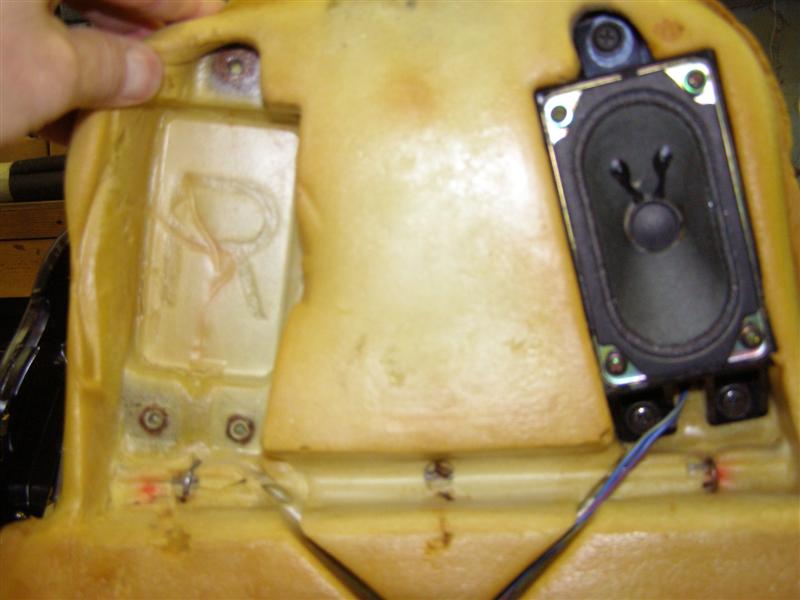
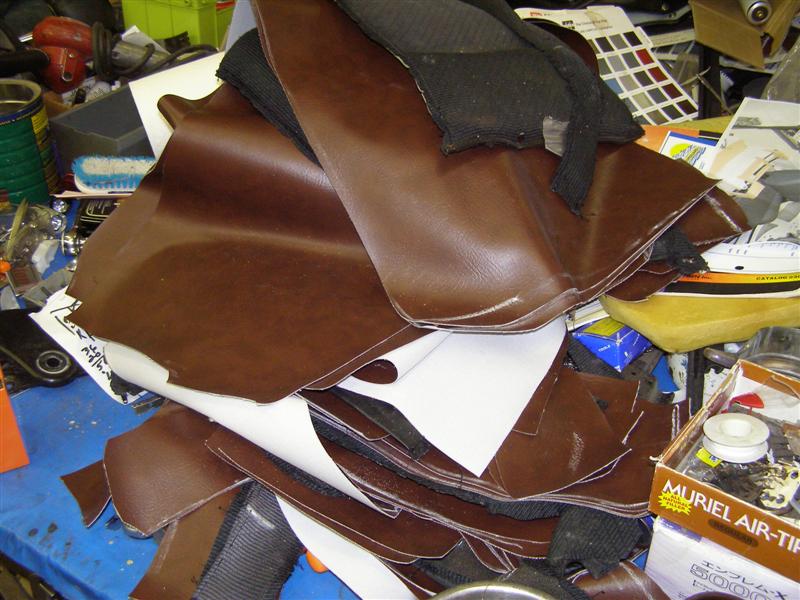
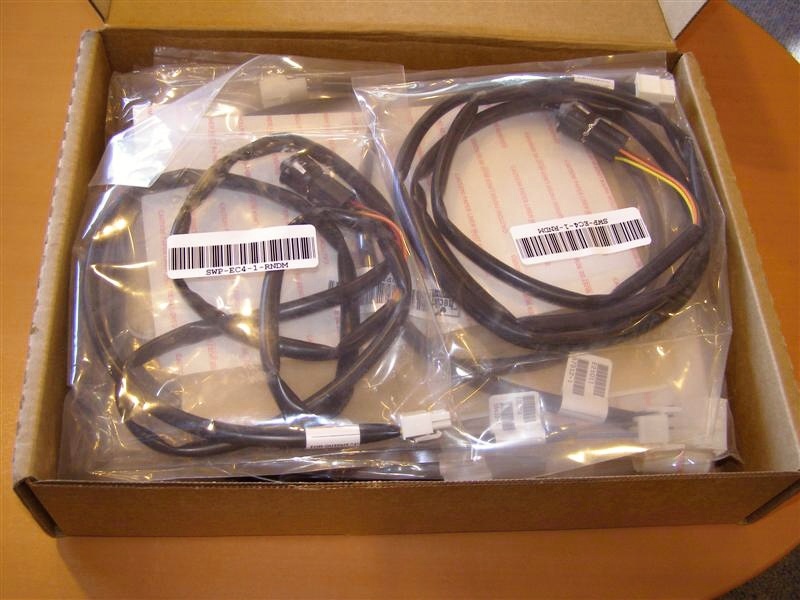
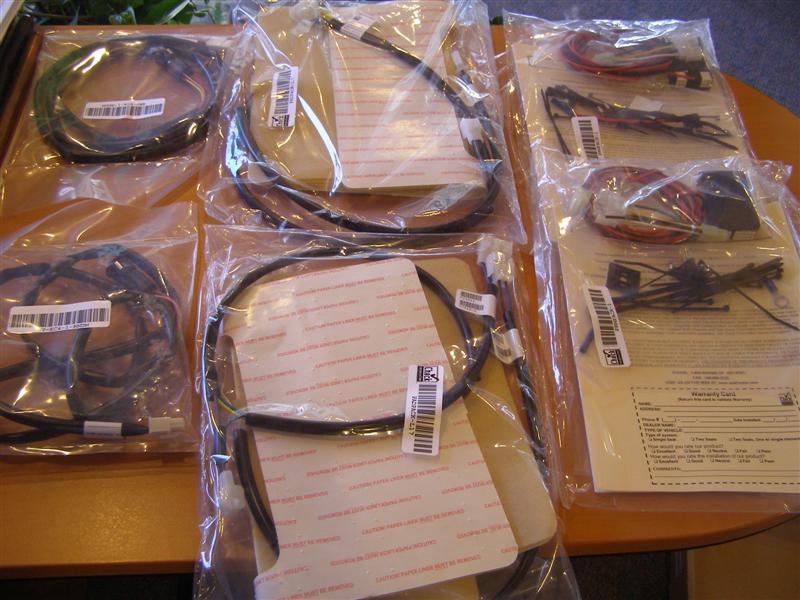
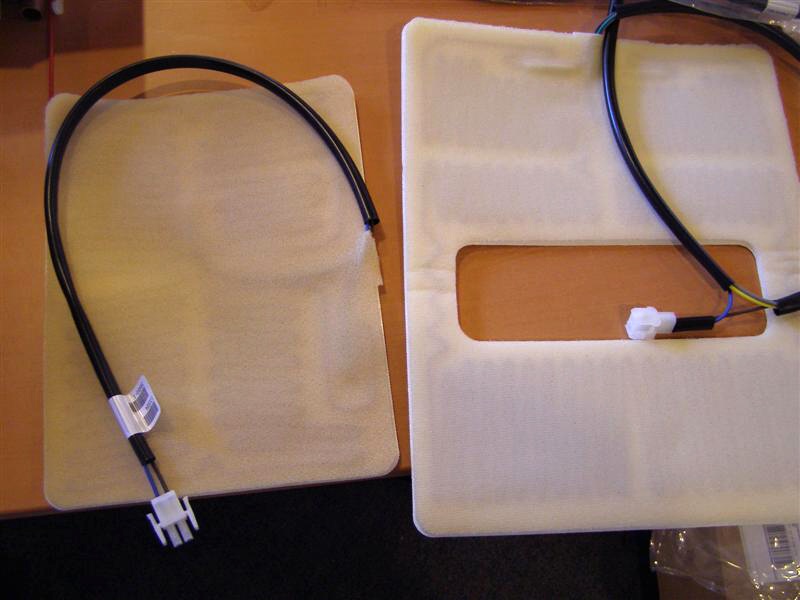
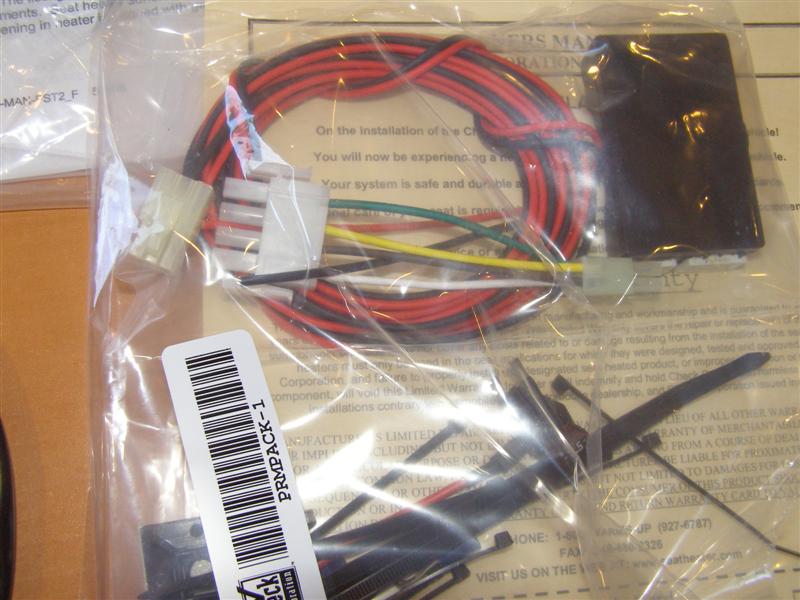
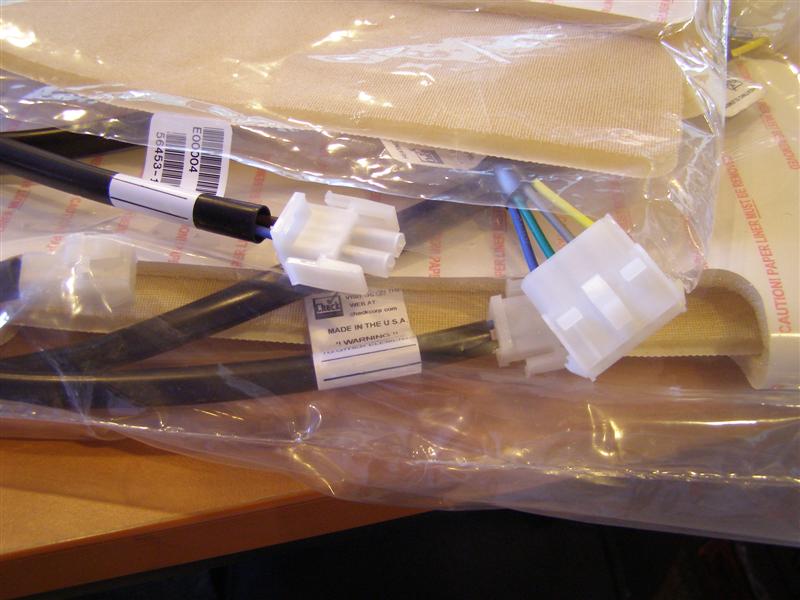
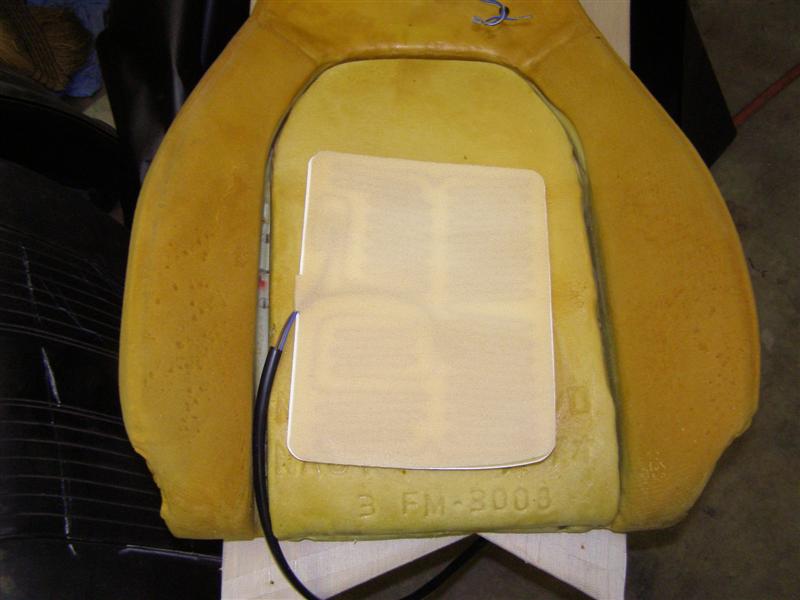
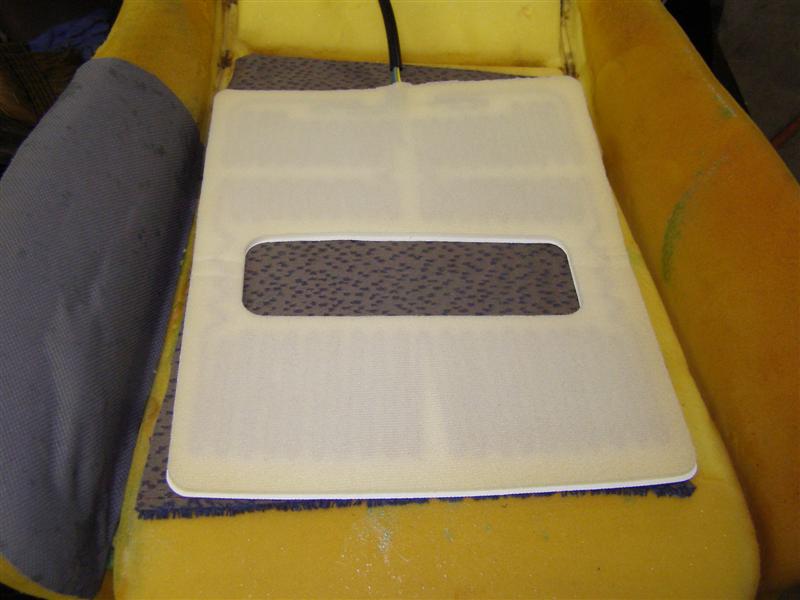
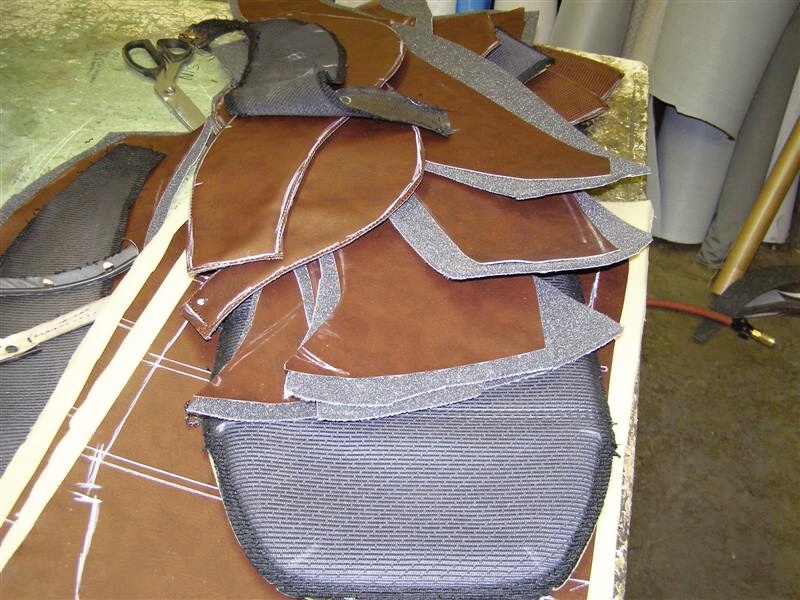
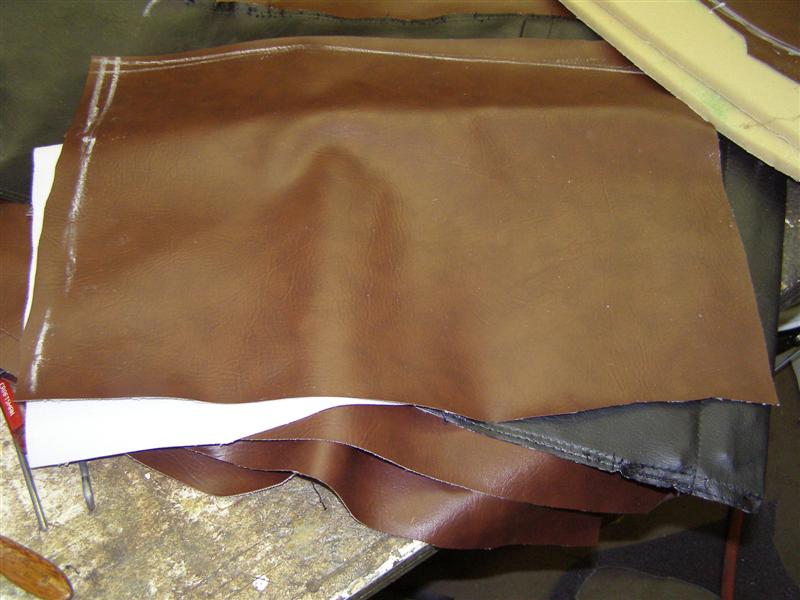
Tonight. I just got back from working in CT all day. After dinner pics of the new speakers, ala' BobbyD and a different twist on a wiring harness that I'm going to make. Actually, following Bobby's lead a bit, but I'm using a different type wire to make it easy to tell which speaker is which.

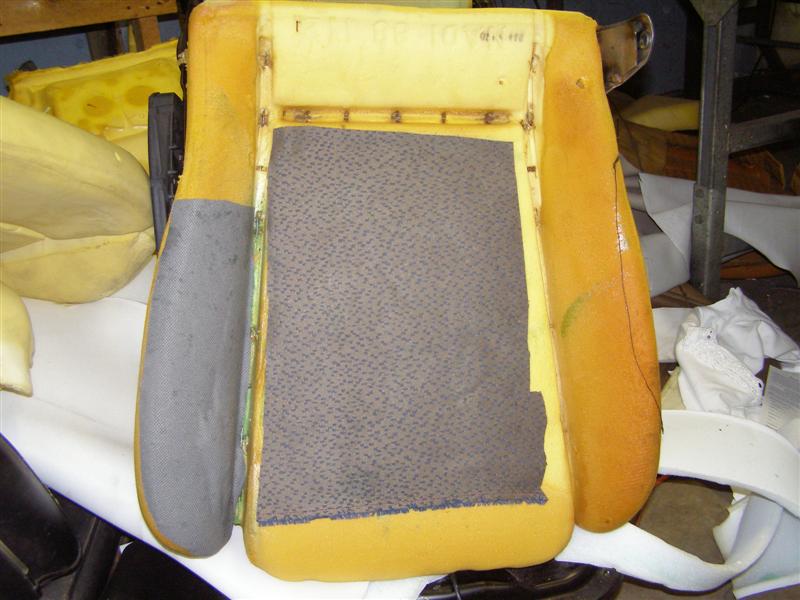
Got a lecture from Alan at A&E yesterday about not painting the tracks yet. That will have to wait till the weekend. He was in my workshop when he came to take my hardtop to the body shop to start the prep for painting.
 
A little seat update.

Once again, I would not have been a pioneer on this project, so I want to thank Bob Danielson for his hard work and documentation that led me down this path. Once all the bills come in, I may not feel that way, but for now, I'm happy and grateful that he did all of the leg work which made getting what I needed a lot easier.

And to make my darling wife a little happier, I wen a step further by ordering a heated seat package to go along with everything else. Yeah, the WIIT syndrome took over, once again and I decided that this was the best time to do the heating elements. Now maybe she'll be happier when I make ride over to the Cape early in the morning or we go for those late night spins and I don't want to put the top up.

So here are the speakers, a dummy proof wire harness with four (4) different color wires for each seat and a picture of the heated seat pads. Although I ordered the premium step up with three temp settings. This is the link for the heaters: Check Seat Heaters

I'm going to use the two headlamp relay circuits in the new Classic Fuse Panel kit to install these, and leave my existing four relay setup in place.

seats085.jpg


seats086.jpg


seats087.jpg


seats088.jpg


seats089.jpg


seats091.jpg
 
Will be sending my seats to you for retro fit when I get there.
What's your service rate?
 
Don,

My rate is cheap. It's the parts that go into these little projects that keep adding up.
 
Additional seat updates as of this week.

seats152.jpg


Dorman part numbers are 84546 for the .187" Female & 84547 for the .110" Female connectors.

seats151.jpg


This is a pictures of the seat foam with one of the original speakers and the original Miata wiring.

seats147.jpg


The speaker box will go in the spot on the left and new speakers will replace these OEM units.

seats146.jpg


The wiring then goes through the center hole above the top of the radius in the center panel recess and out the back.

That is where the "V" is shown with blue wires coming out and then the wires follow a path that is cut out down the back of the seat.
seats145.jpg


Just a shot of the bottom cushion and that is the way it was when uncovered.

seats150.jpg


And from this pile of patterns a set if new covers will emerge. Now all I need is the seat heaters.

It may not look so great on this table, but it will when Eddie gets them completed.

seats149.jpg
 
Thanks Tom. I think that they will look great too.
 
If I had black interior, the seats probably would have gone in, as is. This is another project taken to the max, but my primary reason for getting them is comfort, easier sliding, adjustability and the better head restraints.
 
Gil,

I will get the exact, but I think that it's 3-5 amps per seat, or is that per set?

This is the link to the site that makes them. I actually bought mine from gomiata.com

Check Corp Seat Heaters
 
I put seat heaters in my 3A seats when I re-did them. They comefused for 10amps per side. Mine are the two position heaters, Paul's are 3 position but that might mean that the total heat is the same, just 3 positions instead of 2. You'll need an alternator for this upgrade as the generator probably won't be able to keep up.

My heaters are the same as Moss but purchased elsewhere (for less). There are a couple of heater install photos here: https://home.myfairpoint.net/kentech0822/triumph/tr3seats/
 
Lunch time update. Seat heaters arrived and progress in upholstery shop.

Another package arrived today.....more progress.

seats153.jpg


This is the entire package. Switches on the left, heaters in the middle and modules on the right.

seats154.jpg


If you look closely, you can see the grids in there.

seats156.jpg


Controller and wiring for one seat.

seats158.jpg


These two connect the seat back and seat cushion together and into the main harness.

seats159.jpg


This will be the general idea but with the harness lower and out the bottom.

seats161.jpg


This one goes on the seat cushion.

seats160.jpg


The other seat patterns taking shape. These will have the backing stitched in place then trimmed and ready to be fit together.

seats163.jpg


Just the plain backs of the seats, less backing.

seats164.jpg


This is one set of seat patterns cut and trimmed with the backing on. I know Bobby is checking this out.

seats165.jpg
 
Heated seats with real headrests and lumbar supports and tracks that actually glide easily.......
 
Back
Top