Hey Guest!
BN6_2197
Jedi Trainee
Offline
Gents,
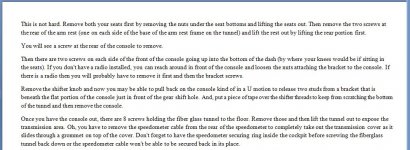
I want to refurbish the overdrive of my BN6. As I understood, I have to get the complete gearbox/overdrive unit out of the car for this, right? I am looking for instructions how to do it. Can I remove the unit from inside/above the car or do I have to do it from under/beneath the car?
Does anybody know a company in preferably in Germany or the UK that can do the job of the overdrive refurbishment?
Thanks in advance!
Regards,
Volker

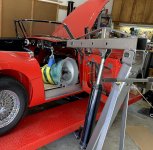
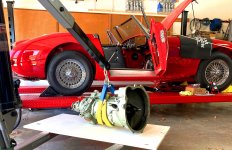
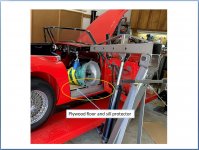
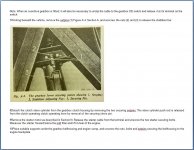
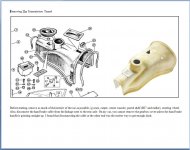
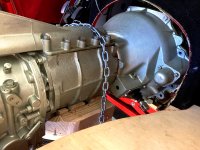
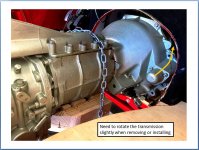
 . Some pictures show the Healey transmission and some show the T5. Both transmissions use the Healey bell-housing.
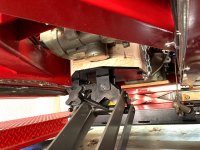

 ):
):