Hey Guest!

 Hey - did you know if you click on the title of a thread it will take you to the first unread post since you last visited that thread?
 but were afraid to ask:
  STOP!! Never post your email address in open forums. Bots can "harvest" your email! If you must share your email use a Private Message or use the
  smilie in place of the real @
 Pretty Please - add it to our Events forum(s) and add to the calendar! >>
jjbunn
Jedi Knight
Offline
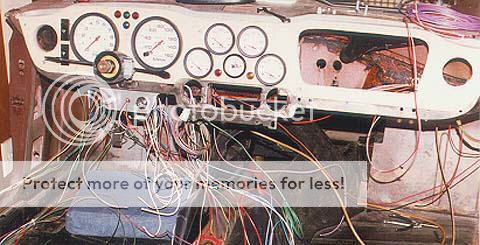
I'm going to add a couple of gauges: vacuum and Volts (the 2" round variety) and am trying to decide where to locate them.
I certainly don't want to cut holes in the dashboard, and there is very limited space for my legs as it is under the dashboard to allow mounting there.
The dash support console is an ideal place, and I'm wondering whether I could maybe mount the gauges in a box and attach it to where the radio usually mounts (I don't have a radio fitted, and don't think I want one). That would mean finding or making a suitable box, one with an angled front face (so the gauge faces can be seen), and it's not clear how it could be attached anyway, without drilling holes in the dash support (which I'm disinclined to do).
Any ideas on or suggestions or photos of extra gauge mountings would be gratefully received!
(I also asked this over on the sixpack forum.)