Hey Guest!

 Hey - did you know if you click on the title of a thread it will take you to the first unread post since you last visited that thread?
 but were afraid to ask:
  STOP!! Never post your email address in open forums. Bots can "harvest" your email! If you must share your email use a Private Message or use the
  smilie in place of the real @
 Pretty Please - add it to our Events forum(s) and add to the calendar! >>

Offline
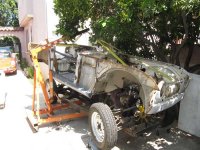
I just pulled the body off the frame. I replaced the floors and rockers with the body in place, to be sure everything stayed in alignment. But somehow, it just didn't seem like I was making progress; there was no dramatic, immediately visible change. Now there is.
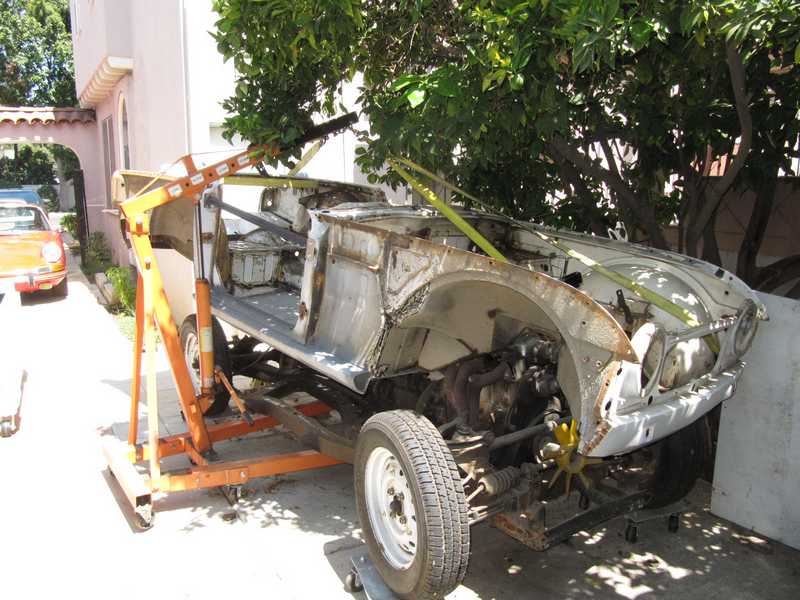
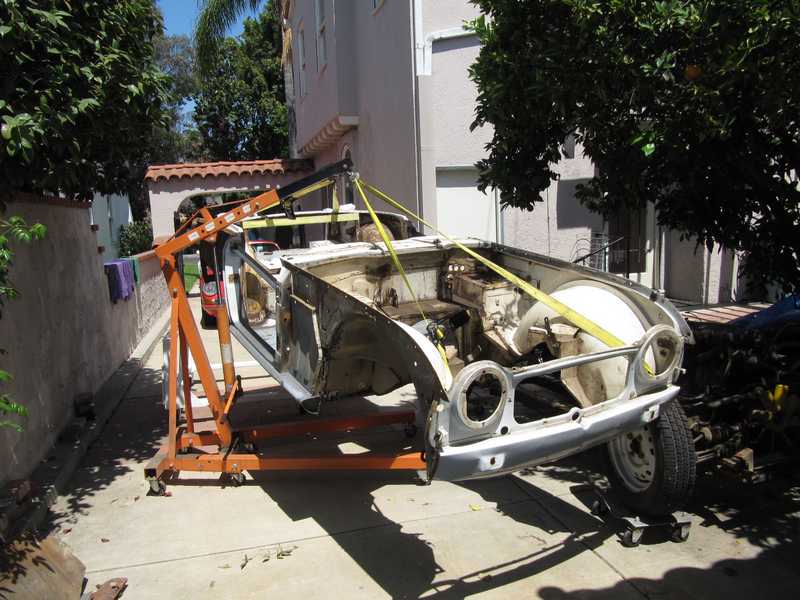

I made the cart so I could access both the underside and topside easily. I'm glad that I got a set of good casters; I can move it around effortlessly.
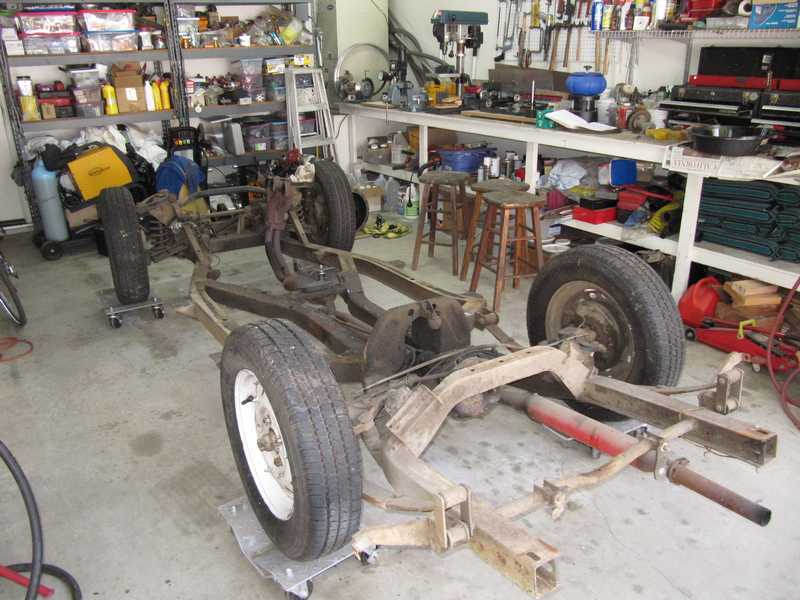
The chassis is now in the garage; I've removed the engine and transmission. The main job now is cleaning off a half-century of crud.
I made the cart so I could access both the underside and topside easily. I'm glad that I got a set of good casters; I can move it around effortlessly.
The chassis is now in the garage; I've removed the engine and transmission. The main job now is cleaning off a half-century of crud.