Hey Guest!

 Hey - did you know if you click on the title of a thread it will take you to the first unread post since you last visited that thread?
 but were afraid to ask:
  STOP!! Never post your email address in open forums. Bots can "harvest" your email! If you must share your email use a Private Message or use the
  smilie in place of the real @
 Pretty Please - add it to our Events forum(s) and add to the calendar! >>
aeronca65t
Great Pumpkin
Offline
70herald said:Nial
Is there something on the frame of the MG which makes it impossible to get the oil pan off? As long as the pan comes off, the mains can be replaced, without pulling the crank. Easier with the engine out, but doable.
The oil pan comes off a 1500 in the Midget chassis easily.
And I'll grant that the main bearing inserts can be "finagled" out this way.
But for the effort, it would seem so much easier and correct to just pull the engine out of the car. I guess that's a matter of opinion.
As I said, the mains are likely to be OK. It's the rod bearings that wear much quicker (but you could pull a main bearing cap and have a look, just to sure, if you like).
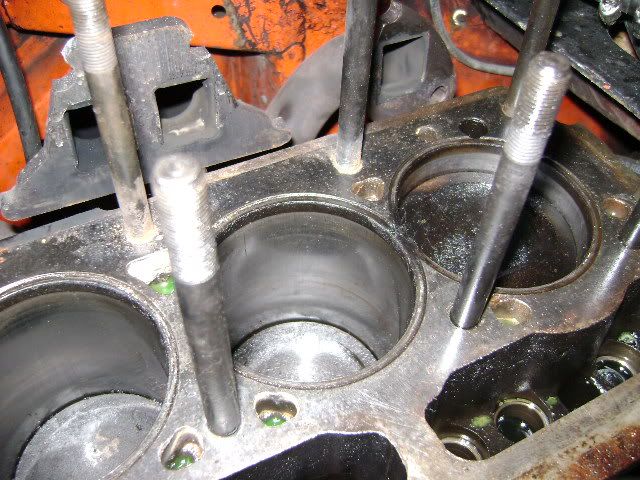
<span style="font-weight: bold">Duncan</span>--I would do as you have it listed. If the bores look OK, you can clean them up with a "dingleberry" hone (clean bores well afterwards and make sure any stuff on the crank is cleaned off too).
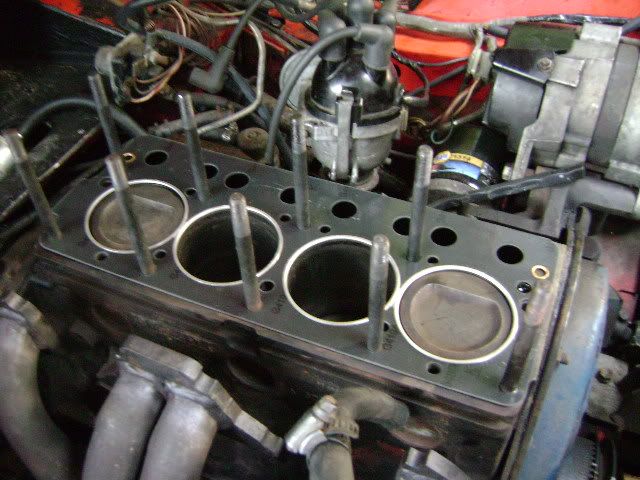
To be entirely honest, if the cylinder bores are decent, you could probably even skip the honing. Just before re-installing the pistons, clean the bores up nicely with a Scotch-Brite pad and some kerosene, wipe them clean and oil them with motor oil.
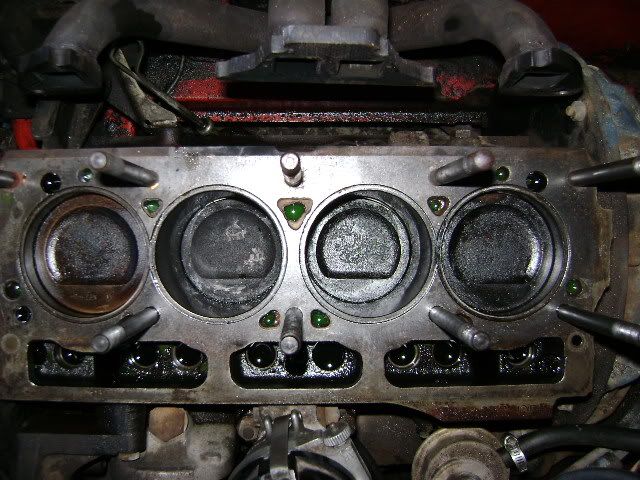
If there is a noticable "ridge" at the top of the bore, you may have to remove it. It may be just carbon (so you can scrape it off with a razor blade). If the ridge is due to excess cylinder wear, you'll have to decide if you need to re-bore the engine (big job). If the ridge is not too bad (say about 0.003"), you can use a "ridge reamer" tool to remove it (you may be able to rent/borrow one locally).
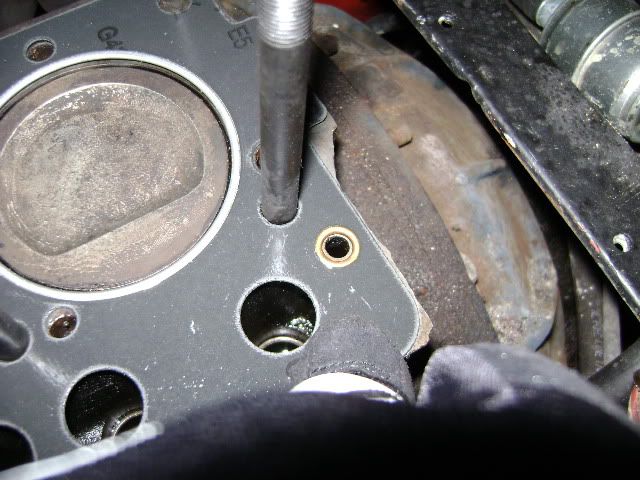
Install one piston and rod bearing at a time. But just "snug up" the rod bolts (about 20 ft lbs). As you reassemble each piston and attach each rod to the crank, make sure the crank still spins OK. When all done, go back and torque each rod cap to correct value. Some folks add some Lock-Tite to the threads at this point (I do).