Hey Guest!

 Hey - did you know if you click on the title of a thread it will take you to the first unread post since you last visited that thread?
 but were afraid to ask:
  STOP!! Never post your email address in open forums. Bots can "harvest" your email! If you must share your email use a Private Message or use the
  smilie in place of the real @
 Pretty Please - add it to our Events forum(s) and add to the calendar! >>
Healey Nut
Luke Skywalker
Offline
Help !!!
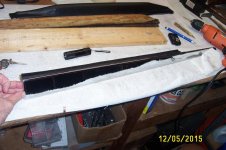
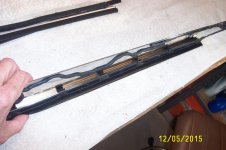
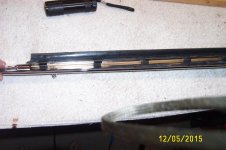
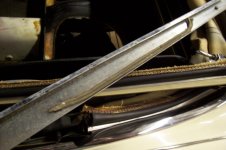
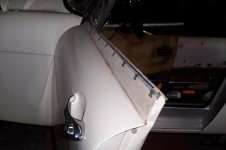
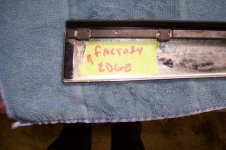
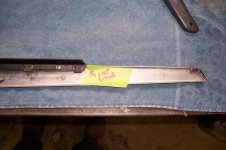
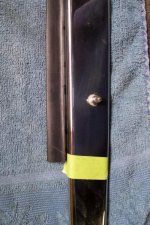
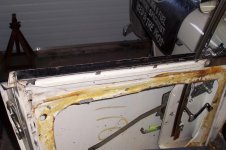
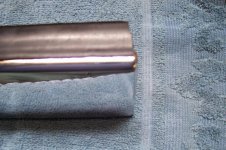
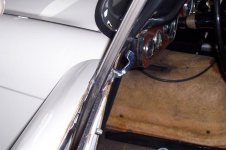
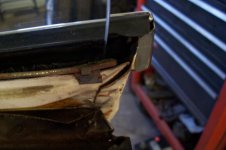
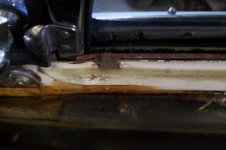
Im trying to refit the door waist chrome strip . Window is in fuzzy inner door seal is in .
Does the outer rubber window seal mount on the door or secure to the chrome strip then the strip and rubber go on the door together ?
I have the spring black Z clips (14) :eagerness:
Im trying to refit the door waist chrome strip . Window is in fuzzy inner door seal is in .
Does the outer rubber window seal mount on the door or secure to the chrome strip then the strip and rubber go on the door together ?
I have the spring black Z clips (14)
:eagerness: