
 Hey Guest!

 Hey - did you know if you click on the title of a thread it will take you to the first unread post since you last visited that thread?
 but were afraid to ask:
  STOP!! Never post your email address in open forums. Bots can "harvest" your email! If you must share your email use a Private Message or use the
  smilie in place of the real @
 Pretty Please - add it to our Events forum(s) and add to the calendar! >>
An update. Motor is at Machine Shop. I told them no hurry, but that was based on we will call you in 3-4 weeks. That was about 6 weeks ago. Figured I was waiting on Refund Check from Treasury Department to help determine my budget. I will call next week and start pushing. Car is almost ready to go to body shop. I am down to one screw holding one of the door hinges and it is rounding off. PB Blaster was my last resort until I go to drill it out. Not what I want to do. (I am now reconsidering to just leave in in place, but lack of adjustment worries me. I did fit perfectly when I mounted both doors as I was fabricating on the body panels.) I was lamenting how my speed of restoration was slowing and was somewhat out of my control to one of my buddies. He decided to cheer me up and give me a loaner for a few months.
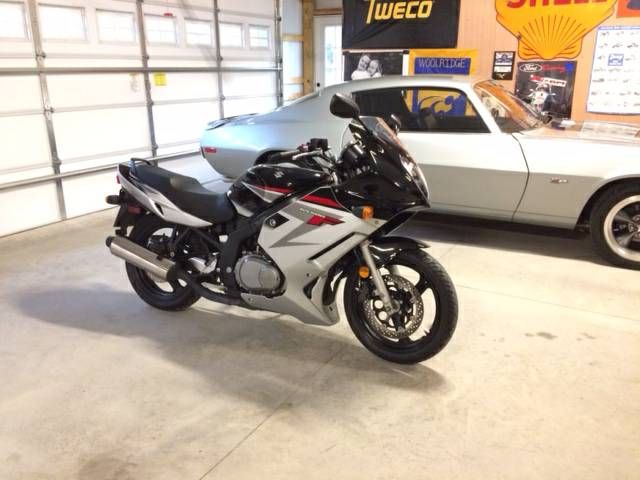
1970 Z28 LT-1 360 hp 4.11;1 Rear 60K Numbers Matching.
The car is fun in a straight line. The motor has been reworked so I am guessing it is over 400 hp; however, with the 4.11:1 rear gears it is turning a lot of rpm's at 55 mph.
After about 20 minutes of driving I remembered what I like about automatics in muscle cars. I also remembered that GM and other makes during that time period were not much in the handling department. I think that my other cars are more fun to actually drive and enjoy. With a 1275 in the Bugeye it should be close to the fun factor of my Miata.


