• Hi Guest!
    You can help ensure that British Car Forum (BCF) continues to provide a great place to engage in the British car hobby! If you find BCF a beneficial community, please consider supporting our efforts with a subscription.

    There are some perks with a member upgrade!
    **Upgrade Now**
    (PS: Subscribers don't see this gawd-aweful banner
Tips
Tips

Working on the Bugeye body

Rhodyspit75

Jedi Knight
Country flag
Offline
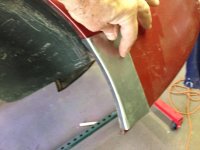
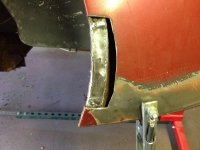
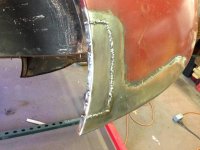
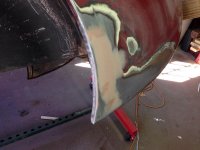
I thought I would start a series of pictures and descriptions of the work I will be doing to bring my Bugeye back to a solid rust free specimen.

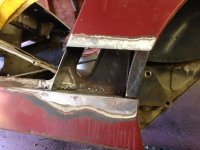
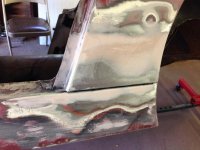
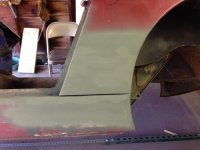
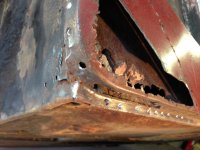
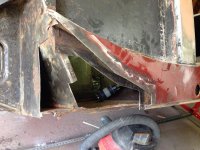
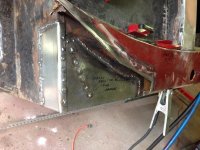
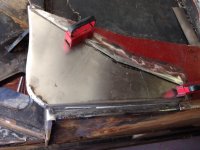
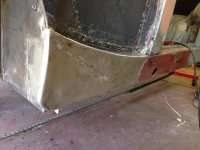
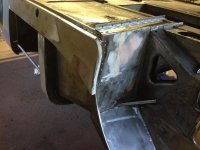
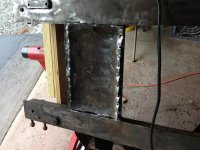
The first area I tackled was the b post bottom. Initial inspection made it look like it was an easy fix. Nope! Fortunately I learn kind of fast. I won't make that mistake again. Although in the end I think being harder than I thought made me learn a few things that I will need to know for the rest of the repairs.

Remember I was an electrician all my life not a welder or body man.

The he pictures tell the story of how things progressed.
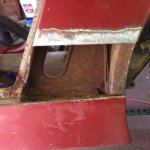
image.jpgimage.jpgimage.jpgimage.jpg
 
That looks pretty good to me. Keep it up.
 
Pretty nice work there.
 
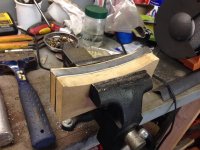
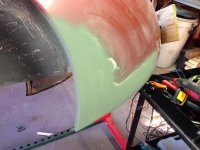
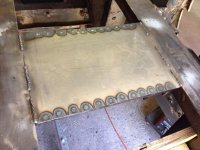
The next challenge was to make a patch for the rear of the wheel arch. I made a buck out of MDF to get the proper radius to start with. Since the area has a compound curve and I don't own a Shrinker I made a few relief cuts to be able to get the shape I needed. Those got welded once the piece was installed.

Of course the inner arch was perforated too so I made and welded in a piece for that too.

Next up is to try to make a piece for the front of the outer rocker. I think I can do it using the same technique that I used for this patch. If not I will break down and order left and right rockers. I only need about the first 8 inches on either side so I hate to buy whole rockers and not use most of them.

image.jpgimage.jpgimage.jpgimage.jpgimage.jpgimage.jpg
 
Really nice. Where did you souce the car from? If it's from New England and you don't have much worse than that to deal with, you have a winner!
I picked it up in Meridan CT. It had come there from NJ. No idea where it had lived before that. Several small areas of rust the worst being the trunk floor I have a new lower rear valance and floor, that will be tackled last.
 
Nice work man! Best of luck and keep us posted


Thanks. I have been away for several days but will be back in the garage shortly. Have an ugly area at the front of the drivers side rocker. image.jpg
 
All the rust cut back to good metal. image.jpg

The new inner patches welded in. image.jpg

Next i I will attempt to fabricate a panel for the front of the outer rocker. Wish me luck!��
 
Good work! I would coat the insides of these areas with POR-15 or similar product to protect what you have done.
 
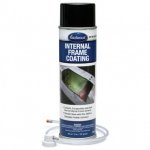
All the internal areas that I can reach are being wire brushed and the debris blown out. Areas that I can get to are given a coat of rust converter. Once all the welding is done then I plan to coat all the cavities with internal frame coating. My concern with coating the metal first then welding is that the coating will get burned off in the areas that need the most protection.

Doing it it at the end will seal all the rust and bare metal. image.jpeg
 
All the internal areas that I can reach are being wire brushed and the debris blown out. Areas that I can get to are given a coat of rust converter. Once all the welding is done then I plan to coat all the cavities with internal frame coating. My concern with coating the metal first then welding is that the coating will get burned off in the areas that need the most protection.

Doing it it at the end will seal all the rust and bare metal. View attachment 43726

Rust converter on the stuff you can spray, weld thru primer along the contact points, and the Eastwood internal frame coating works very well. One can will do the sill cavity on each side twice and make sure it's done before the car is painted. It will drip out of any holes and soften the paint and it's impossible to remove even when fresh.
Rut
 
Sandblasting the metal you are welding to and spraying the internal pieces as you go then coating with 3Ms weld thru primer is the only way to go.
 
I meant blasting the metal clean and spraying with weld thru primer before you start piecing it together. You also blast and prime the the backside of your patch with weld thru primer.
 
I have weld through primer but I don't have a sandblasted. I could borrow one but don't want to have sand all over my garage. I can't move the car out because my driveway is steep and it would end up in the street. I'm using a knotted wire wheel for paint and heavy rust removal.

Anyway heres the progress. Fabricating the repair panel for the front end of the outer rocker. It had to be made in two pieces because I couldn't bend the three bands required for the lower edge.

I know now I could have bought an after market rocker and used part of it but I wanted to try my hand at metal forming. And yes it took a long time to get this far but I'm happy with how it's coming out.

image.jpg
 
The drivers side rocker is finished. image.jpg

Here it is with a skim coat of filler. image.jpg


The under side of the front crossmember was so beat up that I couldn't leave it alone. image.jpg

Here it is after about an hours worth of work. Much better. image.jpg

Next up is the front of the passengers side rocker and it has less rust then the drivers side
 
Back
Top