 but were afraid to ask:
 It was completely blasted. (Except what is enclosed space.) What you see is what I exposed taking off the exterior panel. I have not even started cleaning up and treating any bare metal. On my rear rocker there was some minor pitting. The inside panel has a replacement going in.

-
 Hey Guest!
British Car Forum has been supporting enthusiasts for over 25 years by providing a great place to share our love for British cars. You can support our efforts by upgrading your membership for less than the dues of most car clubs. There are some perks with a member upgrade!**Upgrade Now**
(PS: Upgraded members don't see this banner, nor will you see the Google ads that appear on the site.)

Tips
- We have a special forum called "Member Articles" where you can submit actual articles for consideration for publication. Learn More
- Don't have an Avatar? If not, your avatar will default to the 1st character in your username. Go into "Account Details" to change your Avatar.
- Some basic forum navigation info: click
 Hey - did you know if you click on the title of a thread it will take you to the first unread post since you last visited that thread?
- Hey Guest - Is your British Car Club in our Clubs database? If not, send me a PM - Basil

- Looking for a local club? Click the "Clubs" tab above and browse hundreds of clubs world-wide.
- Add Android or iPhone APP: click
- Did you know - any picture or video you add in your posts in any marque-specific forum will also get added to the Media Gallery automatically.
- A few more tips about posting and replying: click
- Hey there Guest - be sure to keep your profile page up to date with interesting info about yourself: learn more
- More tips and tricks on Posting and Replying: click
 STOP!! Never post your email address in open forums. Bots can "harvest" your email! If you must share your email use a Private Message or use the
  smilie in place of the real @
- Want to mention another member in a post & get their attention? WATCH THIS

- So, you created a "Group" here at BCF and would like to invite other members to join? Watch this!
- Hey Guest - A post a day keeps Basil from visiting you in the small hours and putting a bat up your nightdress!
- Hey Guest - do you know of an upcoming British car event?
 Pretty Please - add it to our Events forum(s) and add to the calendar! >> Here's How <<
- Hey Guest - you be stylin' Change the look and feel of the forum to fit your taste. Check it out
- If you run across an inappropriate post, for example a post that breaks our rules or looks like it might be spam, you can report the post to the moderators: Learn More
- If you would like to try some different "looks" or styles for the site, scroll to the very bottom, on the left and click the Style Selector.
You are using an out of date browser. It may not display this or other websites correctly.
You should upgrade or use an alternative browser.
You should upgrade or use an alternative browser.
Richmond VA 1960 Bugeye Bringing Miss Eva back to life.
- Thread starter hcallaway
- Start date
Trevor Jessie
Yoda
Offline
It is the enclosed spaces that often rust from the inside out. I'm just suggesting you check with your welder friend before making the patches too small.
When I did my Midget I cut off that entire mud trap behind the rear wheels...inside and out. The only reason the factory made them that way is that they were spot welding everything and couldn't have welds on a cosmetic panel. I also only used the factory replacement panel for a pattern because I though they were too thin. Formed both sides out of heavier material and fitted a patch straight from the flat trunk floor out to the outer panel. One strip for a brace and I expect it will never give rusting problems again.
Kurt.
Kurt.
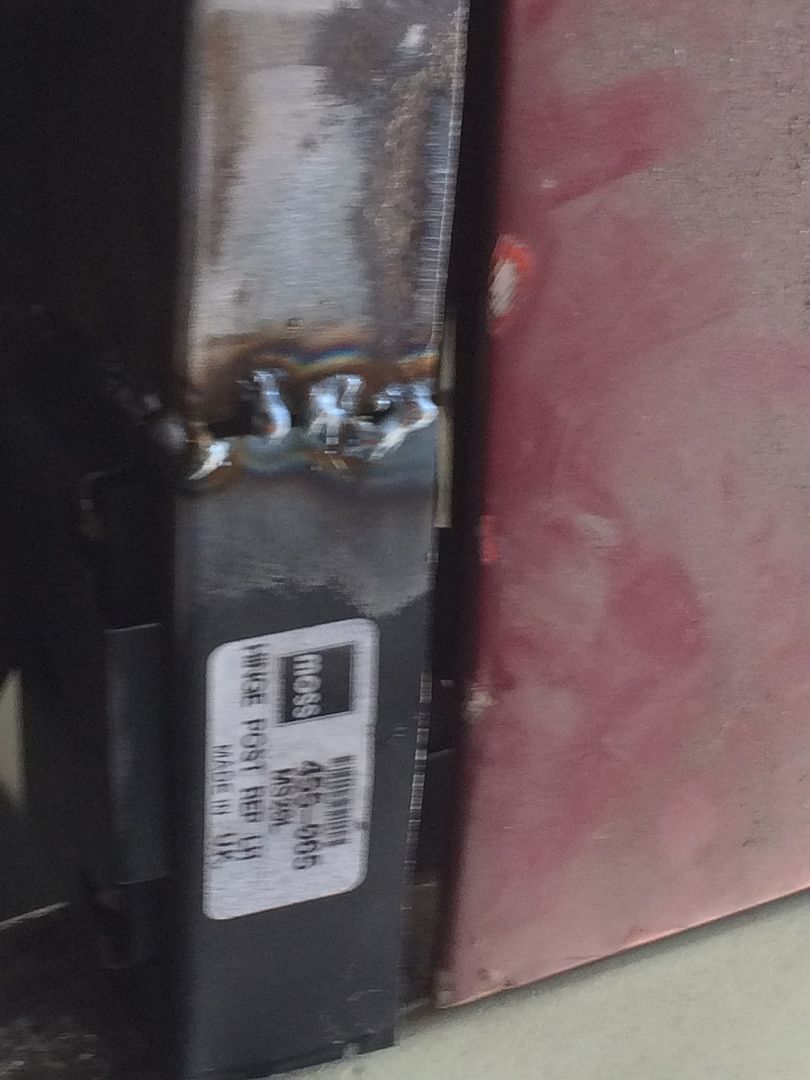
Started working on tacking up the lower drivers door pillar.
Fits good but not near as easy as the passenger side. Not having all the screws is part of my issue with fitment.
Placed an order with McMaster Carr and should have the hardware this week. Tack weld in case I need to adjust.
Trial fit on lower post pillar cover.
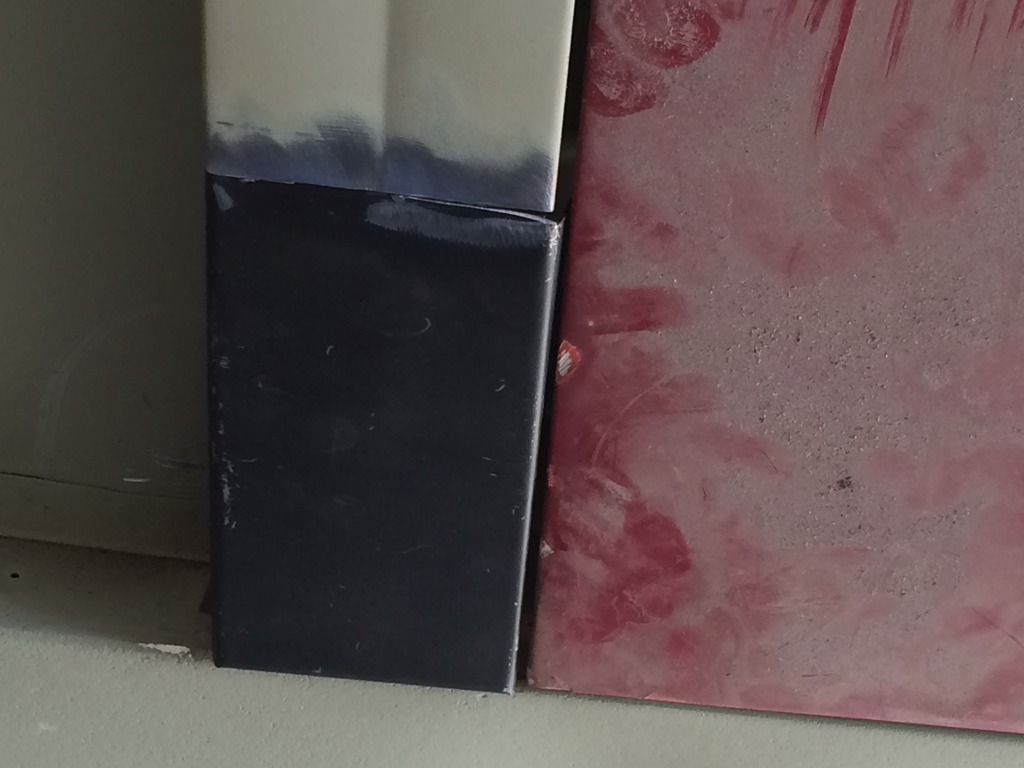

Fits good but not near as easy as the passenger side. Not having all the screws is part of my issue with fitment.
Placed an order with McMaster Carr and should have the hardware this week. Tack weld in case I need to adjust.

Trial fit on lower post pillar cover.

You made me change direction on my passenger side.
When I did my Midget I cut off that entire mud trap behind the rear wheels...inside and out. The only reason the factory made them that way is that they were spot welding everything and couldn't have welds on a cosmetic panel. I also only used the factory replacement panel for a pattern because I though they were too thin. Formed both sides out of heavier material and fitted a patch straight from the flat trunk floor out to the outer panel. One strip for a brace and I expect it will never give rusting problems again.
Kurt.
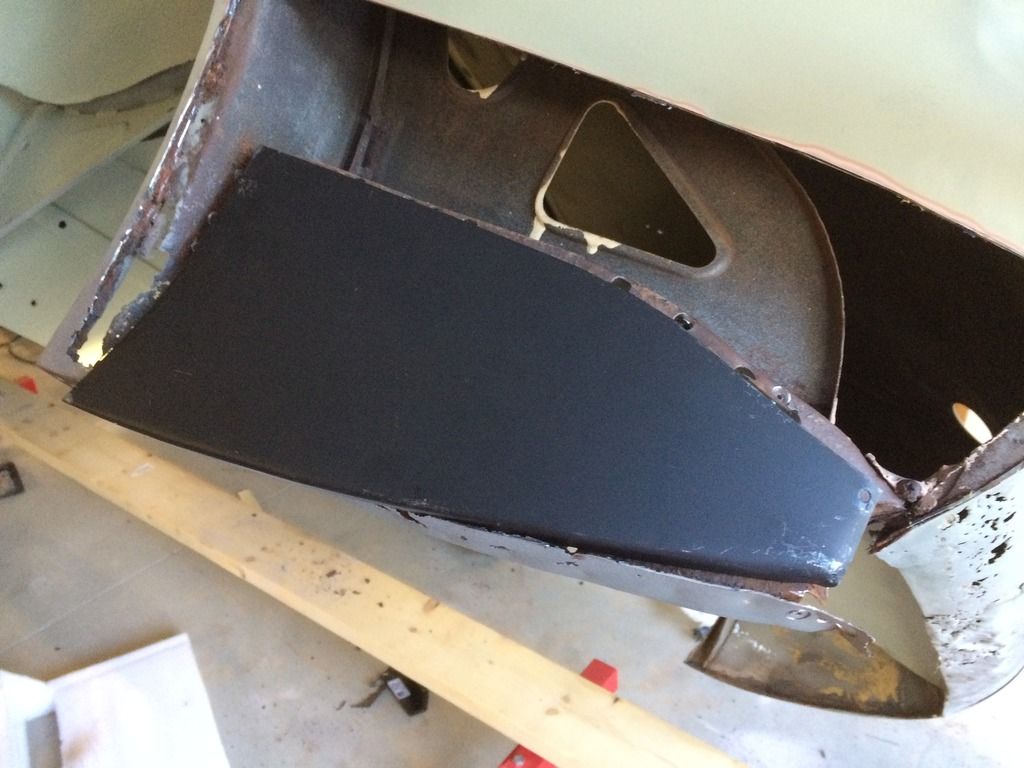
Drivers side lower rear patch patch panel.
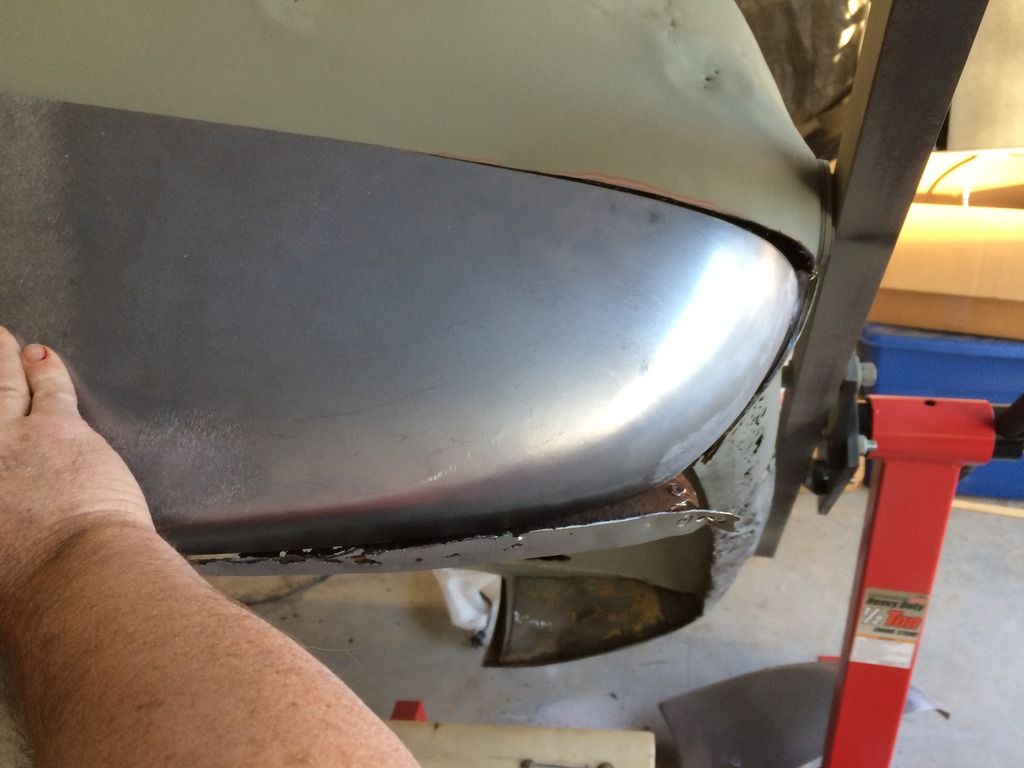
Fit is OK will have to be tweaked pretty good.
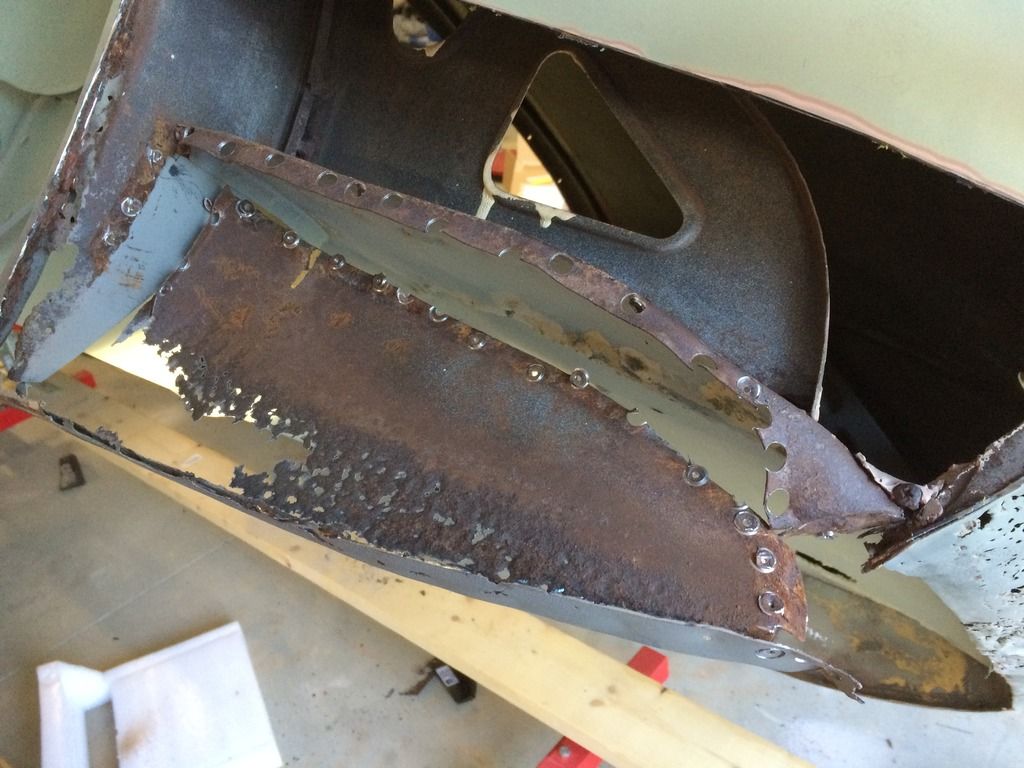
Removing the closing panel that is on the back side of the quarter.
I left some of the old quarter to get the angles correct.
After I get the inter panel tacked. I will remove the rest of the quarter. Then work on the other side and get it to the same stage on both sides.Then I will work on the lower rear valance panel.

Fit is OK will have to be tweaked pretty good.

Removing the closing panel that is on the back side of the quarter.
I left some of the old quarter to get the angles correct.

After I get the inter panel tacked. I will remove the rest of the quarter. Then work on the other side and get it to the same stage on both sides.Then I will work on the lower rear valance panel.
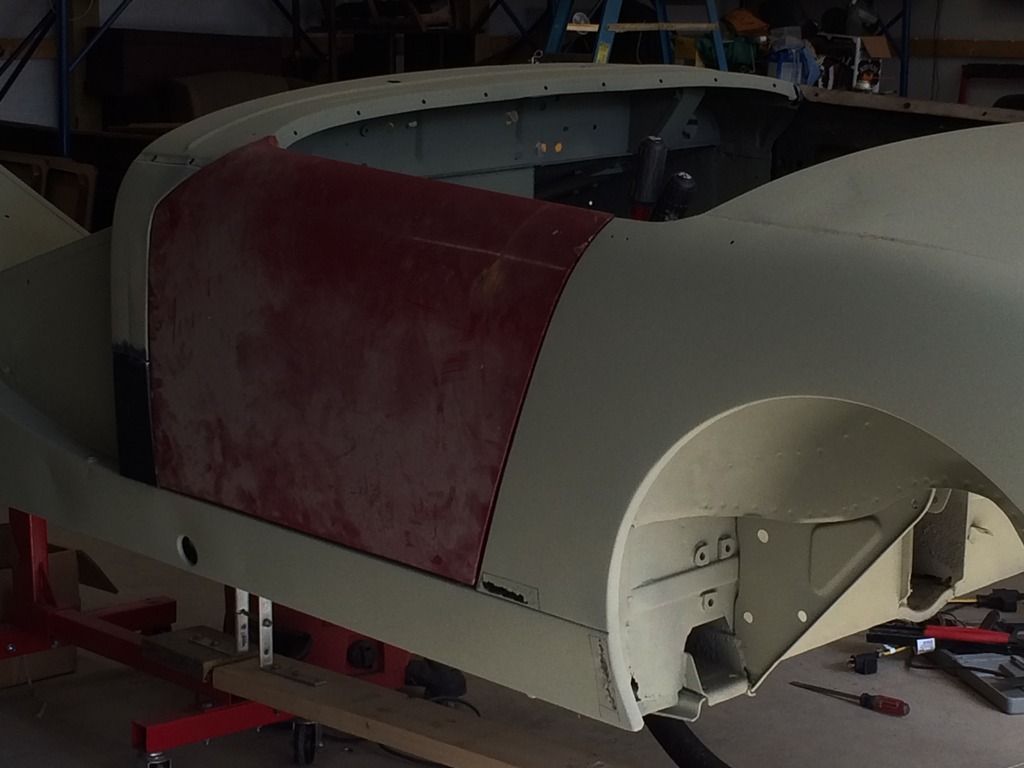
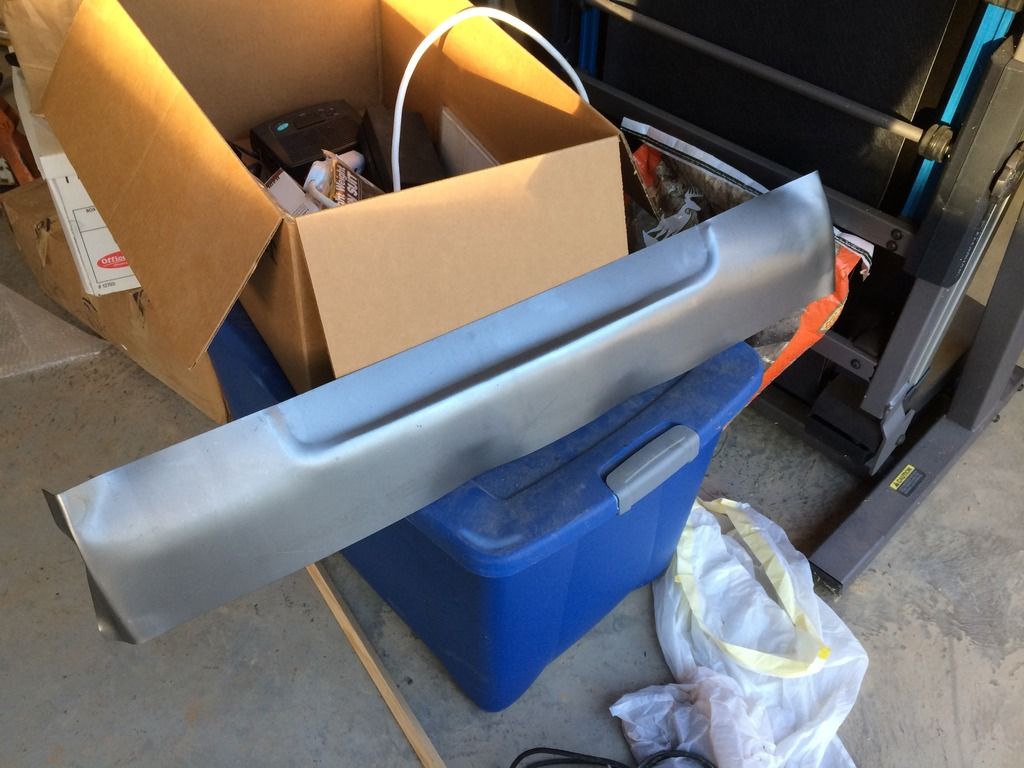
Rear panel from Frog Eye Spares. Ordered and once they gave me a freight rate to OK, the panel arrived in 2 days from England. Prices were great as both lower quarters and the rear valance were about the same cost as just the two patch panels domestically.
It will cover a multitude of sins.

It will cover a multitude of sins.


Decided to clean up the MGB. It was 17 years ago that I restored this car. My wife asked me to start getting it back on the road. The three sons said today on Mothers Day is a great day to start.
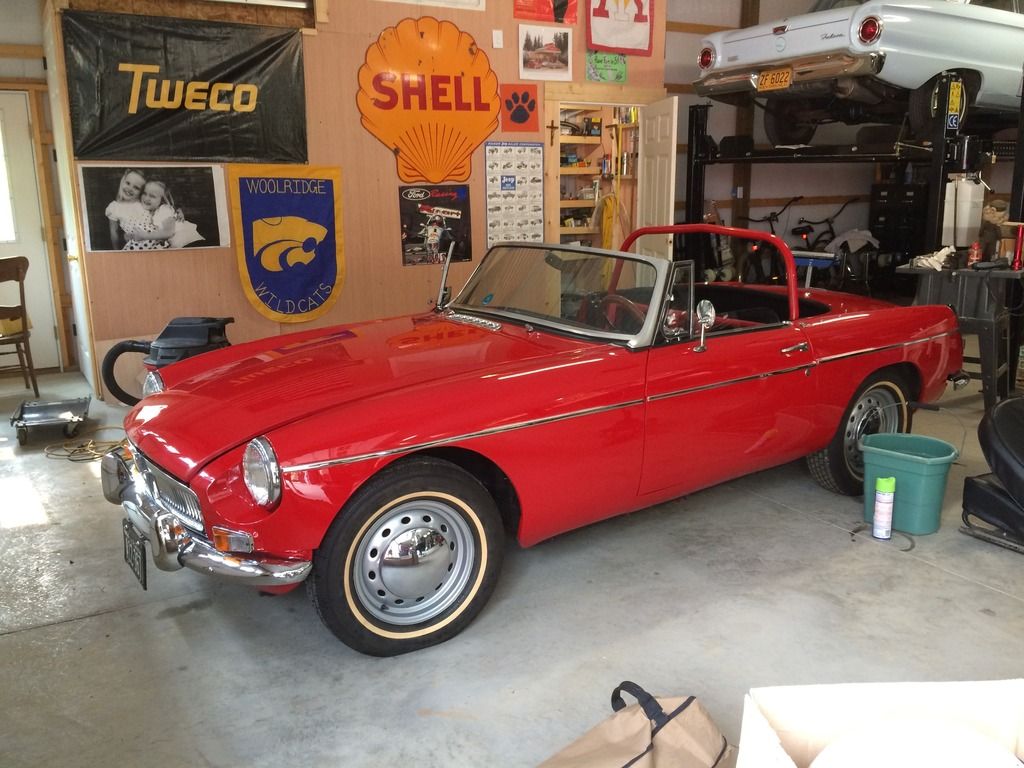
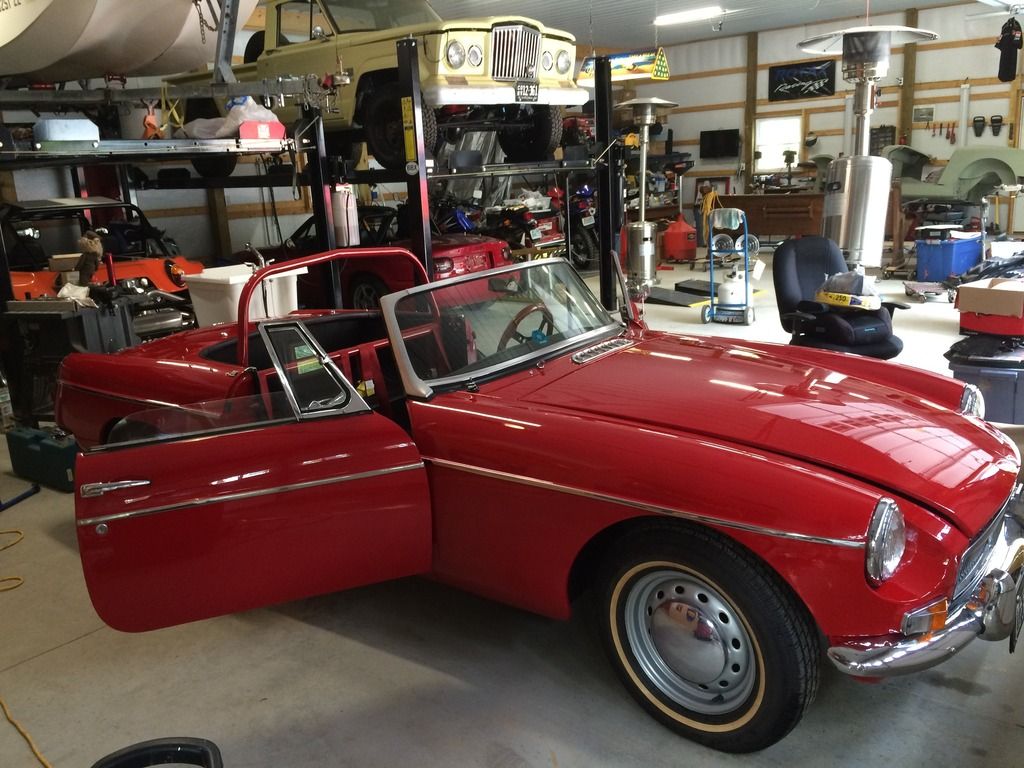
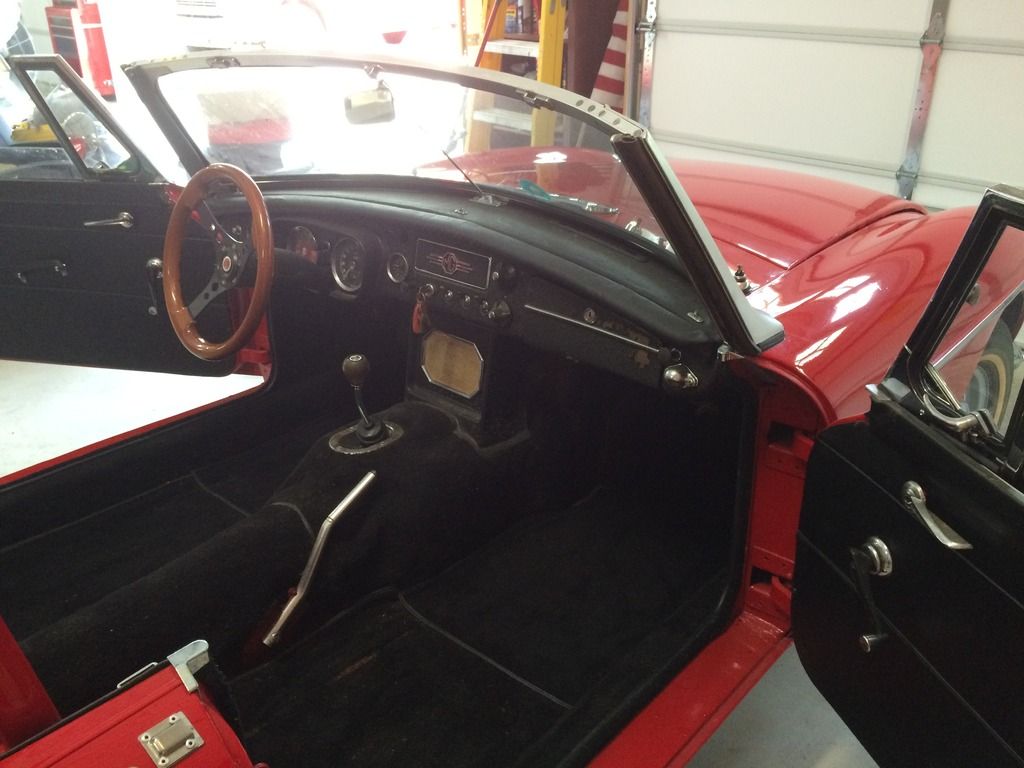
Removed criter remnants with carpet shampoo. Do it twice and it should be good.


Removed criter remnants with carpet shampoo. Do it twice and it should be good.
Brett Hamilton Race Cars is an old customer of mine and we have become friends for the last 24 plus years. He generally stays away from jobs that I need to get him to do.
It is great to see him work. All he expects is a clear idea of what you want done and to not waste his time. Race car guys expect to get their projects done asap and they tie him up. His work ranges from cars for Amelia Island or building Henderson fenders from the 20's.
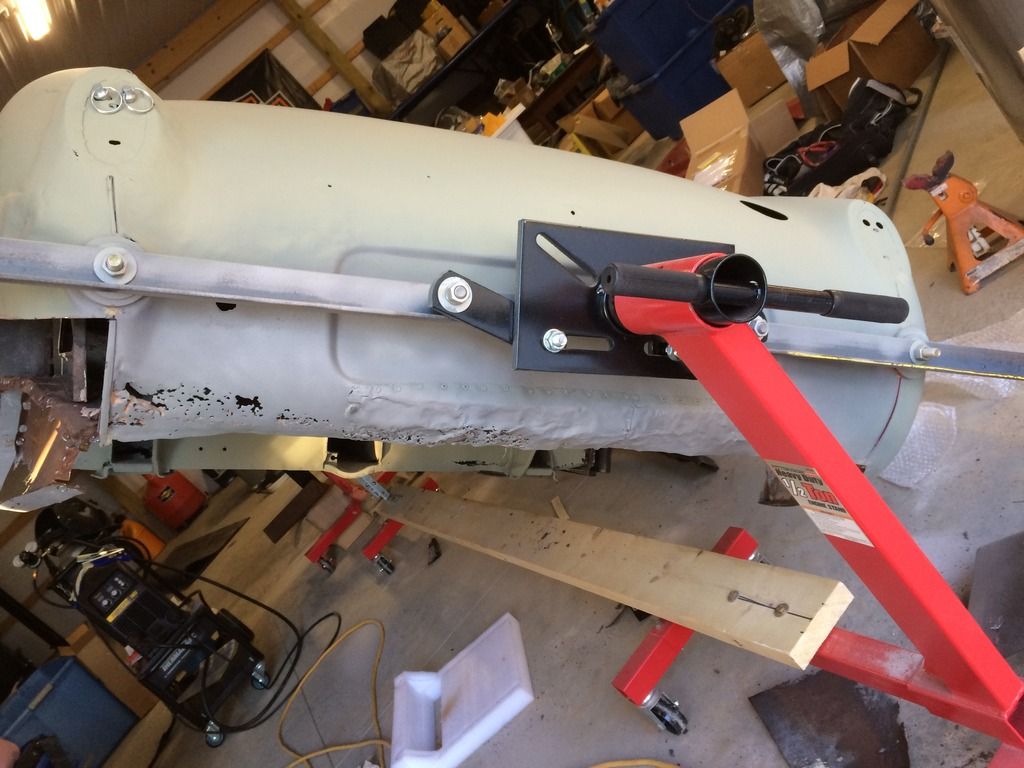
Replacing the front bonnet valence.
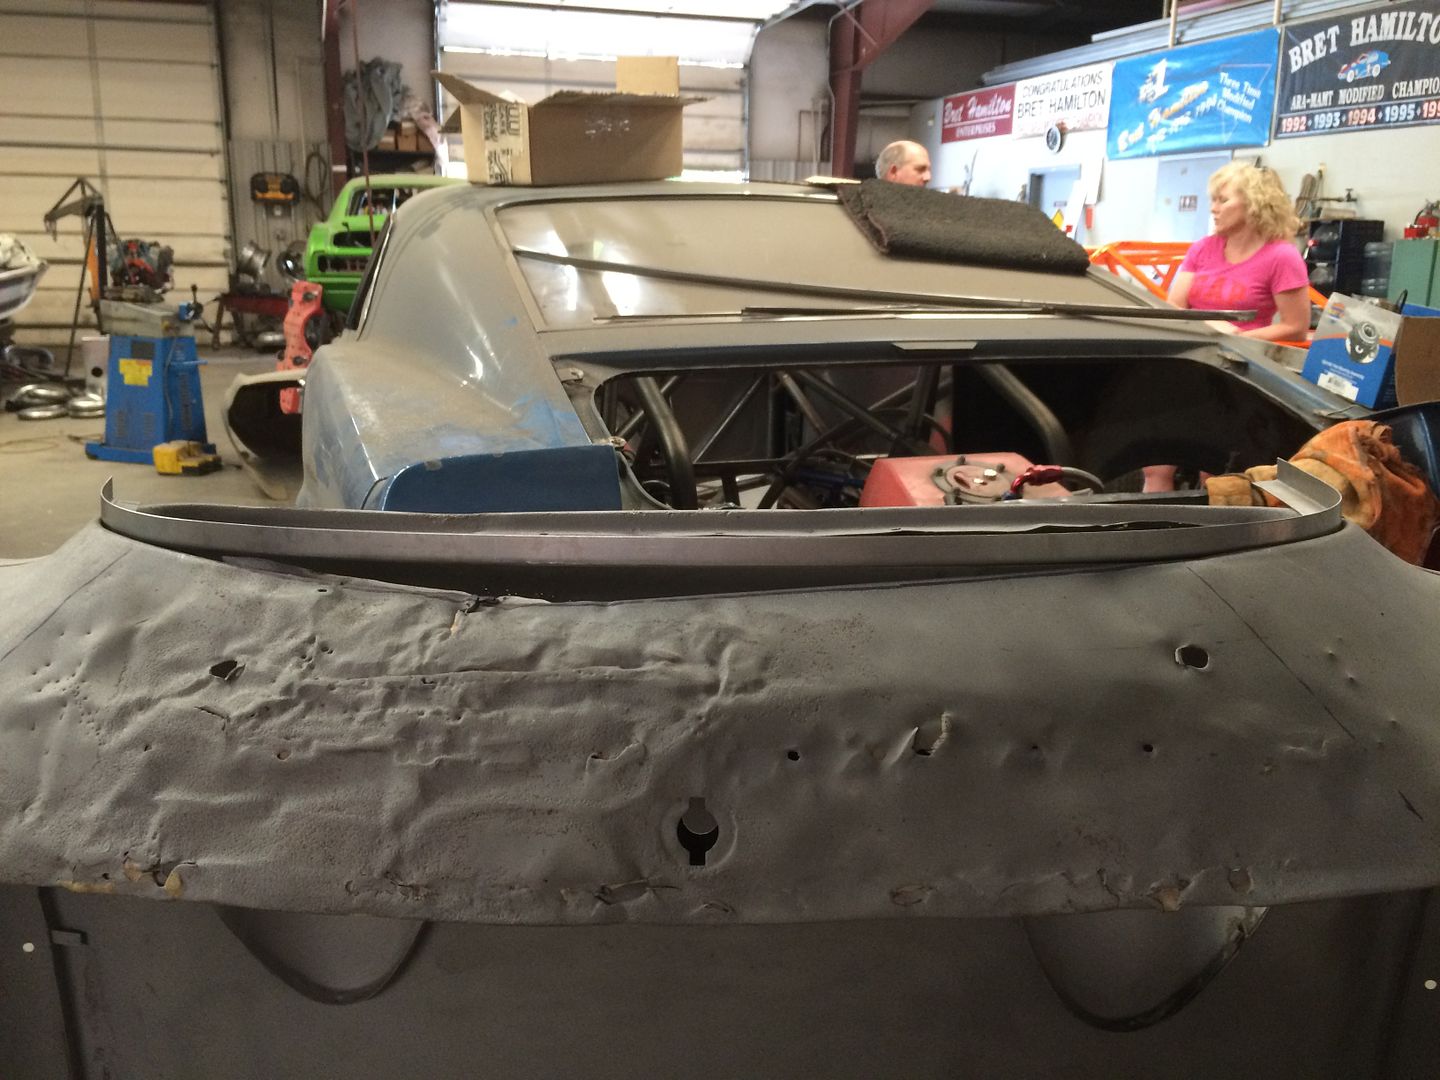
He beat the top of the bonnet opening to get it into the proper shape.
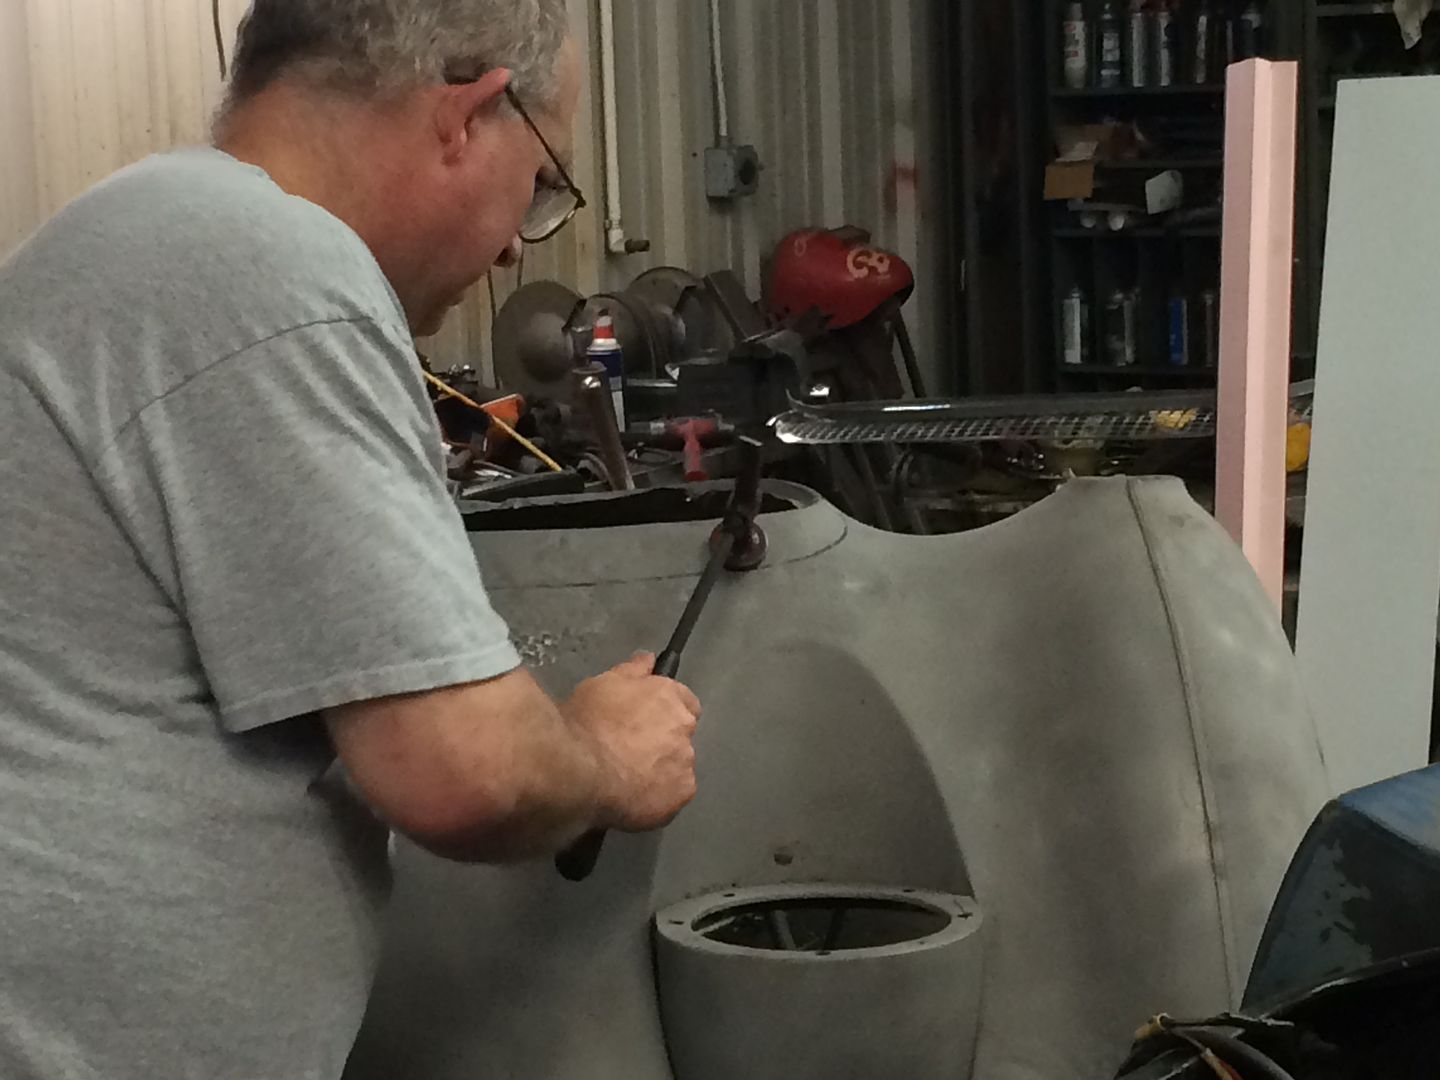
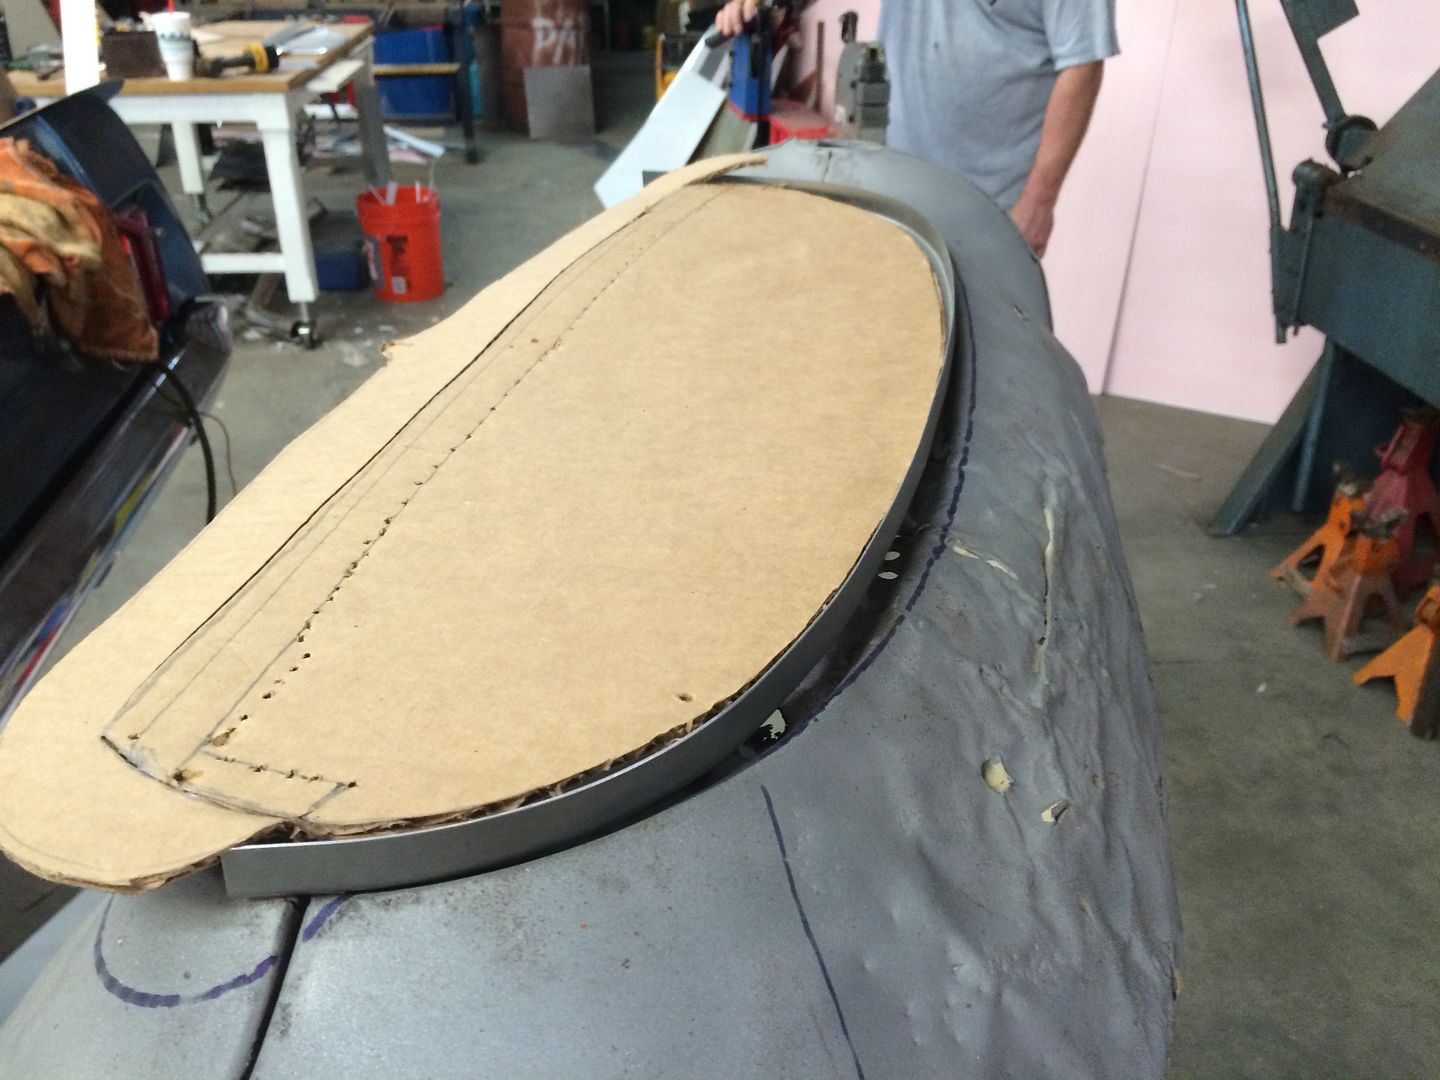
I made a cardboard pattern and we had a new grille to use as well.
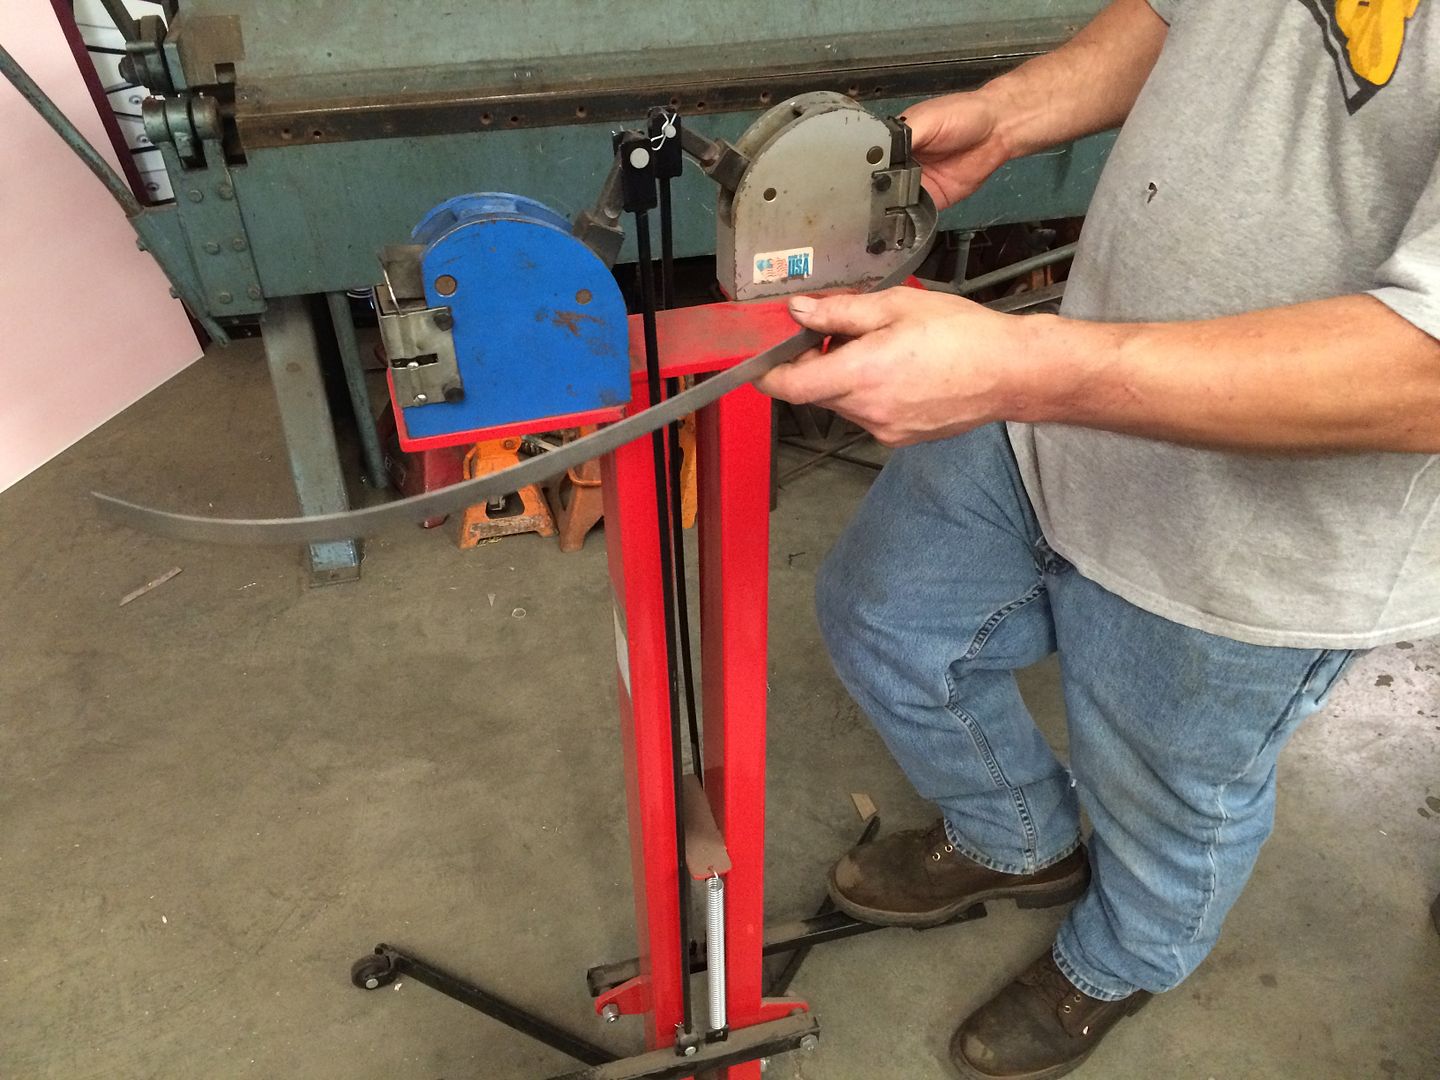
The he sheared a strip of 20 GA CR steel and using a brake he bent it into what some call a Z pattern except squared. This is actually the first of two grille openings. The first one was shaped as an angle and then he used a stretcher - shrinker to get the shape of the lower U of the opening. Brett did not like the way it was going to merge into the panel. He scraped it and started over.
It is great to see him work. All he expects is a clear idea of what you want done and to not waste his time. Race car guys expect to get their projects done asap and they tie him up. His work ranges from cars for Amelia Island or building Henderson fenders from the 20's.
Replacing the front bonnet valence.

He beat the top of the bonnet opening to get it into the proper shape.

I made a cardboard pattern and we had a new grille to use as well.

The he sheared a strip of 20 GA CR steel and using a brake he bent it into what some call a Z pattern except squared. This is actually the first of two grille openings. The first one was shaped as an angle and then he used a stretcher - shrinker to get the shape of the lower U of the opening. Brett did not like the way it was going to merge into the panel. He scraped it and started over.
