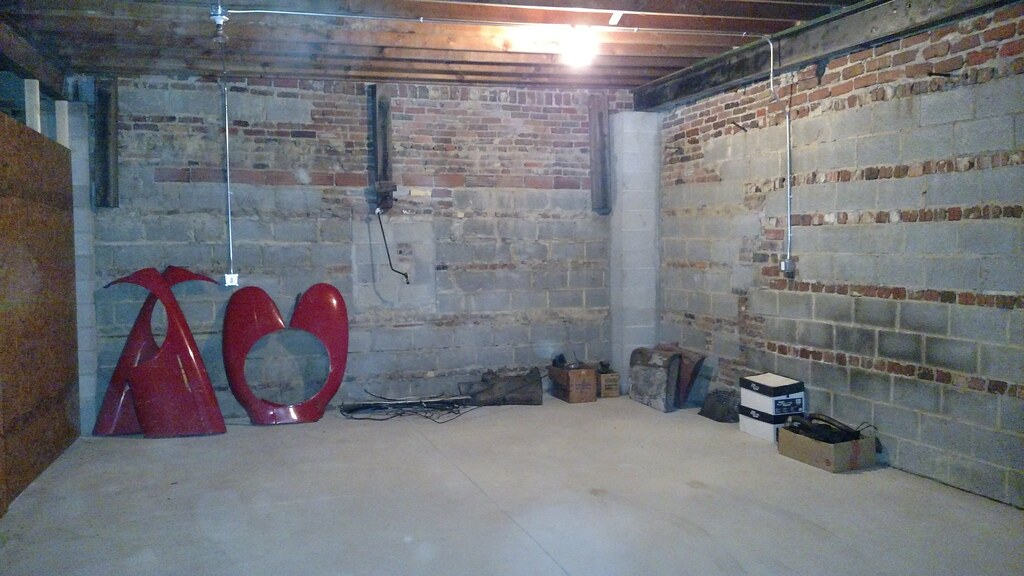
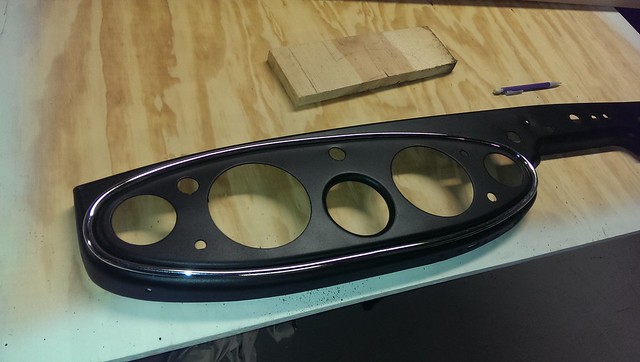
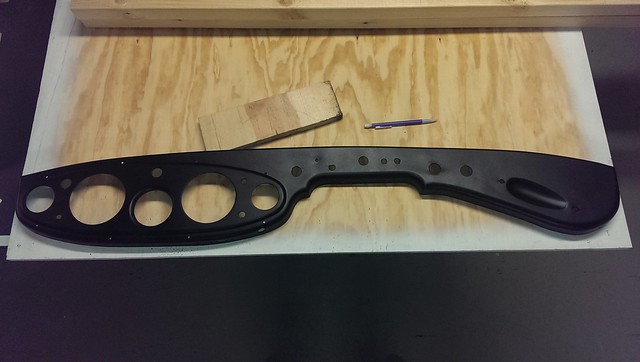
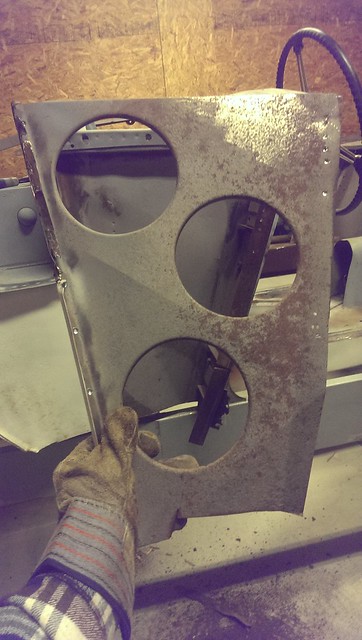
OK - time for a big update. I'll start with the least significant bit of progress which was my re-finishing of the dash. I did a very small amount of "reshaping" as I kind of like the left over waves, etc. in the metal that all the years of use have given it. Originally, I thought I was going to go the wrinkle coat route like the MG guys do, but I came across this fine-textured matte black paint and decided to give it a shot. I really like how it came out.
There are also a couple of extra holes in it, I believe, that were covered up by the vinyl on it previously...I'll find some use of them. Maybe an indicator light or something? Fog light switch? Who knows.
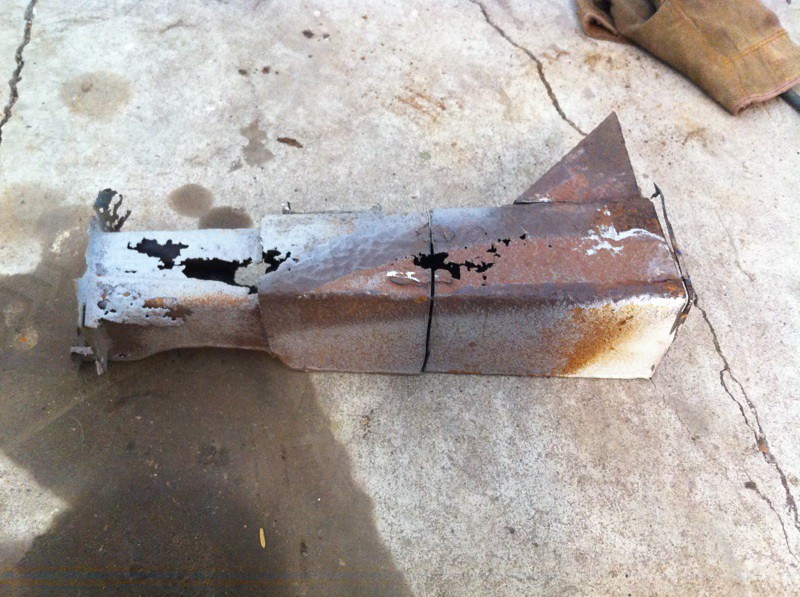
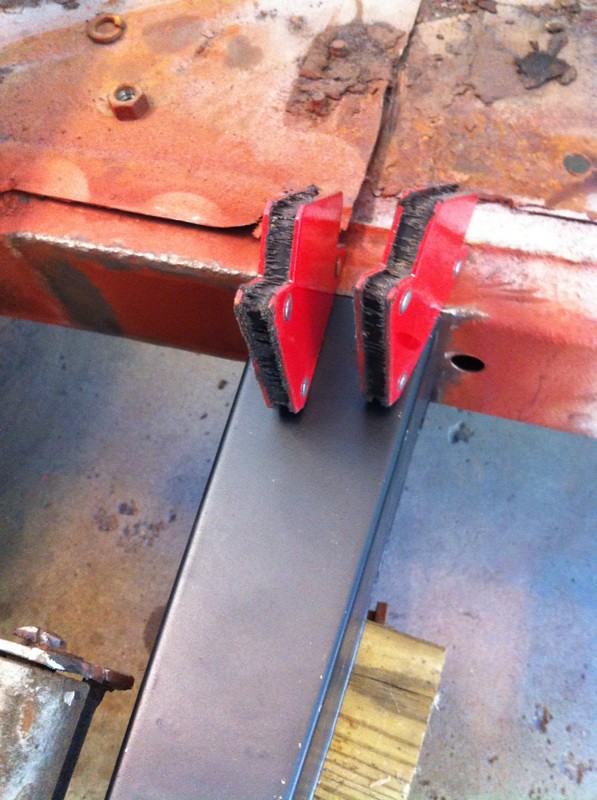
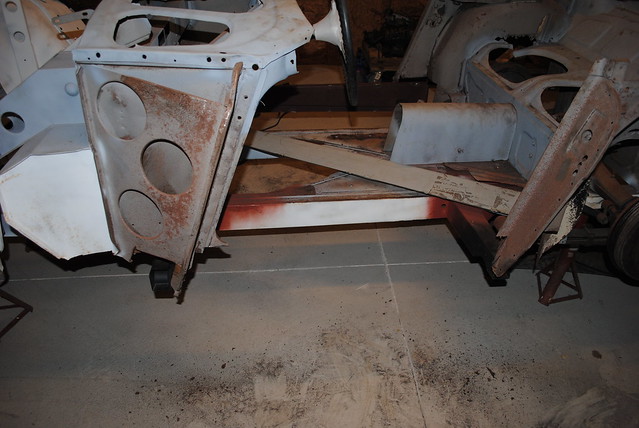
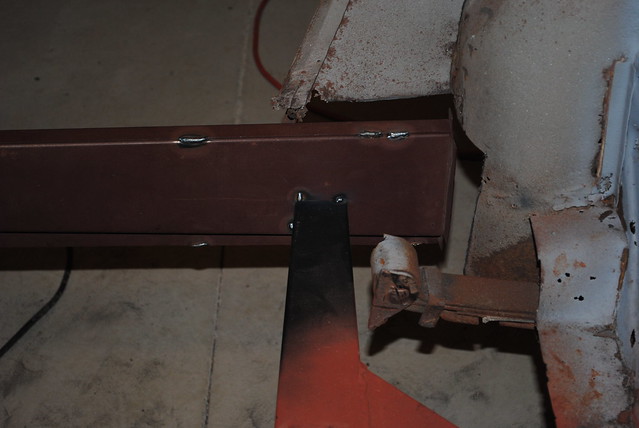
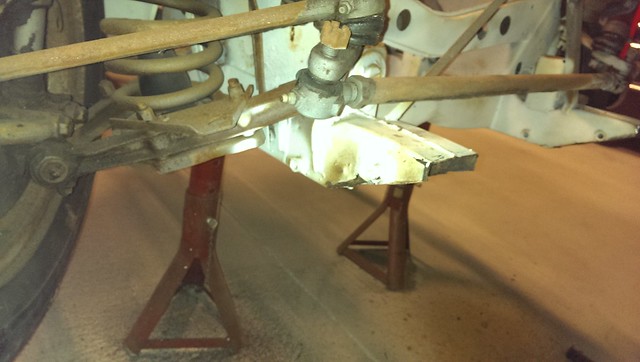
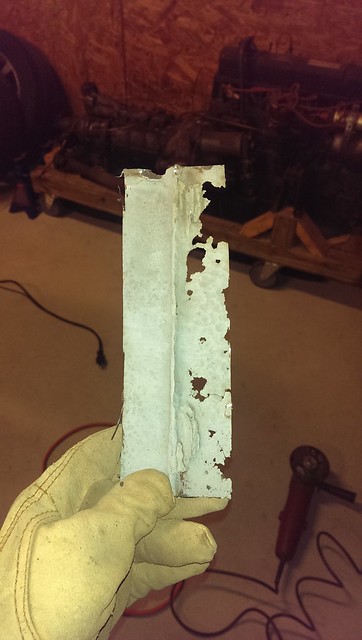
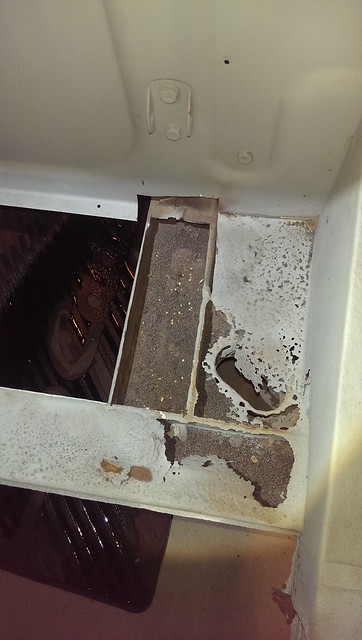
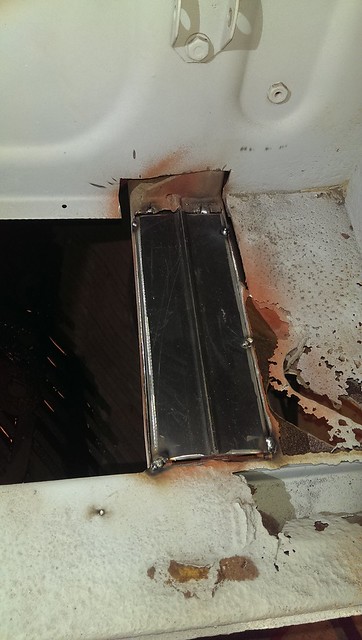
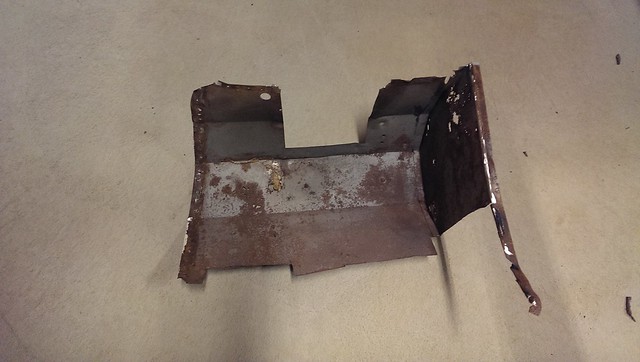
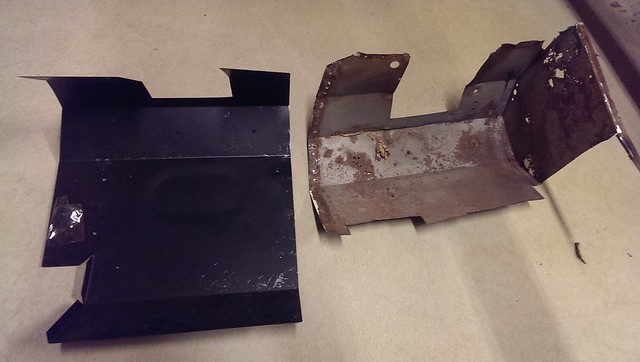
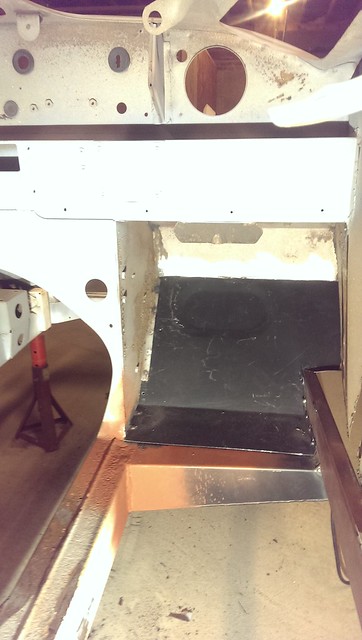
While I was waiting for a big Kilmartin delivery, I decided to tackle the tops of the frame rails in the trunk which needed to be repaired. It required me to cut a bit into the bulkhead, but it'll be no problem making a small piece to patch back in. The amount of crud and sand (from blasting) that I vacuumed out of the rails just baffled me again, especially considering I had done it once from the front. No new mice found.
How the tops looked:
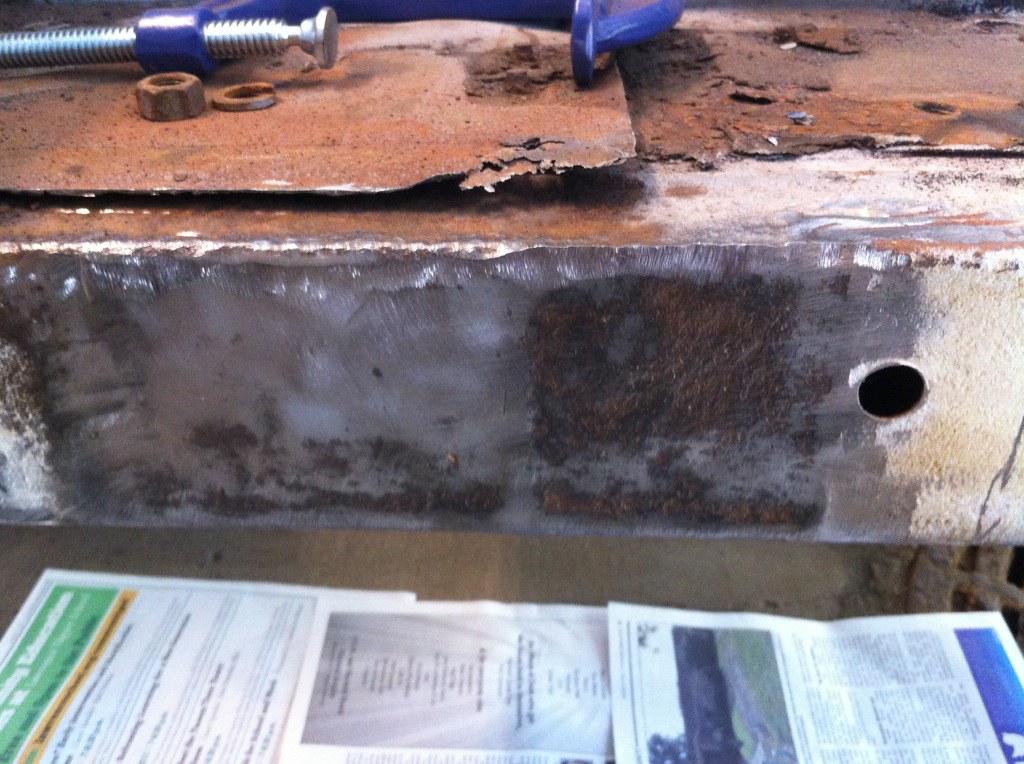
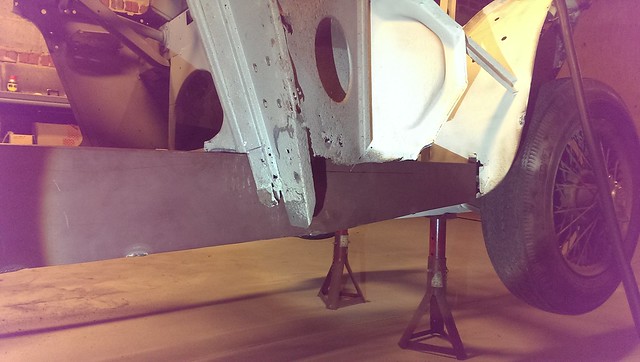
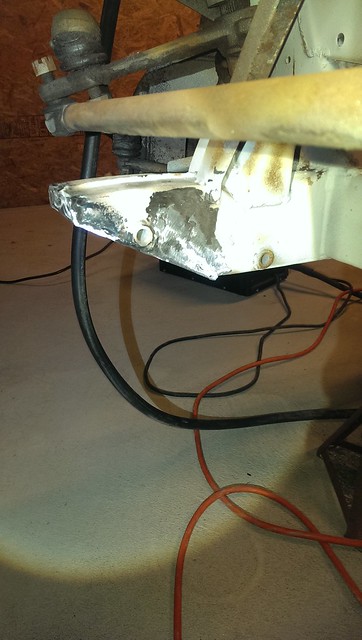
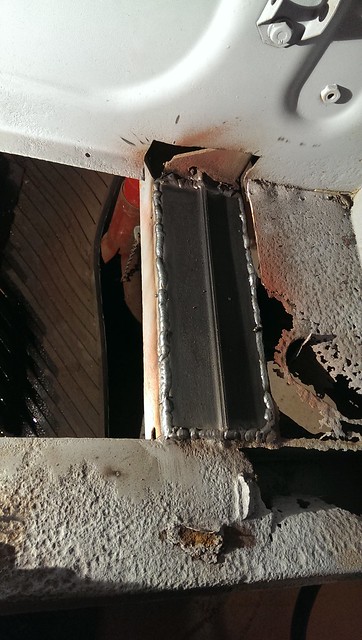
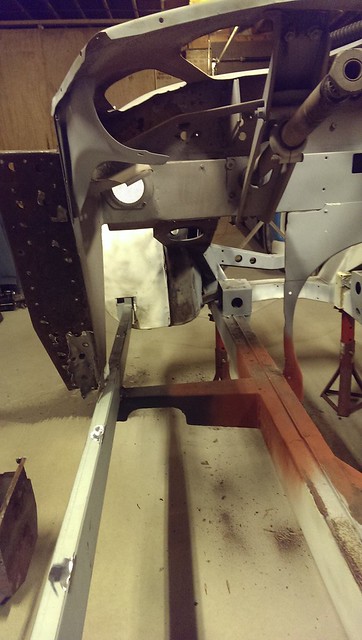
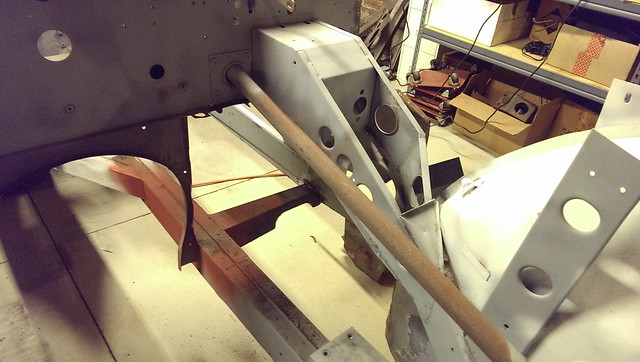
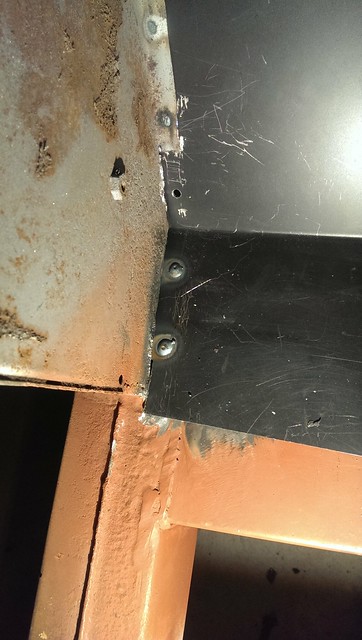
In process:
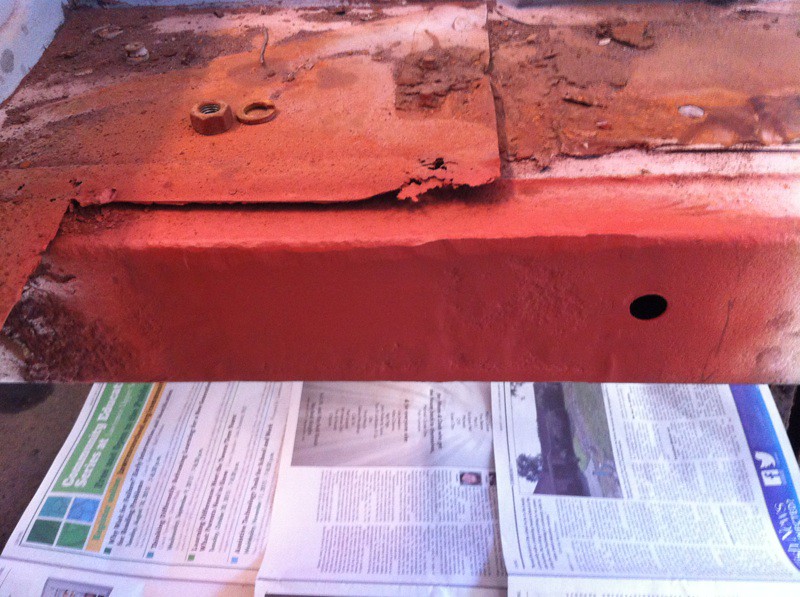
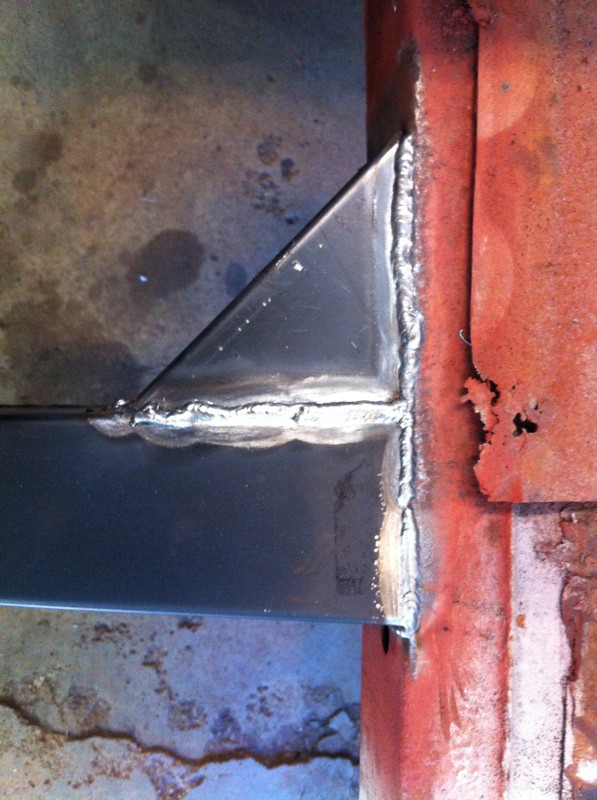
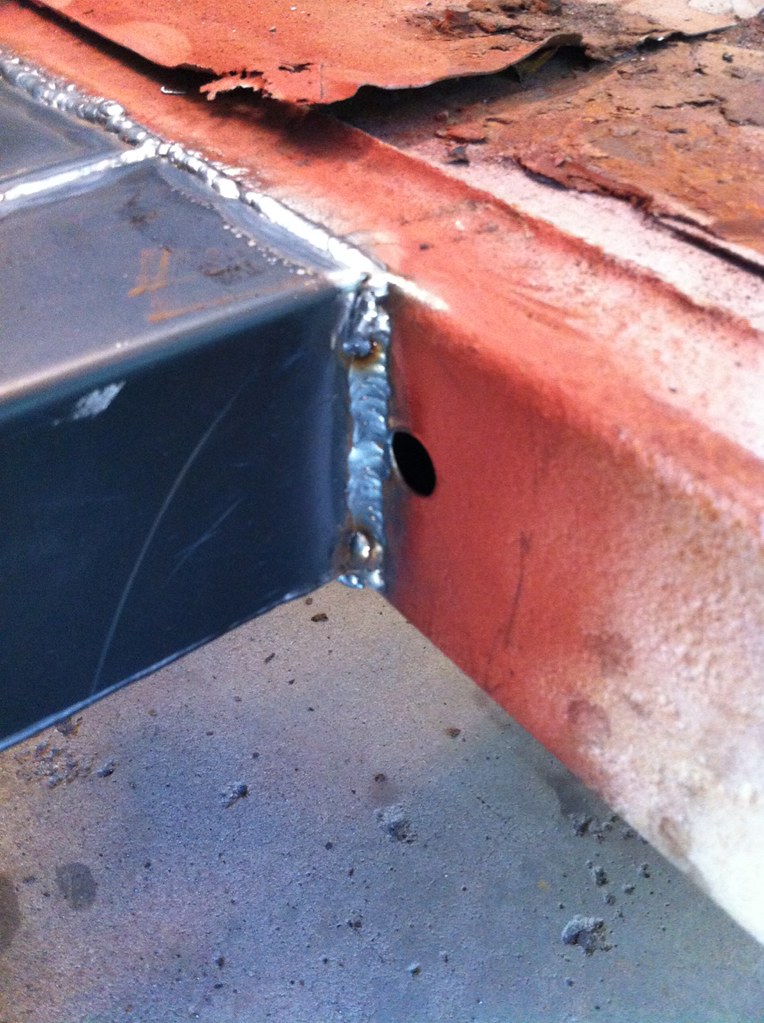
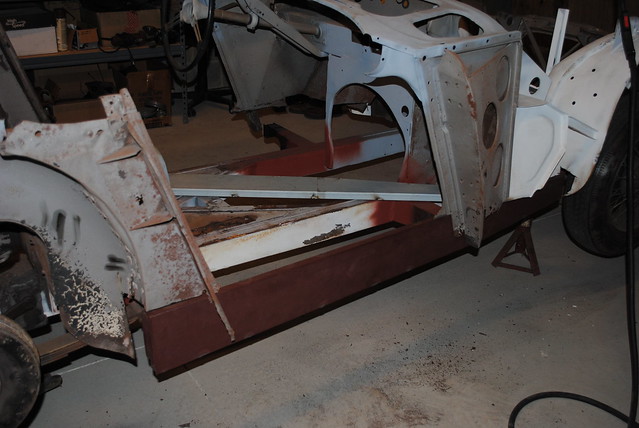
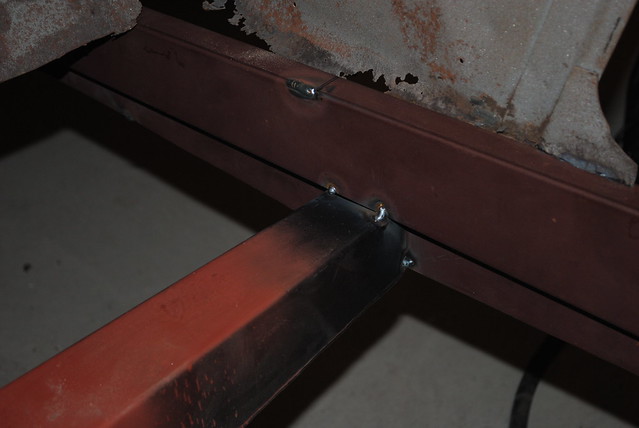
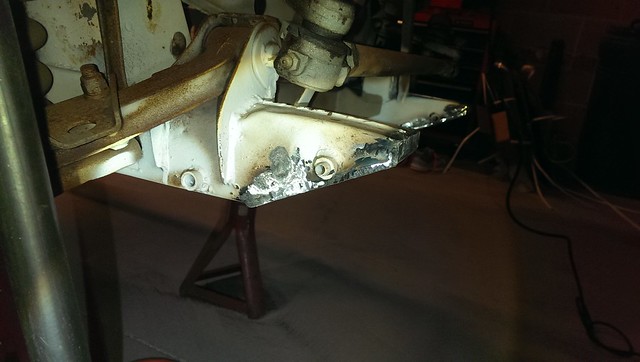
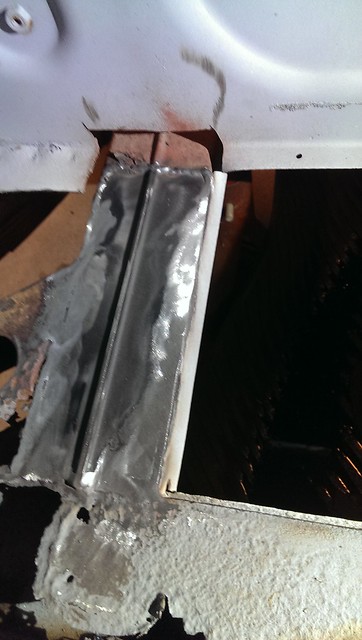
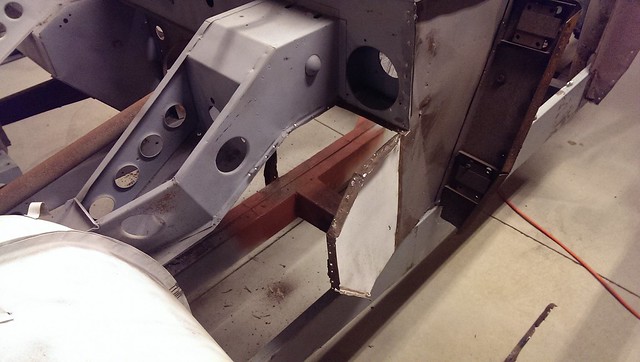
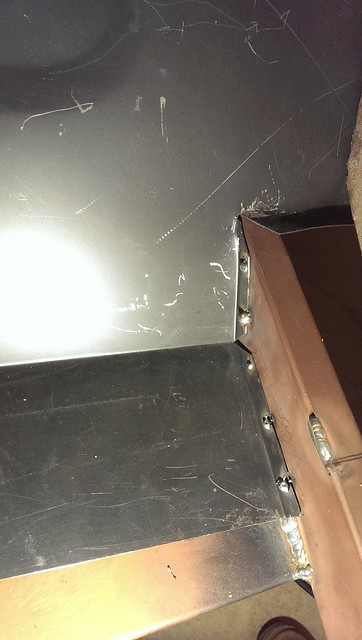
And finished:
I guess I didn't take a picture of the passenger side, but it's finished as well. There's clearly still a ton of work to be done in the trunk, but I felt like that was the best place to start.
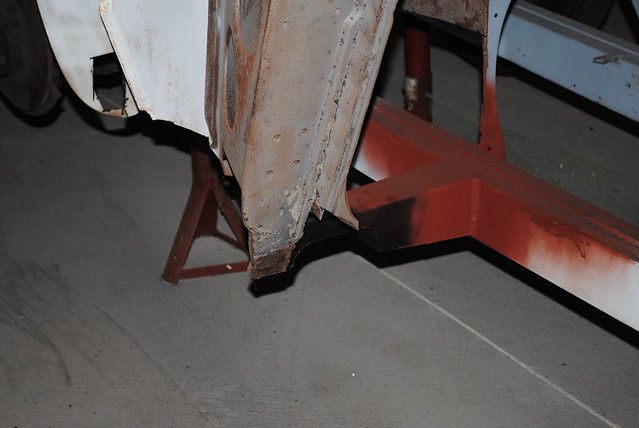
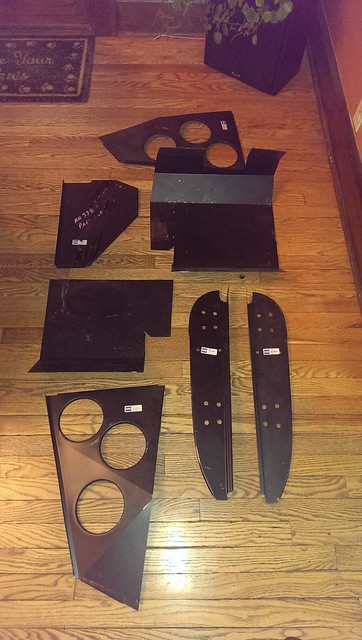
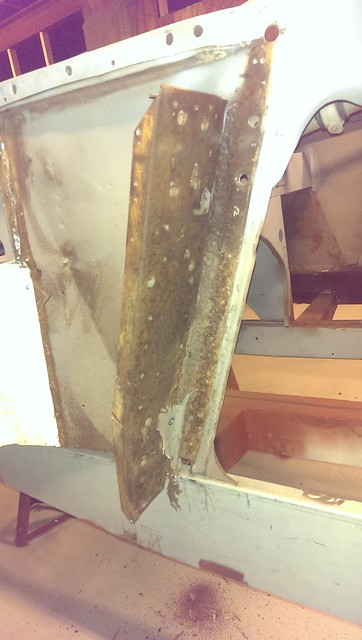
Fresh batch of Kilmartin pieces arrived, and it was on to the hinge pillar/plate and footwells!
I need to break down and buy myself one of those spot weld bits because drilling them out with a normal bit is just maddening and there are endless spot welds left. Endless.
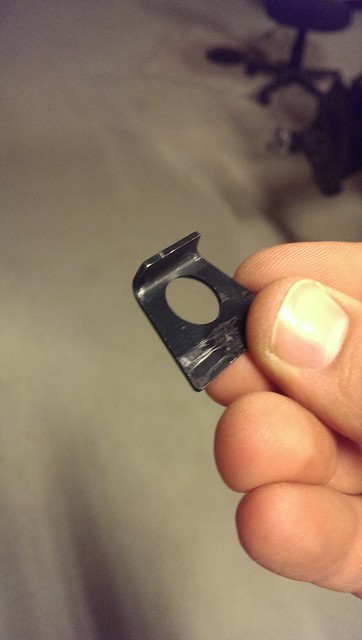
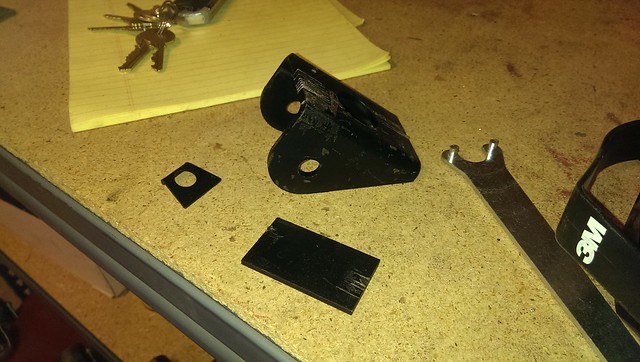
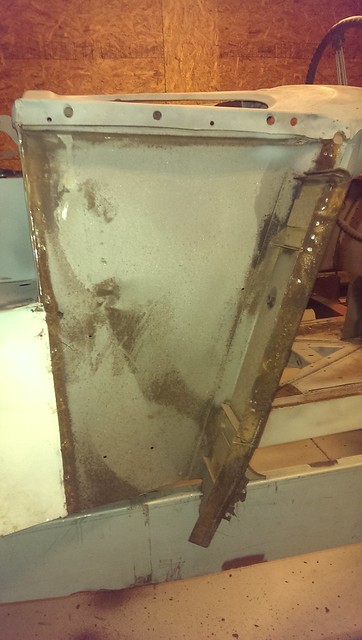
I started with the hinge plates. I knew I had to replace them, so I wasn't too terribly careful in getting them off in one piece but I worked to not damage the actually hinge pillars. Turns out, they need to be replaced also.
Then came the support. Same process on the passenger side.
After that was just endless drilling of spotwelds all around the footwells on both sides to result in...
I think I may have taken pictures of the hinge plate removal and other work on the passenger side on my real camera but I'm not sure. Just know that the hinge pillars have been removed from both sides with the bad metal on the passenger side cut out around the hinge post (I think that's what it's called).
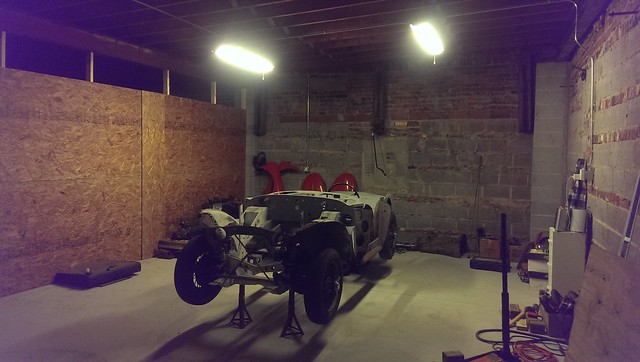
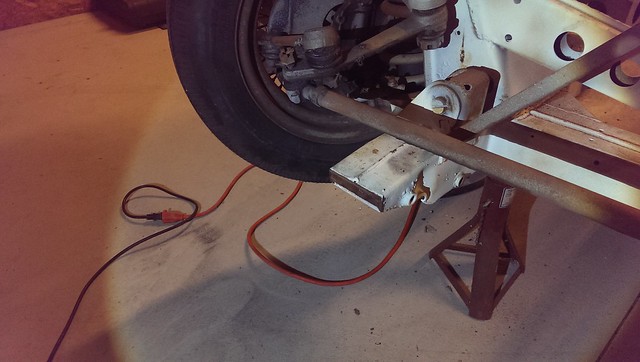
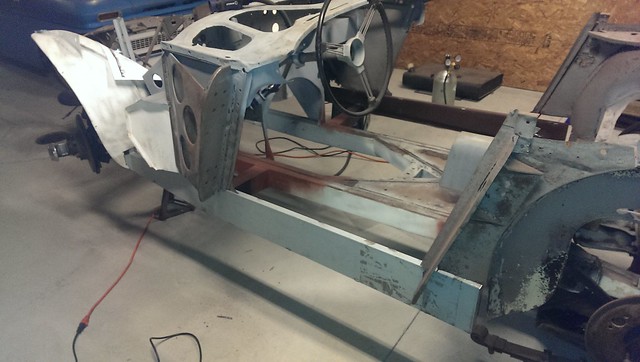
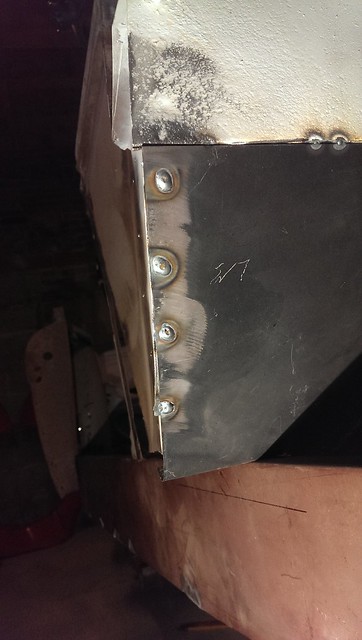
Now for the most exciting part; the Healey has a footwell!!
I'm extremely pleased with how most of the plug welds turned out. When trying to weld the little tabs onto the sill, however, it just burned right through the tabs. I'm not sure why, but I'll grind down the mess that's there, figure it out and fix it next time.
Anyways, that's where it stands. Next on the list is getting the same thing done on the driver's side followed by repair of the hinge area. Big steps that will actually show big progress rather than spot weld drilling!
 Hey there Guest!
 Hey - did you know if you click on the title of a thread it will take you to the first unread post since you last visited that thread?
 but were afraid to ask:
  STOP!! Never post your email address in open forums. Bots can "harvest" your email! If you must share your email use a Private Message or use the
  smilie in place of the real @
 Pretty Please - add it to our Events forum(s) and add to the calendar! >>


 A friendly reminder - be careful what links you click on here. If a link is posted by someone you don't know, or the URL looks fishy, DON'T CLICK. Spammers sometimes post links that lead to sites that can infect your computer, so be mindful what you click.