Hey Guest!

 Hey - did you know if you click on the title of a thread it will take you to the first unread post since you last visited that thread?
 but were afraid to ask:
  STOP!! Never post your email address in open forums. Bots can "harvest" your email! If you must share your email use a Private Message or use the
  smilie in place of the real @
 Pretty Please - add it to our Events forum(s) and add to the calendar! >>
jjbunn
Jedi Knight
Offline
Due to a series of house guests I've had less time to work on the TR6 than I'd have liked over the previous weeks.
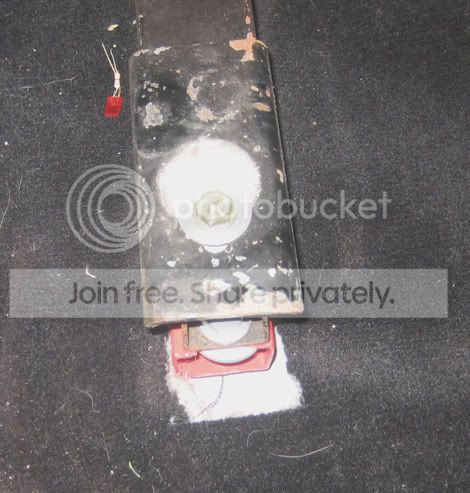
But I am making slow and steady progress with the underlay, carpeting and interior trim. Here's a shot of the back seat just finished. I am using white piped TR250-style trim, rather than the correct TR6 single colour, because I like the look better :laugh:

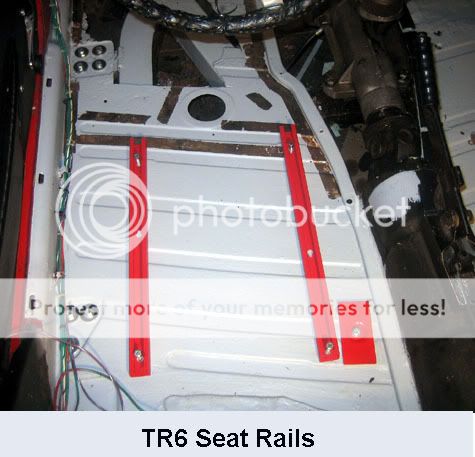
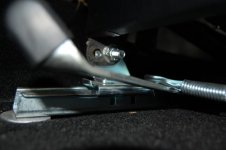
Now to the subject of the post: with the seat in the rearmost position, the seat catch lever rubs against the triangular piece on the B post. Also, the seat rake lever is very close, almost touching, the seatbelt anchor hook on the B post.

I really need the seat as far back as it can go, otherwise I can barely get in the darned car!
Is this rubbing/catching problem unique to my car? Any suggestions on how I can get the seat even further back or avoid the rubbing and get more clearance for the seatbelt attachment?
But I am making slow and steady progress with the underlay, carpeting and interior trim. Here's a shot of the back seat just finished. I am using white piped TR250-style trim, rather than the correct TR6 single colour, because I like the look better :laugh:
Now to the subject of the post: with the seat in the rearmost position, the seat catch lever rubs against the triangular piece on the B post. Also, the seat rake lever is very close, almost touching, the seatbelt anchor hook on the B post.
I really need the seat as far back as it can go, otherwise I can barely get in the darned car!
Is this rubbing/catching problem unique to my car? Any suggestions on how I can get the seat even further back or avoid the rubbing and get more clearance for the seatbelt attachment?