Hey Guest!

 Hey - did you know if you click on the title of a thread it will take you to the first unread post since you last visited that thread?
 but were afraid to ask:
  STOP!! Never post your email address in open forums. Bots can "harvest" your email! If you must share your email use a Private Message or use the
  smilie in place of the real @
 Pretty Please - add it to our Events forum(s) and add to the calendar! >>
mrv8q
Luke Skywalker
Offline
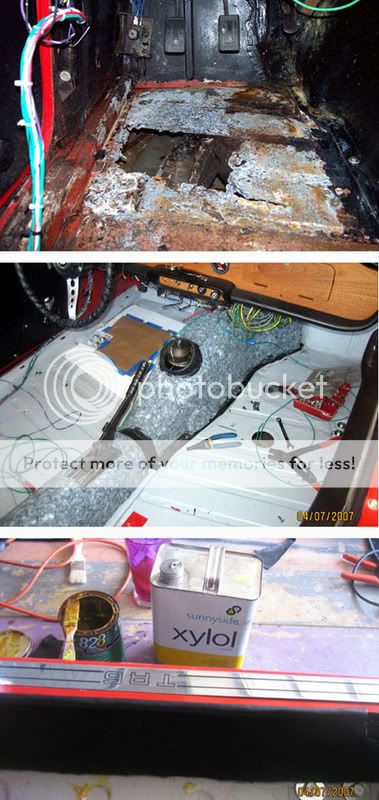
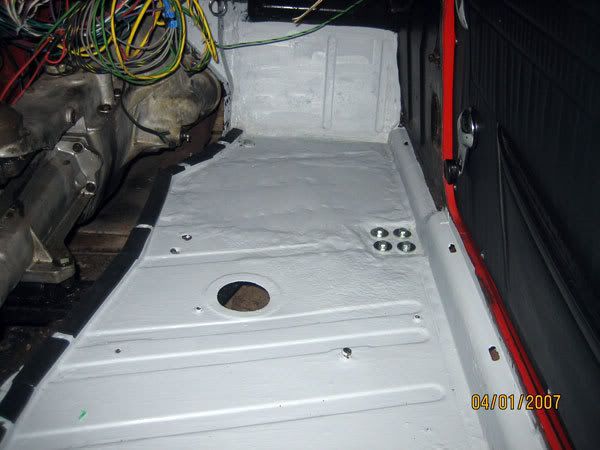
Hello, listers, any BTDTs for the plastic TRF gearbox cover? I have both the rubber seals and the mounting kit (RFK 157). To me, it looks easier to shape and glue the rubber strips to the raised part of the gearbox outline on the floorboard of the car, and then place the cover on top. I can't figure out where the 10 metal-shaped "thingies" go, positioned up or down, between the rubber gasket and the plastic cover?
My car came w/o the cover, so I don't know how it originally came out...
Should the rear plastic handbrake cable cover go on before or after the gearbox cover?
It looks as though 3 wires go through the plastic gearbox cover. Can someone suggest where I should drill a pilot hole.
Thanks for all help... you think for a $100, TRF could include a page of directions....