Hey Guest!

 Hey - did you know if you click on the title of a thread it will take you to the first unread post since you last visited that thread?
 but were afraid to ask:
  STOP!! Never post your email address in open forums. Bots can "harvest" your email! If you must share your email use a Private Message or use the
  smilie in place of the real @
 Pretty Please - add it to our Events forum(s) and add to the calendar! >>
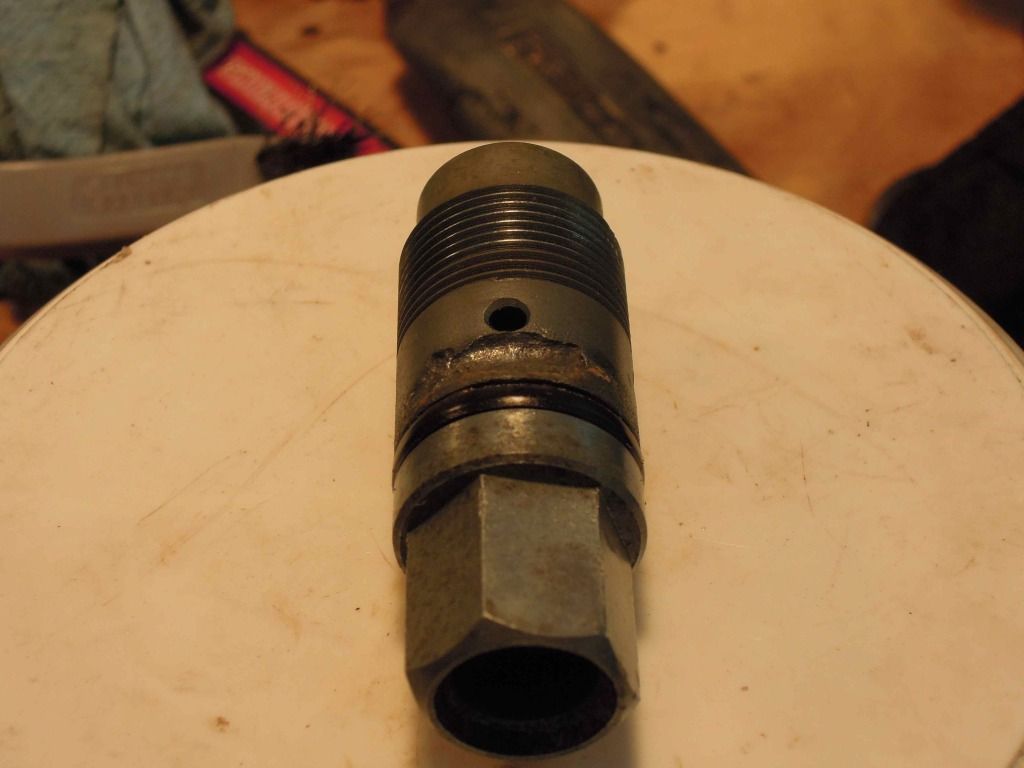
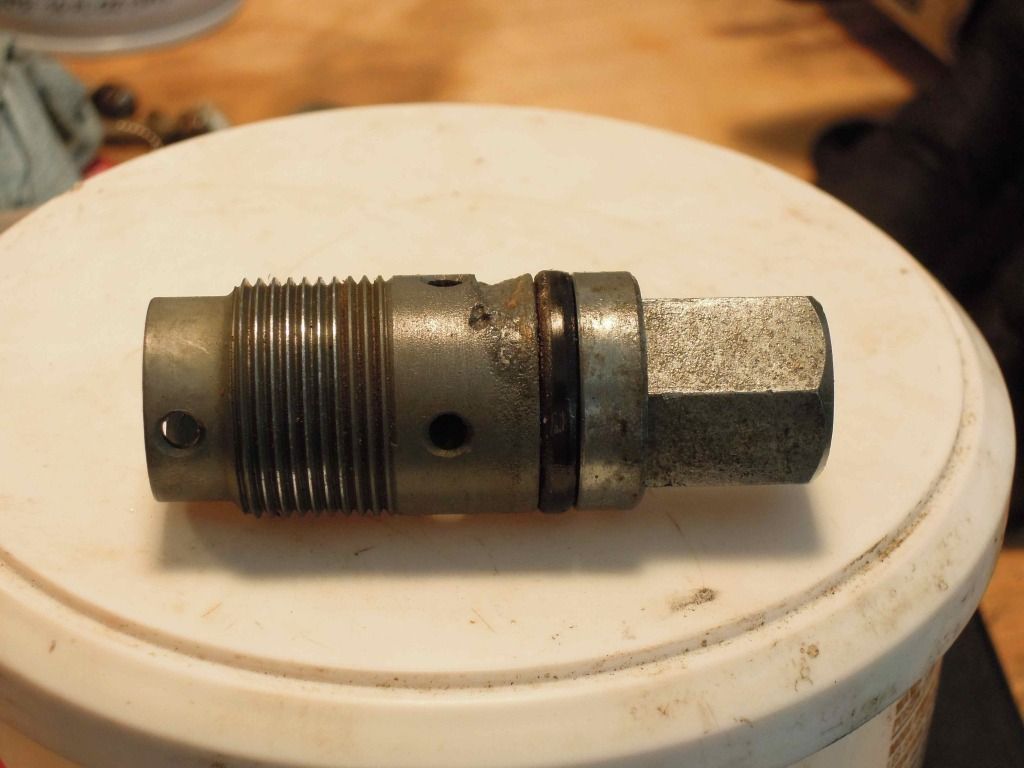
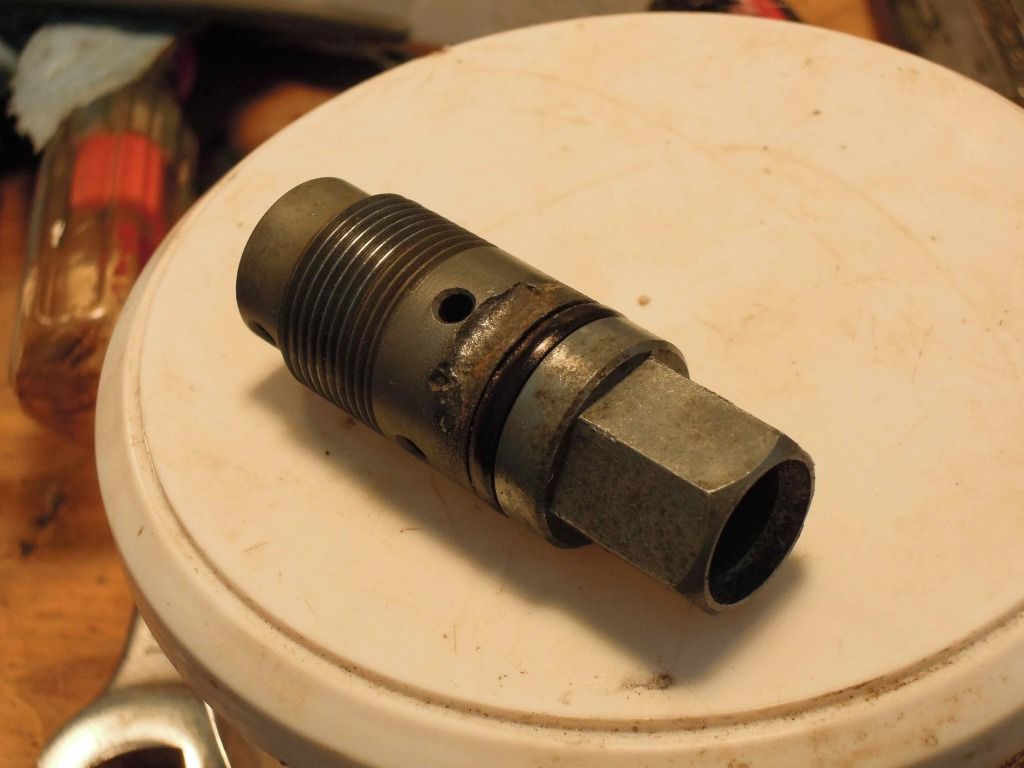
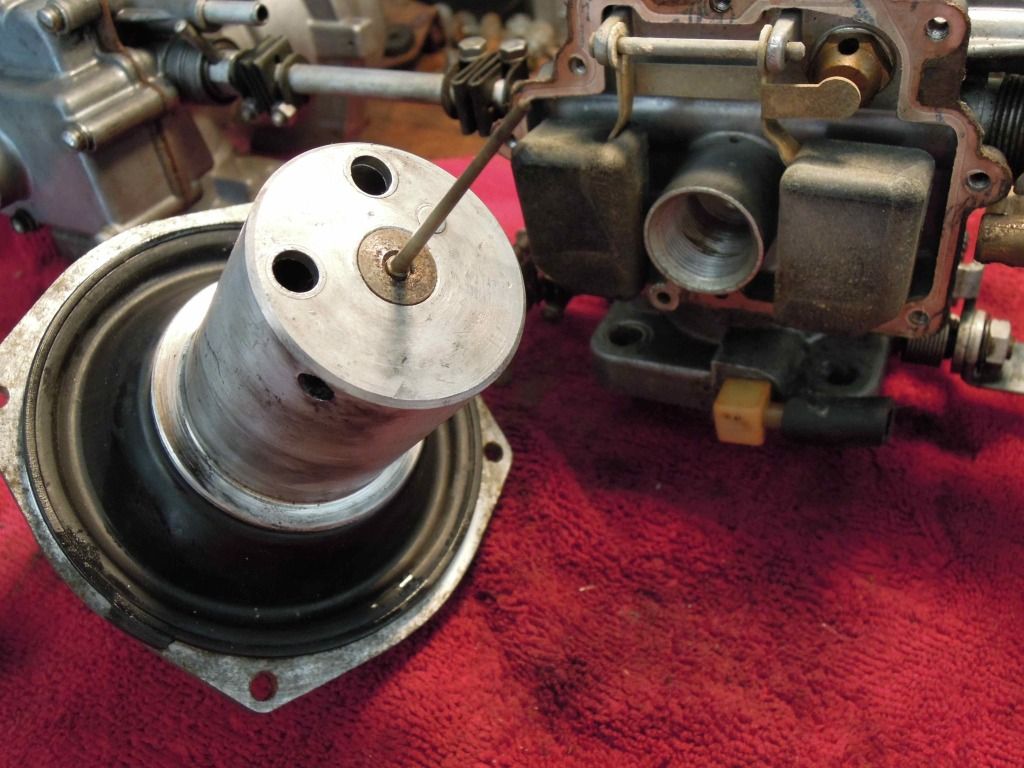
Finally got around to going through the carbs, before I put on any miles other than around the neighborhood,and it's probably a good thing. 13 years in the barn were not kind to them, even with less than 20k miles. I have a question about the "notch" in the bushing screw (1st picture.) I can't figure it makes any difference but thought I should ask.
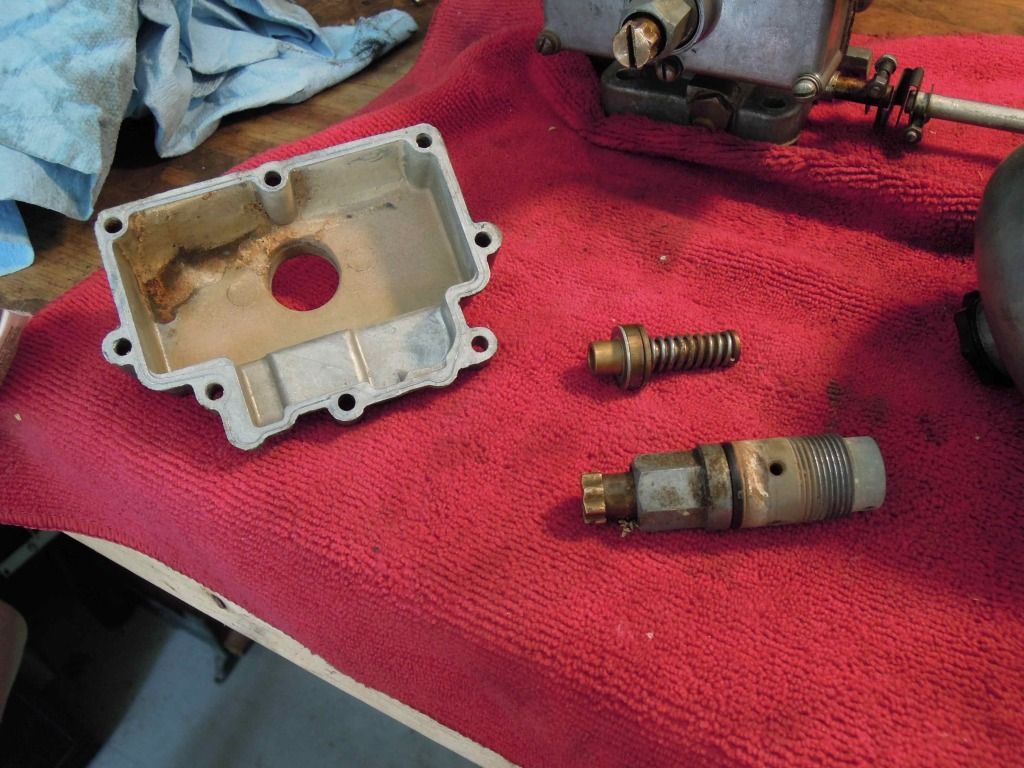
Before shot, everything is cleaning up well and all rubber seems ok.
Chunks that fell out during disassemble!
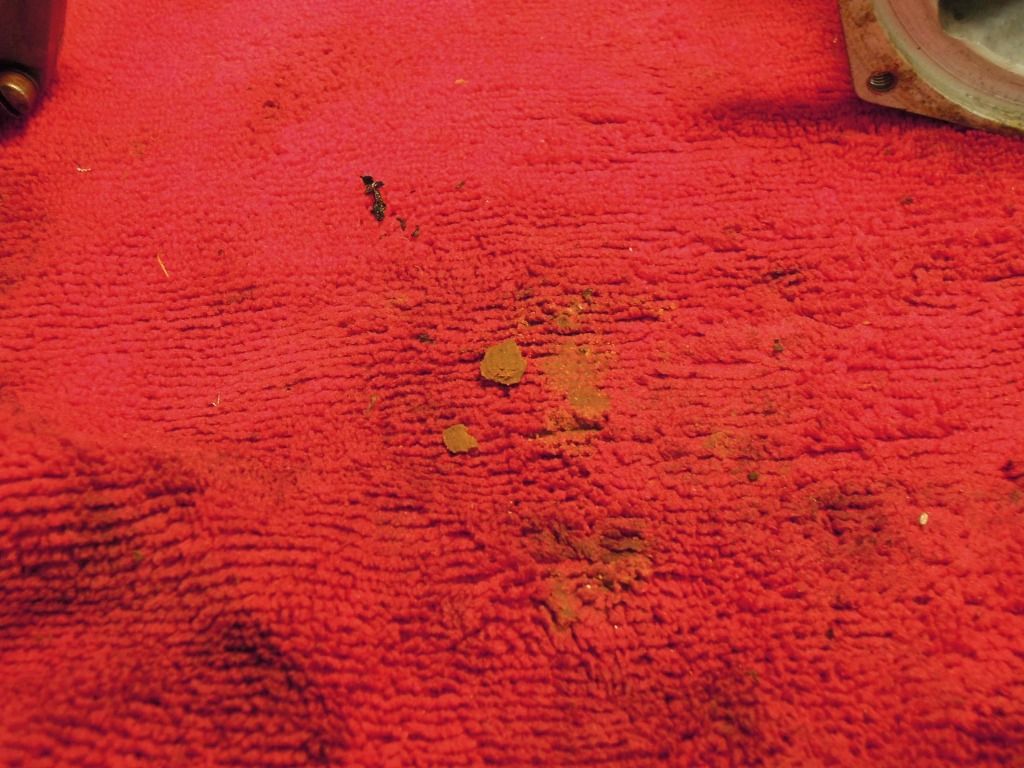
fine powder from the float chamber corner!

hopefully I'll get the other done today too.
Thanks
JD
Before shot, everything is cleaning up well and all rubber seems ok.
Chunks that fell out during disassemble!
fine powder from the float chamber corner!
hopefully I'll get the other done today too.
Thanks
JD