Hey Guest!


 Hey - did you know if you click on the title of a thread it will take you to the first unread post since you last visited that thread?
 but were afraid to ask:
  STOP!! Never post your email address in open forums. Bots can "harvest" your email! If you must share your email use a Private Message or use the
  smilie in place of the real @
 Pretty Please - add it to our Events forum(s) and add to the calendar! >>
M_Pied_Lourd
Darth Vader
Offline
Hi Guys,
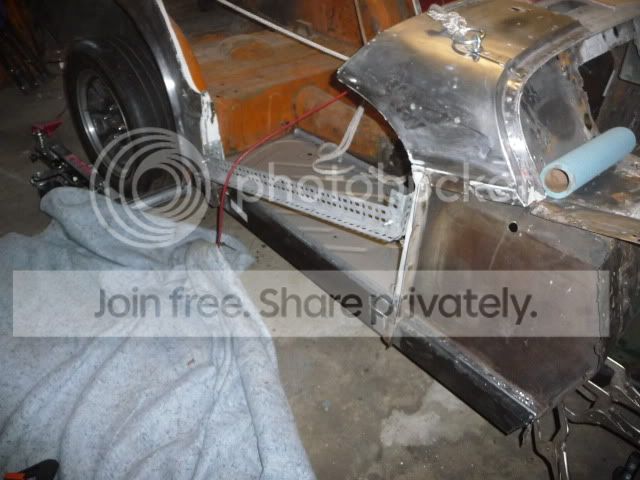
Looking for some advice on my inner sill replacement project on my 60 TR3A.
Here is where I am at
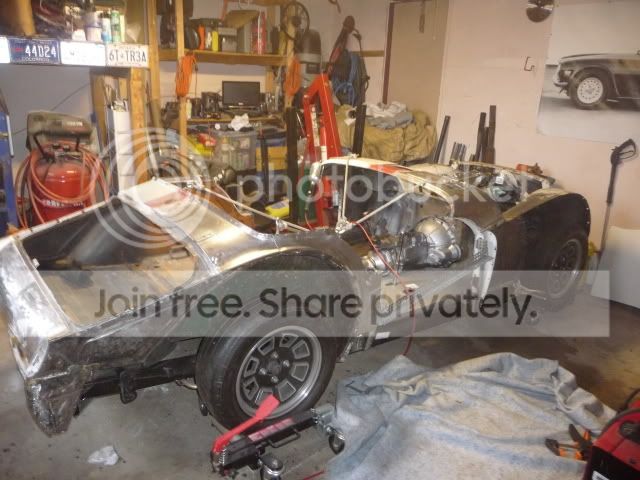
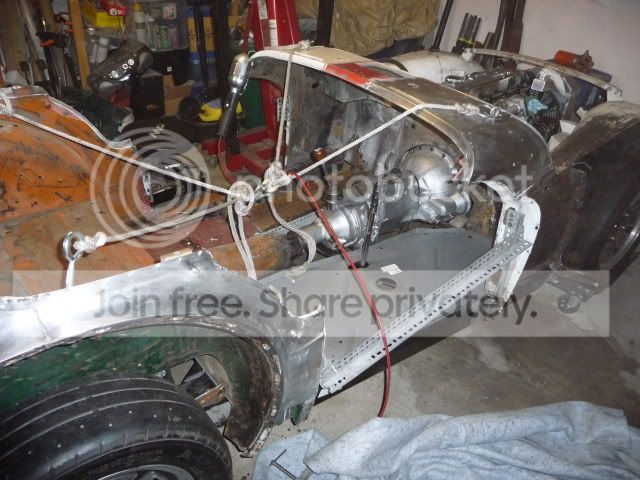
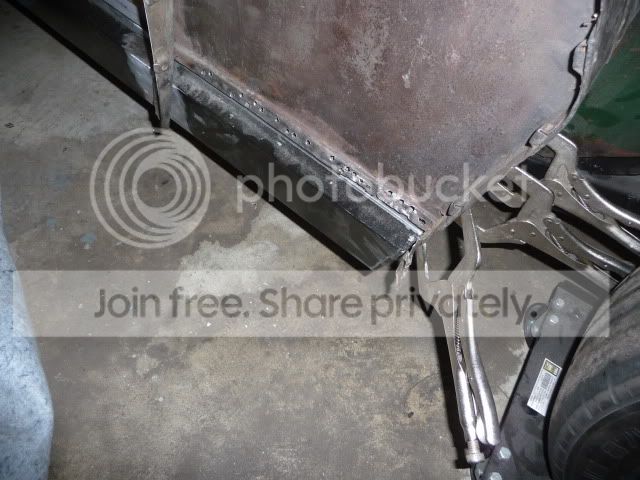
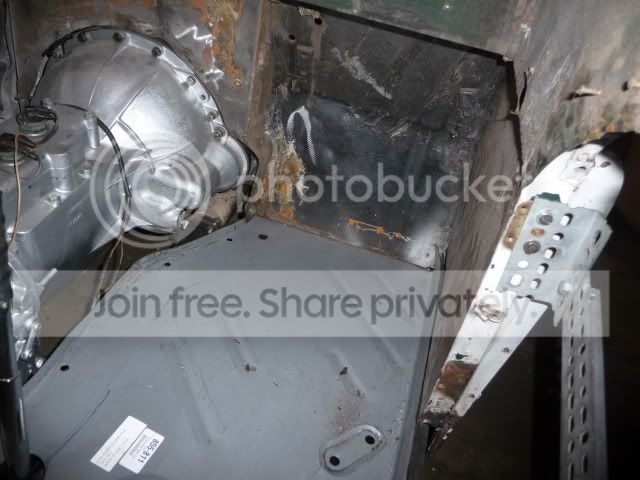
Doing one side at a time. I have removed the old floor and clamped the new one in place. I have removed both the old outer and inner sill. I made alot of reference marks and measurements of the old sill placement and transfered them to the new sill.
Question is this, should I bolt the new sill in place on the outriggers before I weld the A and B post supports? If this is recommended, I also assume that it would be with the correct amount of mounting pads in place on the outrigger?
Or options B, no bolts but just resting on the outriggers. Any help would be appreciated.
Cheers
M. Pied Lourd
Looking for some advice on my inner sill replacement project on my 60 TR3A.
Here is where I am at
Doing one side at a time. I have removed the old floor and clamped the new one in place. I have removed both the old outer and inner sill. I made alot of reference marks and measurements of the old sill placement and transfered them to the new sill.
Question is this, should I bolt the new sill in place on the outriggers before I weld the A and B post supports? If this is recommended, I also assume that it would be with the correct amount of mounting pads in place on the outrigger?
Or options B, no bolts but just resting on the outriggers. Any help would be appreciated.
Cheers
M. Pied Lourd