• Hey Guest!
    British Car Forum has been supporting enthusiasts for over 25 years by providing a great place to share our love for British cars. You can support our efforts by upgrading your membership for less than the dues of most car clubs. There are some perks with a member upgrade!

    **Upgrade Now**
    (PS: Upgraded members don't see this banner, nor will you see the Google ads that appear on the site.)
Tips
Tips

TR2/3/3A TR3A Dash Clamp Attaching Point

Tinkerman

Darth Vader
Offline
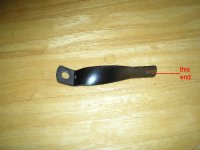
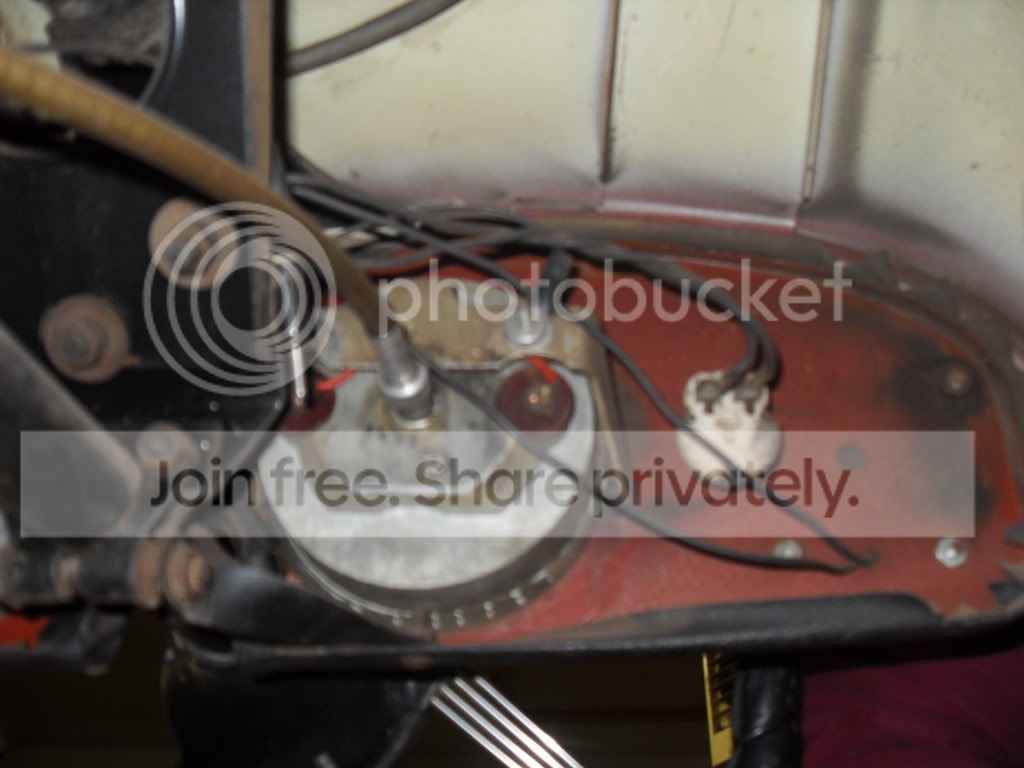
Afternoon all, I had a nagging thought while I was finishing and installing the dash. You know, one of those little things I knew I was forgetting but couldn't figure what it was. I KNOW now! I forgot all about the dash clamp. The one that attaches to the steering column. I know it attaches to the end of the rod brace but not quite sure about the dash end. Is it a spire nut fastened with a flat head slotted screw? Can't find a reference to it in the parts book so any help would be greatly appreciated.

Thanks, Tinkerman
 

Attachments

  • 21457.jpg
    21457.jpg
    95.7 KB · Views: 321
I just went out and looked at mine. There is a pan head machine screw, pointed up, and a nut on top of the brace, at the dashboard end of that thing. Be careful of excess length on the screw. It will foul the tach, if too long.

I kneeled in a wad of gum in the parking lot to check this out. Eeeww. Now I have to clean my knee.
 
Thanks Moses, sorry about the gum! An ice cube is usually a quick way to get gum off of things. I really appreciate the sacrifices you go to, to help us out :smile:

Dick
 
Here's a kinda blurry pick of what Moses was talking about.
dash017.jpg
 
Is that clamp also found on the early TR3s? I don't remember seeing one of those on mine.
 
I'm not certain, but I think it might have been added with the advent of the 'split' column. At least it wasn't on either of the solid column cars I've owned.
 
Thanks for the photo Eric, blurry or not it showed me what I needed to know. It will now go into my BCF tips file for future reference.
I'm happy to say that the dash clamp is safely installed and I am now ready for the instrument cluster and wiring harness! YEA!
Interestingly enough installing the dash answered some of the questions I had about steering column position,heater position and so on.

Cheers, Tinkerman
 
The only advise that I might give on the cluster is to use a wire nut to connect the bunch of black and red wires to a single wire and then attach them to their respective posts. I didn't but had see a picture of Don's and he had. It's a PITA to get them all into the holder and make sure that they are tight. I have before and after pics of the cluster if you need a reference. I printed one off enlarged used it as a guide for reattaching the wires, but I was only removing refurbishing and replacing not starting from scratch.
 
As a matter of fact Eric, You had mentioned that point in a previous question about the instrument cluster. I took your suggestion and went that route. A much easier way of handling that problem. Guess maybe they didn't have wire nuts in those days.
Have a question on another subject for you. I know from your pictures that you used the Martx jig on the dog leg capping. Do you recall what angles you used to make those cuts with?

Thanks, Tinkerman
 
No I questioned the same thing when I made it. I really just winged it. I put the leg against the board (3/4"ish) and marked where I thought that there were a few points that would touch it. I figured that I could adjust where I needed to, but it worked fine. Maybe Geo Hahn could give some dimensions or I'm sure that a number of people have done it by now. I took the jig idea a little further and used it on the door cap as well. That worked really well too as there are a number of steps involved. My only mistake there was that I thought it wold be a good idea to use a dowel to just slight ly protrude through the 3 holes in it. That worked really well till I got to the second one and had to move the dowel as the were not lined up due to being left and right sides. ( oh well)
cappings048.jpg

cappings054.jpg
 
Back
Top