• Hey Guest!
    British Car Forum has been supporting enthusiasts for over 25 years by providing a great place to share our love for British cars. You can support our efforts by upgrading your membership for less than the dues of most car clubs. There are some perks with a member upgrade!

    **Upgrade Now**
    (PS: Upgraded members don't see this banner, nor will you see the Google ads that appear on the site.)
Tips
Tips

TR2/3/3A TR3 Stick Cover Pics

CJD

Yoda
Country flag
Offline
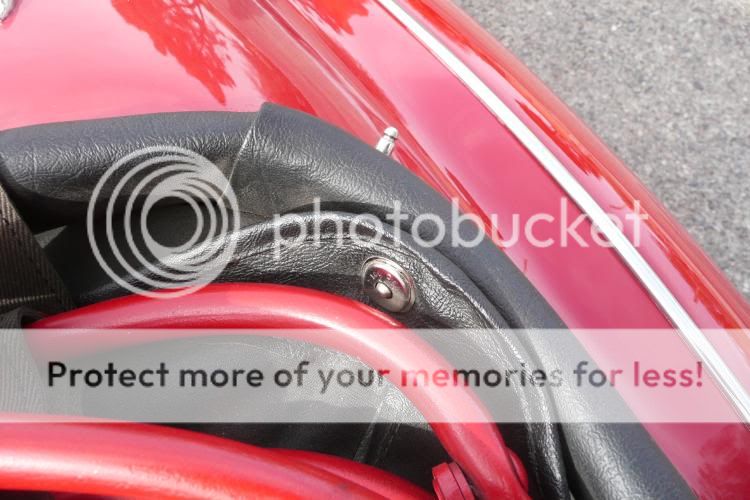
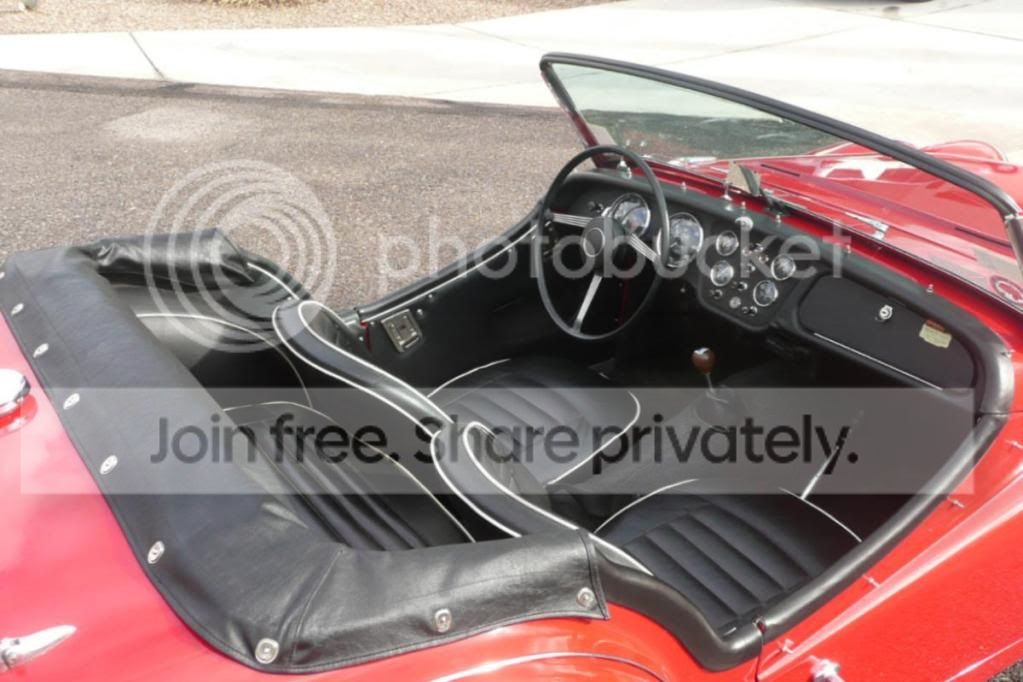
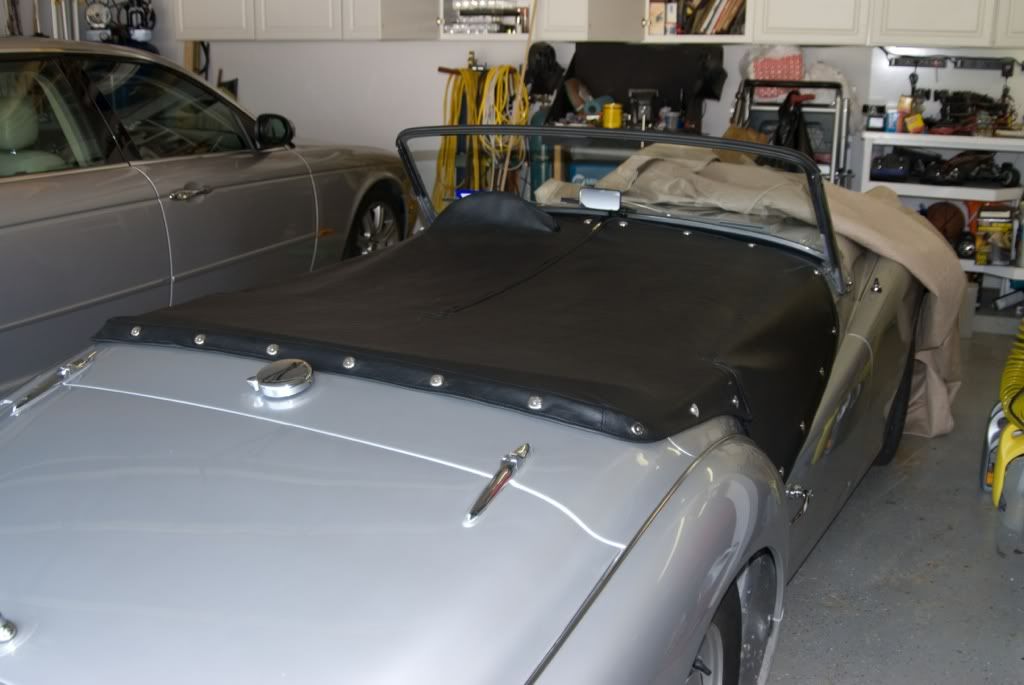
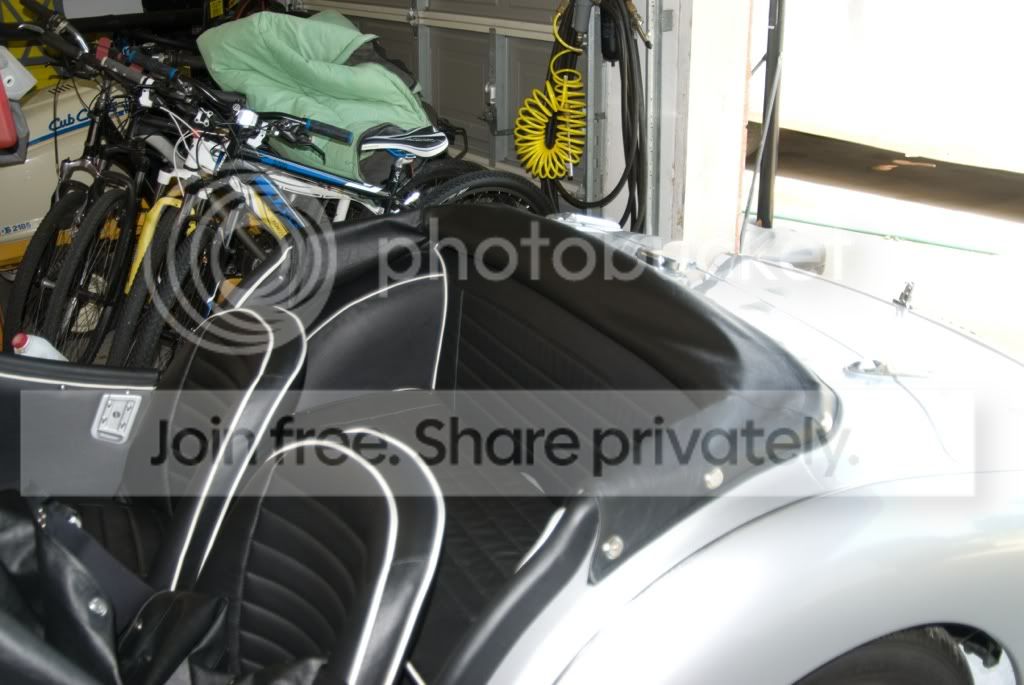
Last week I finally found a decent deal on an industrial sewing machine. I've been wanting one for my automotive upholstry for 25 years, so I'm excited.

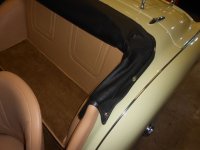
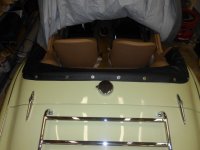
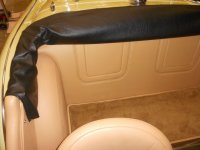
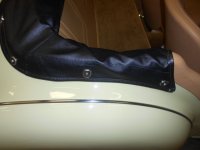
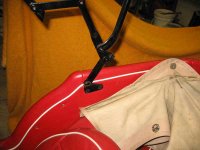
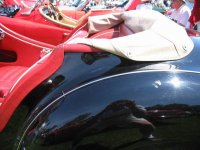
My first project was a new tannaugh cover, which was easy as I had the old cover as a pattern. Second project is a stick cover...which I don't have a pattern for. I've run several searches on the forum, but haven't had any luck.

So, if anyone has a chance to post any and all odd photos of a TR3 stick cover to give me an idea of how it looks/attaches, I'd really appreciate it.

Thanks!

John
 
Here ya go
#1
 

Attachments

  • 28258.jpg
    28258.jpg
    31.7 KB · Views: 536
Here's a tricky bit... there is a hidden LTD fastener that is upside down and goes on a peg on the inside of the capping:

StickCover1.jpg


Ends up like this:

StickCover2.jpg


In case you can't tell in the other photos, the forward point of the folded sticks go into a pocket at the front of the cover. This is important I think as it keep everything in place and not trying to fly in the breeze.

As fitted:

TS47905LInterior.jpg
 
See the original hood stick cover that came with my 1958 TR3A almost 54 years ago. This is a recent photo and it still looks like new.
 

Attachments

  • 28264.jpg
    28264.jpg
    26.9 KB · Views: 445
At one point during the life of the TR3A, S-T changed the peg to a higher position at the top of the dog-leg. Here is mine from my "early" 1958 TR3A (TS 27489 LO).
 

Attachments

  • 28265.jpg
    28265.jpg
    42.4 KB · Views: 454
John,

I don't have any pictures because I've never had my cover on my car. I've never even had the pegs on the car, to snap the cover. But I also have an earlier car with a hole positioned on the dog leg as shown. And I do have a cover that I got off ebay from a person who sold his TR3 without ever installing the cover on it (or so they say).

I'd be willing to mail you my cover for pattern development if you promise to get it back to me within a year or two. -maybe you could bring it to the meet in Galveston in October? PM if interested.

Jerry
 
Excellent response guys...thanks to Rusty, George, Don and JP for the pics and tips! Peter, thanks for the lead on material. I already went to Robbins and got the same material I used on the top, sidescreens and tannaugh. So I am set unless I screw it up!?! The Robbins material only comes in 57" rolls, but it turns out the length from dash to fuel cap is actually less than 57"...so the material fits in one piece, only sideways.

I'll have to figure out where the stud goes for the inner snap. That definitely was not obvious looking at the installed cover. My car didn't come with the stud installed. I assume it must be self tapping, as I don't see how you could get to the back to install a nut...unless the nut is welded?

Jerry, I really appreciate your offer to borrow yours. I'll play with some scrap material to see if I can make my own pattern, but if I get bogged down I will PM to take you up on it, and Galveston sounds like a plan!

Many thanks,

John
 
As I recall, I did not have that stud there but when I peeled off the covering (not original) the hole was still there. Do nnot recall type, I would have thought machine screw & nut.
 
Hi John/CJD,

Let me know if you are interested in sewing a spare one of these covers as I would be interested.

BobG
 
Hey Bob,

Let me see how badly mine comes out...I'm still learning to run a straight stitch with a machine that can run 500 stitches per second. I'm a bit behind the machine right now!!

John
 
OK, I finally got the job done. Had to build a table to go around the sewing machine, which took a couple weeks. Next I had to order more material and figure out needles and thread, and seam guides, and...well, you all get the picture.

Then I was in business, and started on the tonneau cover fist. It came out magnificently, except it was an inch too small...so let me know if anyone has need of a 95% sized cover!?! It turns out that, even though the original cover fit perfectly 2 years ago, it does NOT mean it fits today! It shrunk, so it became an undersized pattern. Oops!

Second try I used the car for a pattern so it fits.

0c0d1db7.jpg


Second job was the stick cover. Lesson learned on this one...never use good material while cutting a pattern. I got the job done, but went through ALL my spare material for a tiny stick cover. Here's the result

32ec4085.jpg


So now I'm taking a break from the machine. The freshness has worn off. Time to go on a road trip with the fancy new covers!!

John
 
nice work..They look very professional.. Did you end up saving $ making them instead of buying them?
 
Very nice work John it looks great, now side curtains, tool roll, and top.
 
Back
Top