• Hey Guest!
    British Car Forum has been supporting enthusiasts for over 25 years by providing a great place to share our love for British cars. You can support our efforts by upgrading your membership for less than the dues of most car clubs. There are some perks with a member upgrade!

    **Upgrade Now**
    (PS: Upgraded members don't see this banner, nor will you see the Google ads that appear on the site.)
Tips
Tips

TR2/3/3A TR3 Fuel Gauge

martx-5

Yoda
Country flag
Offline
The fuel gauge in my TR3 is not the original Jaeger type, but a Smiths that I picked up somewhere many years ago, as my original gauge was no working. The Smiths gauge works, but it doesn't read correctly and the gauge face is not correct for the TR3. I'll post a pic of it later and maybe someone can identify it. Anyway, I bought a gauge from fleabay and it works, but I'd like to fine tune the calibration. I was reading this article from the MGA guru guy, and he uses 0-70 ohms as the basis for calibration. I seem to remember something different for the TR3s.

What is the correct ohm range for the tank unit on a TR3??
 
If you are going to go to all that trouble, Art, why not measure your own sender? I'm sure there is at least some variation from unit to unit.
 
Yeah, but that means ripping it out of the tank, or can you get to it with a coat hanger or something through the fuel filler??
 
This was discussed recently on the UK "TR Register Forum" and about 5 or 6 owners reported zero to 5 ohms when the tank was empty and 80 to 100 ohms with it full.
 
martx-5 said:
or can you get to it with a coat hanger or something through the fuel filler??
That's what I did, long time ago. Straighten the hanger except for the hook, then fish through the opening until you snag the float lever. Pull it up until it stops, then bend the hanger to hold it in place.

Or, you could just go buy a tank of gas ...
grin.gif
 
OK, I fished around in the tank and was able to pull the float up and got a reading pretty close to 90 ohms. I checked the gauge I bought with a few 47 ohm resistors, and it was real close in it's readings so I left it alone. I'm in the process of re-installing.

BTW, here's a picture of the gauge I took out. It's a Smith's, and originally had a red pointer which I painted white. Does anyone know what this might fit??
 

Attachments

  • 21511.jpg
    21511.jpg
    48.9 KB · Views: 1,003
I don't know what that is from. Mine (pictured) is supposed to be from an early TR4, but I seem to remember the graduations differently in my brothers TR4 -a long time ago. Most specifically, the "F" read "4/4", which I always thought was cool.
 
Art,

What are the numbers at the top of your gauge?

Texas,

That is an early TR4 fuel gauge according to Limora's listings.

serial no. BF2301/00
TR4 RHD to CT15053, TR4 LHD to CT11307


Scott
 
HerronScott said:
Art,

What are the numbers at the top of your gauge?


Scott

X.49422/219

EDIT: The gauge I bought off of ebay has a number up top almost identical to the one pictured above, however the face is like that of a TR3.

X.49422/220 PG.163 ...What does that come from???
 
FuelFace.jpg

Art,
This is what the correct fuel face for your 3 looks like.
The fuel sender (Smiths model FT3331/02) has a range of
4 Ohms (empty) {actually, 1 gallon} to 89 ohms full. There is a variance of about +/-5 ohms from sender to sender on the full measurement. I use a 0-100 ohm potentiometer to calibrate
the gauge on the bench so I don't have to mess with the "dipstick" method.
If you post the number at the top of your gauge, I can probably get you the info as to where it's from.
Hope this helps.
FRank
 
Art,

Looks like that was used in at least an Austin-Healy 100 if this site is accurate.

Austin-Healy 100 Gauges

I found one other list which shows it being used in the Austin-Healy 100 BN1-2 from 1953-1956.

Scott
 
Yeah, the Healy 100 gauge they show has the same numbers also. Thanks. I've got some stuff that will eventually go up on e-bay, and the gauge one of them now that I know what it fits.

Also, as I edited my post above, the gauge I bought from e-bay has almost the same number as the Healy gauge...but it's a Jaeger , not Smiths.

X.49422/220 PG.163 ...it's supposed to have come from a TR3...at least the face looks like TR3, and it works fine over the 90 ohm range.
 
Art,

Limora shows that as a TR3 fuel gauge as well.

serial no. X.49422/220 PG163 or FG2530/20

The FG2530/20 came later although they don't show when the change occurred.

Scott
 
Hi all it is interesting that I am just starting to work on my fuel gauge and see that Art is working on his also. Could some help me figure out where to start on my fuel gauge? For example, when you are checking with the ohm meter do you take the reading right at the sending unit across the two poles. Do you have to unhook the ground at the sending unit? I am new at this phase of repair. I do have another old fuel gauge somewhere. The fuel gauge on this project I took apart and cleaned and the sender I just cleaned the outside. I carefully put the guts back in the gauge and I have read the MGA article. What happens is when I turn the key on the needle moves just fuzz. The vehicle has perhaps 4 gallons of fuel and must be out of calibration most likely by me .
Steve
 
For the reading Art is talking about, you should measure right at the sending unit, with the wire to the gauge disconnected.

While you are at it, makes sure there is a ground wire for the sender; I'm not sure if the factory provided one or not but it seems to be missing on most cars and the tank itself may or may not be grounded well enough to make the gauge work properly.

Same goes for the gauge; IMO it's worthwhile adding a ground wire for it. You can see mine in this shot, although it has already been disconnected from the ground lug next to the gauge.

Ammetershunt1.jpg
 
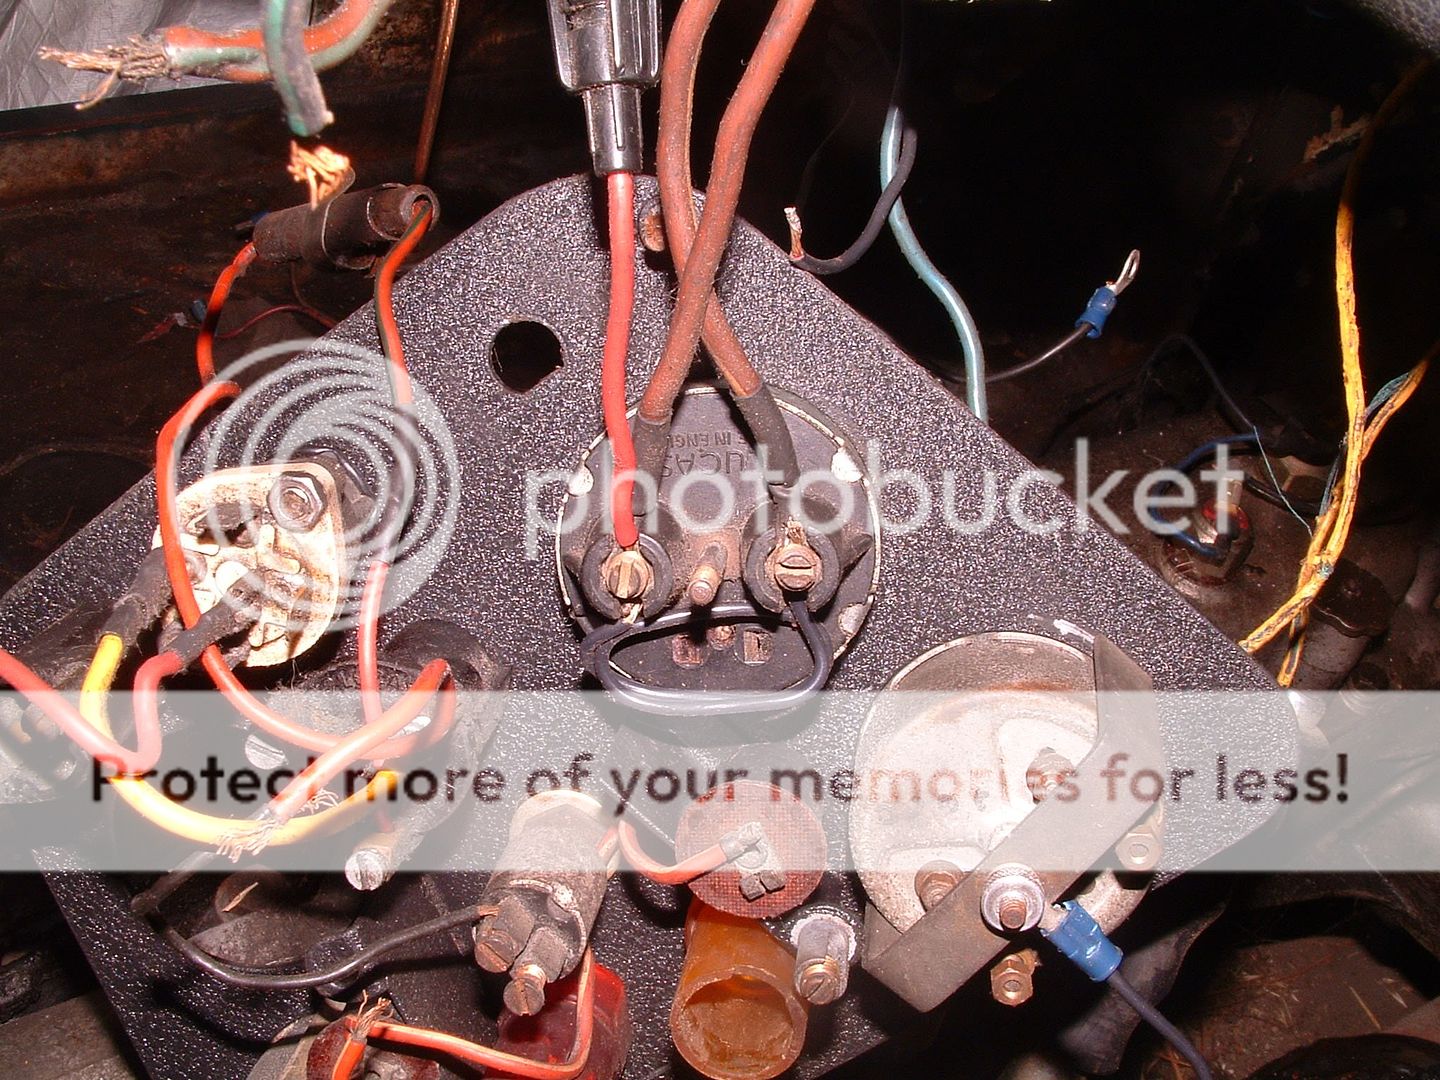
You can get an ohm reading from the sender. It's the Green/Black wire coming from the tank. Hook the ohmmeter to that wire and to ground. That will tell you what the tank sending unit is seeing.

Yesterday when I was messing around, I got a reading from the sender of 5 ohms, which just barely moved the needle from "E" on the gauge...as to be expected. However, when I put a stick in the tank, I had almost four inches of gas registering on the stick. That's about the amount that's in that smaller, lower section of the tank. I don't know how much gas that section holds. I also have an new sender (not original), so there may be a difference in the actual swing on the float. I have a feeling that the new sender doesn't dip down into that section very deep.

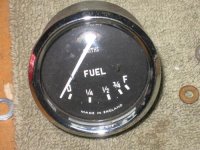
As far as checking the gauge accuracy itself, the MGA article is very good, but the TR's use a 0-90 ohm sender rather then the 0-70 ohm sender as cited by the MGA guru. To check the gauge you can use a few 47 ohm resistors (available at radio shack in a pack of five for a buck). In addition, you'll need a 12V battery or small 12V battery charger. Hook one lead from the battery to the terminal marked "B" on the back of the gauge, and the other to the gauge case...the stud in the middle works fine. The gauge is not polarity sensitive, so positive or negative ground will work. When you first hook the battery up, the needle will peg to full. Then you can use the 47 ohm resistors to see how well the gauge is working.

Hook the resistors from the other gauge terminal...the one marked "T" for tank to the ground stud.

Two 47 ohm resistors in series (about 90 ohms) will read as a full tank.

One 47 ohm resistor will read as 1/2 a tank.

Two 47 ohm resistors in parallel (about 24 ohms) will read as 1/4 tank.

Also, make sure that you have the gauge in the normal orientation during the tests.

Hope this helps...
 
TR3Tanksender-1.jpg


Art, This is what the OE tank sender looks like from the outside. As you can see, a grounding hex nut was provided; the (black) wire ran to the frame. Most aftermarket senders do not provide that nut, so you have to use one of the mounting screws to establish a chassis ground.
On the gauge side however, there was no hard wire to ground; The fuel gauge mounting clamp was to provide the ground to the (unpainted) facia back, which was hard wired to the frame from the stud next to the fuel gauge. Definitely an engineering error. After numerous complaints from TR owners about faulty fuel gauges, Standard issued a tech bulletin saying to remove the gauge, scrape the bare metal clean where the clamp meets the facia & re-assemble. They could have just as easily run a wire from the clamp to the frame, but no!!! Randall's idea of the separate ground wire is the only way to go.
Scott's comment about your "X." and "FG" being the same gauge is true. None of the Smiths catalogs that I've seen make any mention of X. part numbers. It's my GUESS that the initial orders from the (Standard & Healey) factories were for a small run & then when it was decided to make a bunch of them (80,000+ for Triumph), Smiths assigned it a regular part number.
Using the 47 ohm resistors is a good way to check the gauge for accuracy, but be very careful if you are going to tackle adjusting the calibration. The internal wiring (coils) are the thickness of a human hair and rupture easily.
Frank
 
Back
Top