I got keyed in by Hoyt that I never really followed up on this thread. Here is the finale:
This is the 2X8 that I slit to paint the beading. It has to be 6' long, as the longest bead on the TR2 is along the rear wing and is 70".
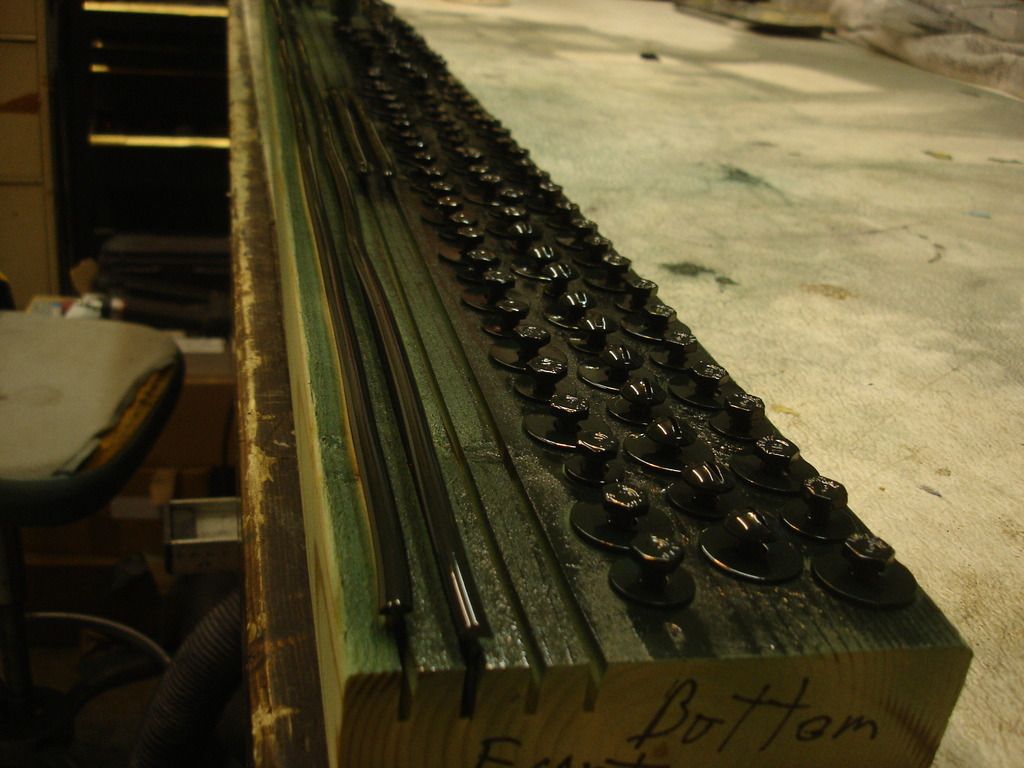
Here is the holder with the painted parts. I rounded the top edges of the beading using a dremel sanding drum. I also pre-cut the reliefs for the bolts in the wings. After the work to cut the reliefs, I can see why Triumph moved away from the plastic beading. It is a pain!
I used plasticizer both as an adhesion promoter on the bare beading, and then a small amount in the PPG DBC color and DCU 2002 clear. My fear was that the paint could crack when bending the dried paint around the wings. In hind sight...I don't think cracking will be a problem so long as you install the painted beading to the wings in a reasonable time...like within a month, I'd guess.
The installation was not difficult. You must start at one end (I always start rear), and move forward, pressing and holding the beading as you snug the next bolt in turn. If you overtighten, the beading gets distorted. You learn that snug is enough...that part is very different from the metal beading, where the torque on the bolts makes no real difference to the beading.
I was looking for a pic of the Woolies beading. I'll post if I find one...but it is pretty identical to the previous pics you guys posted for plastic beading. It is just black.

 Hey Guest!

 Hey - did you know if you click on the title of a thread it will take you to the first unread post since you last visited that thread?
 but were afraid to ask:
  STOP!! Never post your email address in open forums. Bots can "harvest" your email! If you must share your email use a Private Message or use the
  smilie in place of the real @
 Pretty Please - add it to our Events forum(s) and add to the calendar! >>