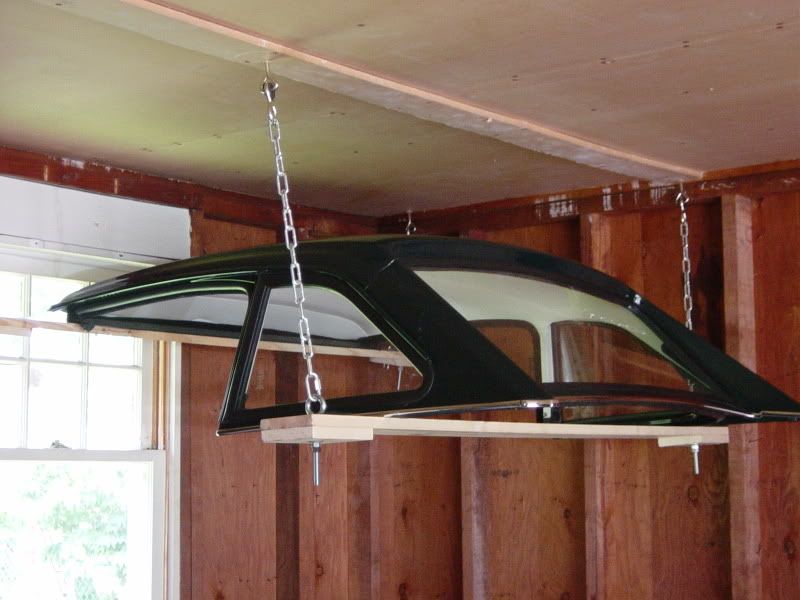
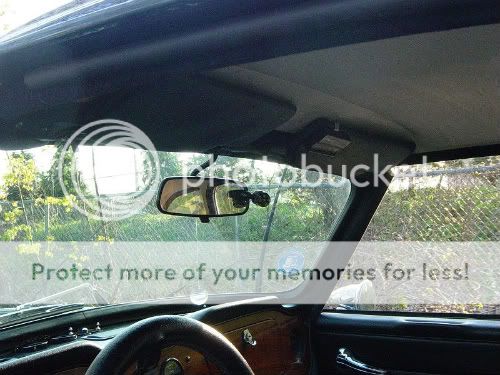
Steve, do I remember correctly that you were working on a hardtop also? I can't remember if it was you I exchanged information with or not.
What I did was to carefully remove what was left of the brittle old headliner from the top I'm restoring. I took notes and pictures of how the top was installed and how it was stitched together. I removed the bows and marked them for position. Then I cut the stitches (one at a time) until the entire top was apart in pieces. There are 4 horizontal panels across the top, 3 tubes for bows, two vertical extensions for the rear pillars, and two separate pieces for what will be the "B" post/column covers.
I spread the old panels out one at a time and traced them using pencil on the back side of my new vinyl . Where the panels need to be glued to the hardtop openings/flanges I marked a cut line 1-1/2" further out. (From past car headliner installs I found it was good to have excess material at openings as this can always be trimmed away). I cut the new vinyl pieces out then folded them in half to make sure they were symmetrical about the centerline, trimming as necessary until they were symmetrical. I also marked where the centerline was so I could orient the panels (relative to each other) when they were stitched together. All marking was done on the back side of the vinyl and only using pencil so it wouldn't bleed through.
After that it was simply a matter of pinning or clipping the panels together in the correct order and stitching them one at a time. Once they were together I made the tubes for the bows and stitched them onto the seams for the ceiling panels. All the seams were stitched the same distance from the cut edge of the vinyl as the original headliner pieces. The vinyl will stretch a tiny bit so if anything you want the panels just a bit smaller than the ones you remove and copy.
I used a heavy 100% polyester thread. The vinyl was from an eBay vendor selling "false punched" marine vinyl. The false punch gives the impression of the vinyl having a regular series of holes when in fact all that's there are dimples. It will look good for the headliner but it will not be good for surfaces like the horizontal trim panel below the rear glass. My total expenditure in materials was perhaps $27 and I spent at least 8 hours dissecting the old headliner and sewing the new one. When you decide to do this you have to weigh the value of your time as a new purchased headliner is currently around $140.
I painted the top last weekend. When I'm finished addressing minor issues with the paint I'll fit the headliner and then I guess I have to bite the bullet and order a bunch of seals from Nigel.

 Hi Guest!

 smilie in place of the real @
 Pretty Please - add it to our Events forum(s) and add to the calendar! >>


