Hey Guest!


 Hey - did you know if you click on the title of a thread it will take you to the first unread post since you last visited that thread?
 but were afraid to ask:
  STOP!! Never post your email address in open forums. Bots can "harvest" your email! If you must share your email use a Private Message or use the
  smilie in place of the real @
 Pretty Please - add it to our Events forum(s) and add to the calendar! >>
Banjo
Yoda
Offline
I have the TR4A tranny I'm going to use on my TR2 at work, and have been tinkering on it when I have the odd few minutes here and there. So far, I've opened it all up, inspected the internals, made a list of parts (thankfully just gaskets and seals) and cleaned it all up.
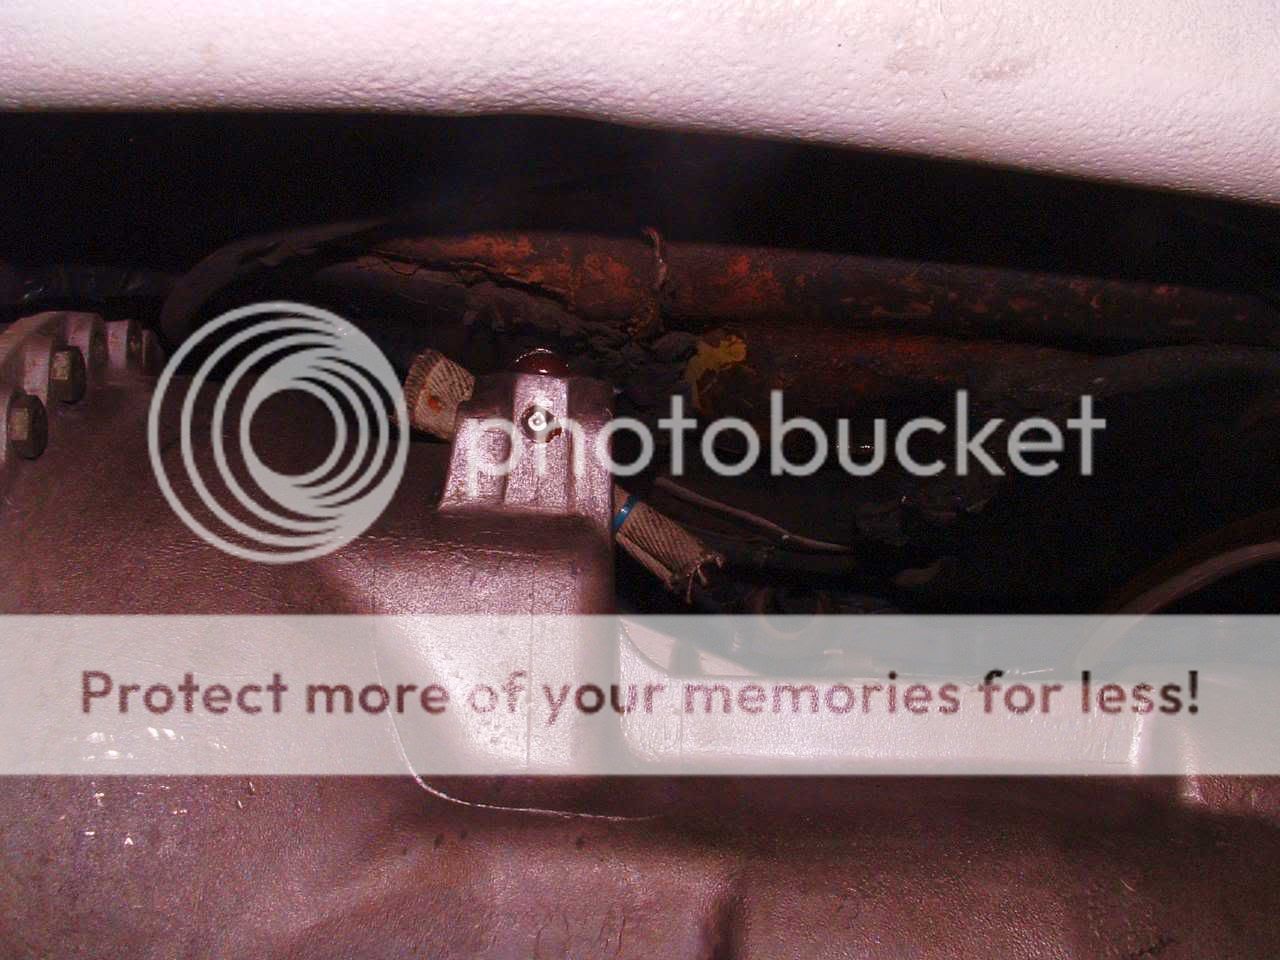
Today I decided to take the clutch rod and fork out to inspect all that stuff. Guess what I found? The classic TR clutch problem. The head of the fork pin came out, leaving the rest of the long-ago broken pin jammed up in the rod, and keeping the fork loosly stuck on the rod. Biggest thing is, you can't get a straight shot on the hole where the pin is.
Tomorrow I'm gonna inspect the rod closely for wear. If it needs replacement, it's gonna get hacked off! if not, I'm thinking of drilling a small hole in the fork from the top, and seeing if I can tap the pin out that way. Or drilling a hole in the bottom of the bell housing so I can get at the pin that way (But I think I'd rather replace the rod first).
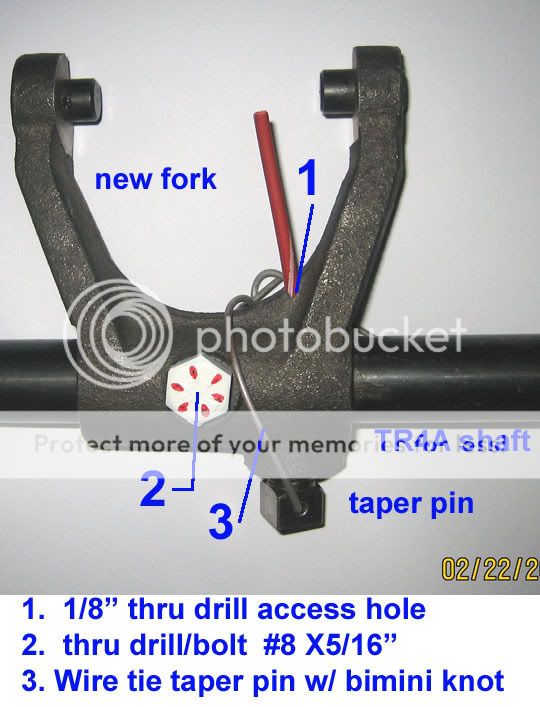
I'll definatly be adding an extra bolt or pin on re-assembly Like Roger Williams suggests in his book.
Just thought I'd share the fun. hehehehe
Today I decided to take the clutch rod and fork out to inspect all that stuff. Guess what I found? The classic TR clutch problem. The head of the fork pin came out, leaving the rest of the long-ago broken pin jammed up in the rod, and keeping the fork loosly stuck on the rod. Biggest thing is, you can't get a straight shot on the hole where the pin is.
Tomorrow I'm gonna inspect the rod closely for wear. If it needs replacement, it's gonna get hacked off! if not, I'm thinking of drilling a small hole in the fork from the top, and seeing if I can tap the pin out that way. Or drilling a hole in the bottom of the bell housing so I can get at the pin that way (But I think I'd rather replace the rod first).
I'll definatly be adding an extra bolt or pin on re-assembly Like Roger Williams suggests in his book.
Just thought I'd share the fun. hehehehe