Been there....
...done that!
I spent a whole day restoring and calibrating the temp gage. Then, the bone head that I am, I forgot to top off the coolant after changing the water pump. Same thing...the gage pegged right and stuck. It's a simple gage, and what happens is the needle gets pushed off the diaphragm. All you have to do is position it back on, but the catch is the gage does have to come apart to do it. I'll give you 2 options that I know of to fix it.
Here is option one. Remove the gage and the temp probe from the car, and fix it by the kitchen stove: (scroll down to post #100)
https://www.britishcarforum.com/bcf/showthread.php?94885-Instrument-Faces/page3
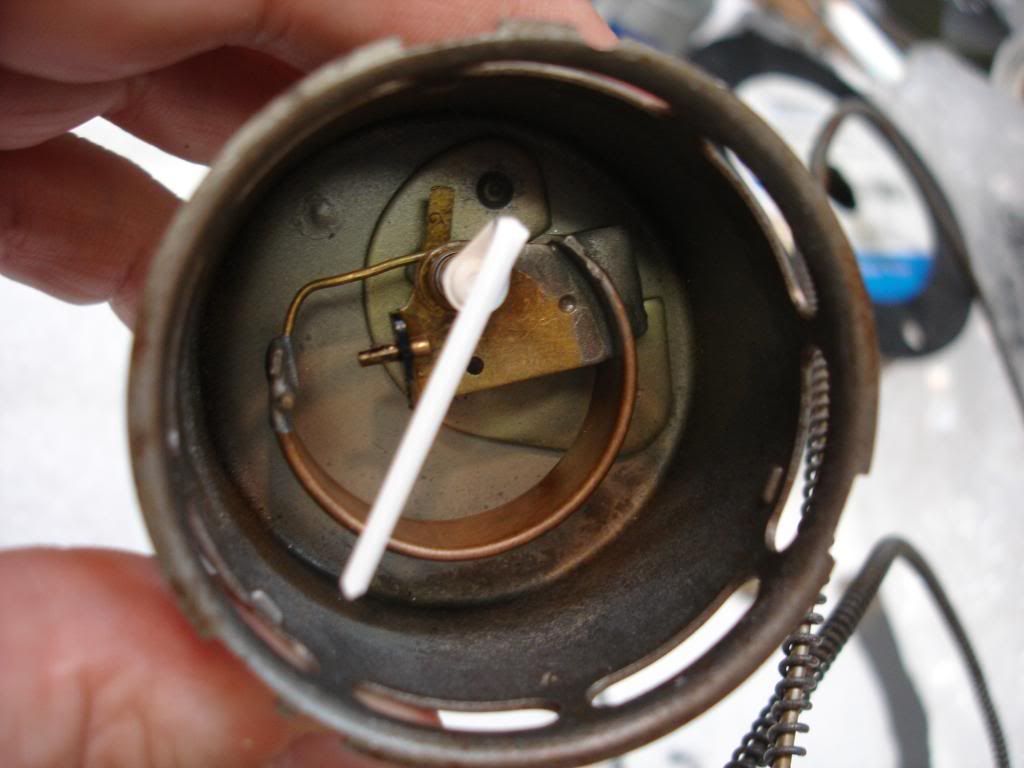
You can see the inside of the gage in the above post. It uses a brass bellows to measure ether pressure within the capillary tube. You have to bend the wire at the end of the bellows to re-engage the arm on the back of the needle. Once back in place, then you must calibrate the gage as described in the post.
Now, option 2. I did not feel like removing the entire capillary tube from the car when I pegged the gage...so I did it in place! I removed the screw from the back of the gage and pulled it a few inches outward so I could work on it. The chrome bezel can be turned by hand (with some effort) and it pops off, allowing the glass, seal, and instrument face to come off with it. That gives you access to the internals of the gage. Now, I removed the temp probe from the thermostat housing and freed enough capillary to bring it to the side of the wing. At this point I calibrated the gage by running back and forth with a pot of boiling water. The boiling water is 212 degrees at sea level. The temp here in Texas was 90 degrees ambient. So, by alternating between the boiling water and ambient I eventually got the gage set correctly by adjusting where and by how much the bellows contacts the needle arm.
I guess option 3 would be to do option 1 and mail the gage to Nisonger?!?

 Hey Guest!

 Hey - did you know if you click on the title of a thread it will take you to the first unread post since you last visited that thread?
 but were afraid to ask:
  STOP!! Never post your email address in open forums. Bots can "harvest" your email! If you must share your email use a Private Message or use the
  smilie in place of the real @
 Pretty Please - add it to our Events forum(s) and add to the calendar! >>
