This seems to be my motto as of late in my grand plans to bring MG Noir back out on the road. It's been sitting idle over 4 years after being a daily driver in San Antonio.
A few pictures to share, starting with some before pictures. Not BAD bad mind you, but pretty filthy, and the PO just loved to put paint on everything it seems...
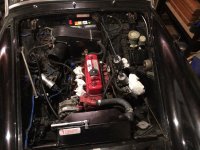
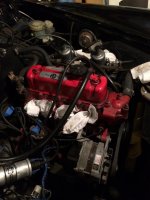
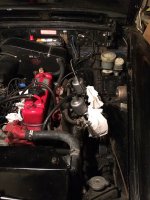
First up was the cheap thrills of wire brushing & sanding off the paint (and rust) on a few items. I definitely am liking that shiny look, and contemplating some POR15 clear coating on the thermostat housing, water pump and radiator lower tube. The intake manifold (not pictured) also got the works so it's also a candidate. For one thing, it's a lot easier to see stuff down there when it's shiny & contrasts with the black interior! New gaskets and stainless hardware for everything that I can as I go as well.
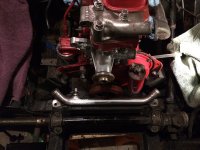
Here's a bit that needs some help. I removed the heater valve and polished it up. I also lapped (if you'd call it that) the bottom of the valve flat on a file, which ought to stop the leaking. It was a bit high on the center and I can see how it would have leaked.
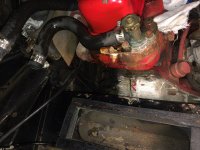
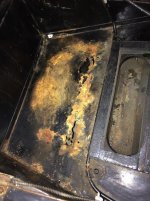
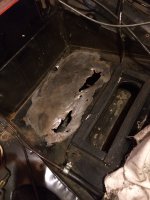
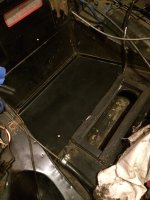
Also the battery tray needed some help. Not horrible, but still not perfect. Here's the sequence, including original, cleaned up, and a new replacement tray in place. I forgot to take a picture of it, but I put some pop rivets in to hold it in place.
Here's what's coming up. I picked up both a front suspension rebuild kit as well as a front brake kit, so this will all be purdy some day...
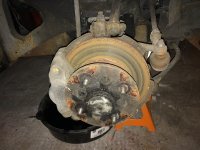
I probably oughta get that engine back together first though so I don't forget what went where
A few pictures to share, starting with some before pictures. Not BAD bad mind you, but pretty filthy, and the PO just loved to put paint on everything it seems...


First up was the cheap thrills of wire brushing & sanding off the paint (and rust) on a few items. I definitely am liking that shiny look, and contemplating some POR15 clear coating on the thermostat housing, water pump and radiator lower tube. The intake manifold (not pictured) also got the works so it's also a candidate. For one thing, it's a lot easier to see stuff down there when it's shiny & contrasts with the black interior! New gaskets and stainless hardware for everything that I can as I go as well.

Here's a bit that needs some help. I removed the heater valve and polished it up. I also lapped (if you'd call it that) the bottom of the valve flat on a file, which ought to stop the leaking. It was a bit high on the center and I can see how it would have leaked.

Also the battery tray needed some help. Not horrible, but still not perfect. Here's the sequence, including original, cleaned up, and a new replacement tray in place. I forgot to take a picture of it, but I put some pop rivets in to hold it in place.


Here's what's coming up. I picked up both a front suspension rebuild kit as well as a front brake kit, so this will all be purdy some day...

I probably oughta get that engine back together first though so I don't forget what went where

 Hi Guest!

 smilie in place of the real @
 Pretty Please - add it to our Events forum(s) and add to the calendar! >>
