• Hey Guest!
    British Car Forum has been supporting enthusiasts for over 25 years by providing a great place to share our love for British cars. You can support our efforts by upgrading your membership for less than the dues of most car clubs. There are some perks with a member upgrade!

    **Upgrade Now**
    (PS: Upgraded members don't see this banner, nor will you see the Google ads that appear on the site.)
  • When posting a classified ad, you MUST select a prefix from the drop-down next to the subject line. If you don't you will get an error and your ad will not be posted!
Tips
Tips

Putting the clutch master cylinder back together

tdskip

Yoda
Country flag
Offline
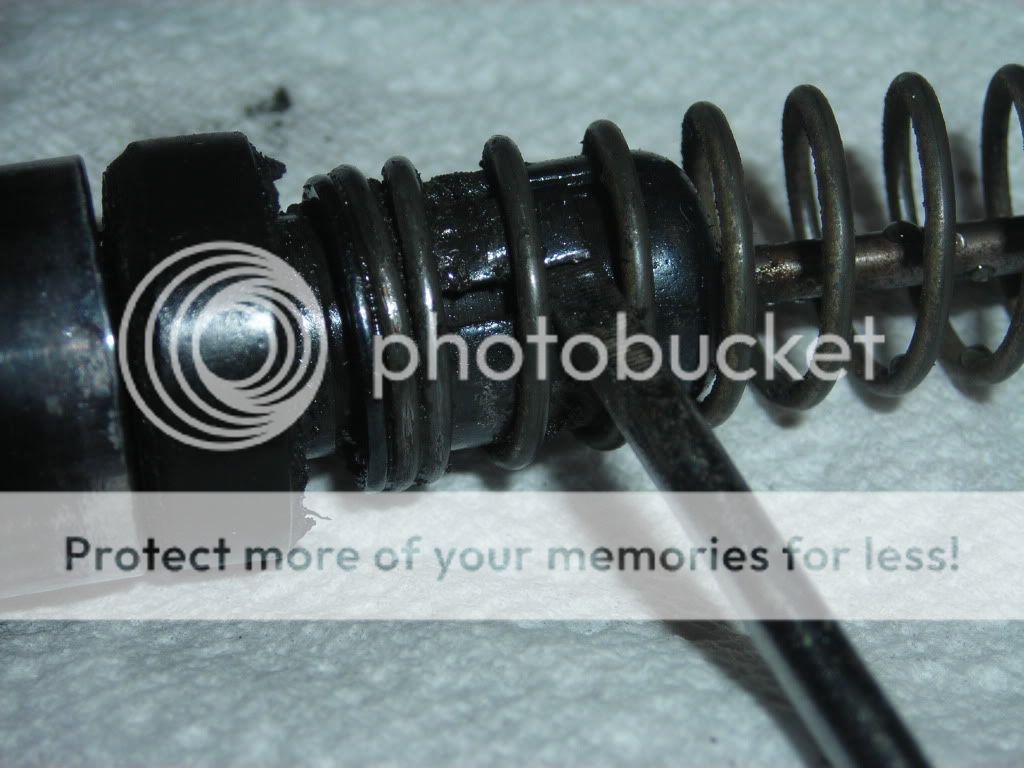
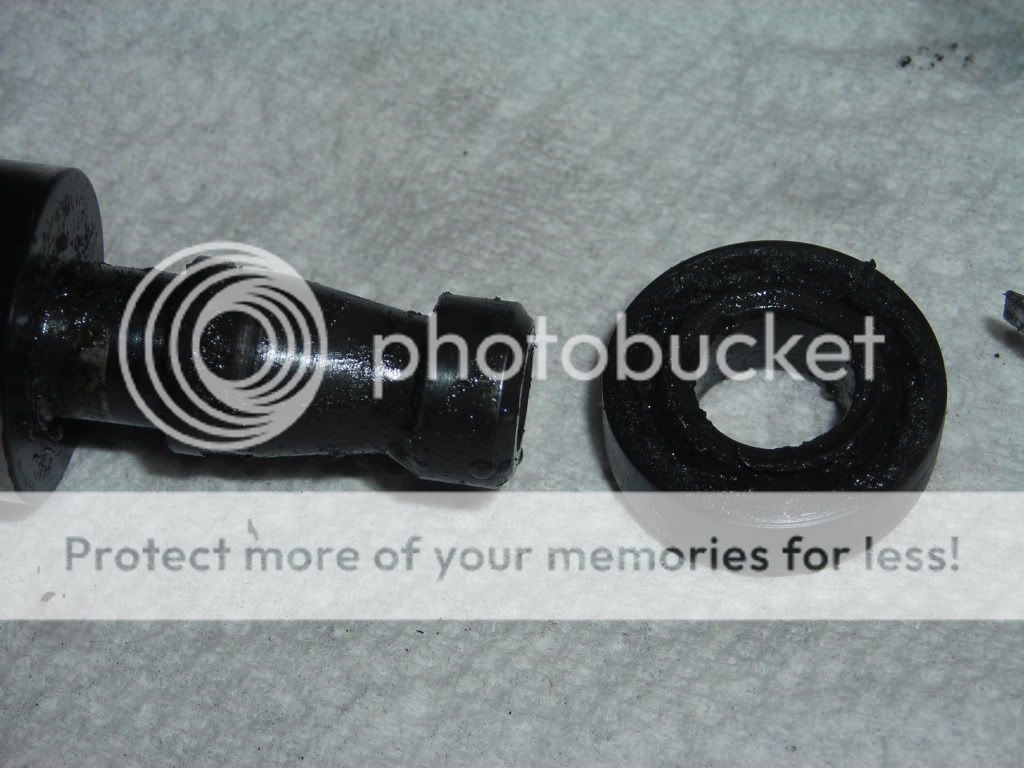
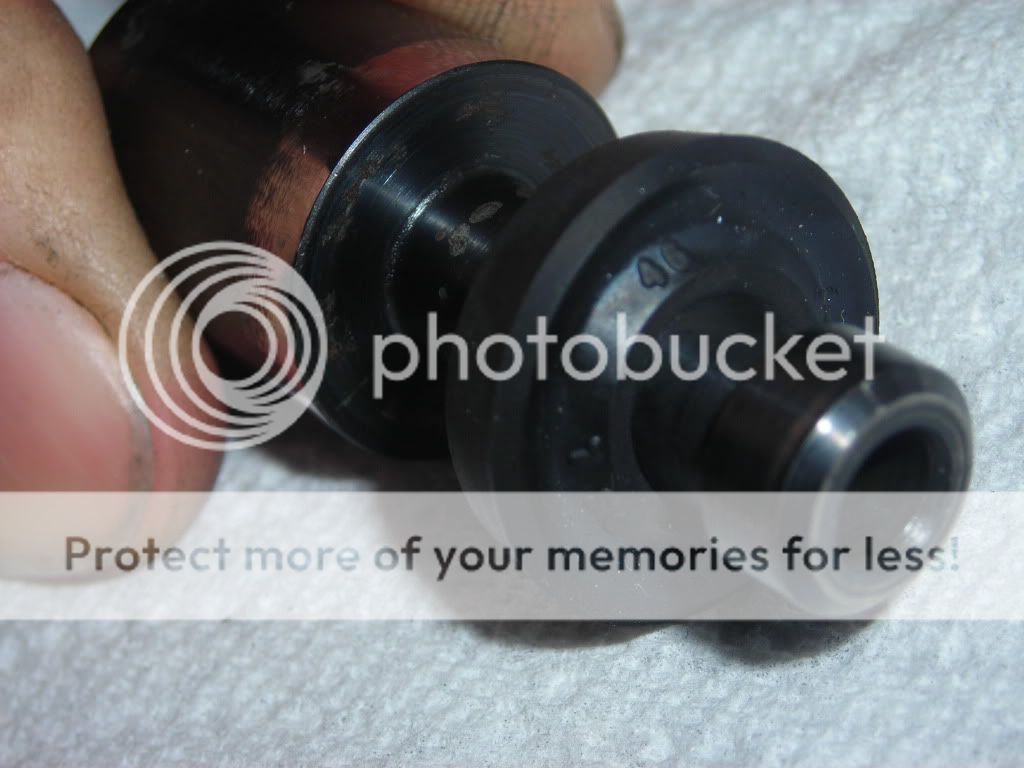
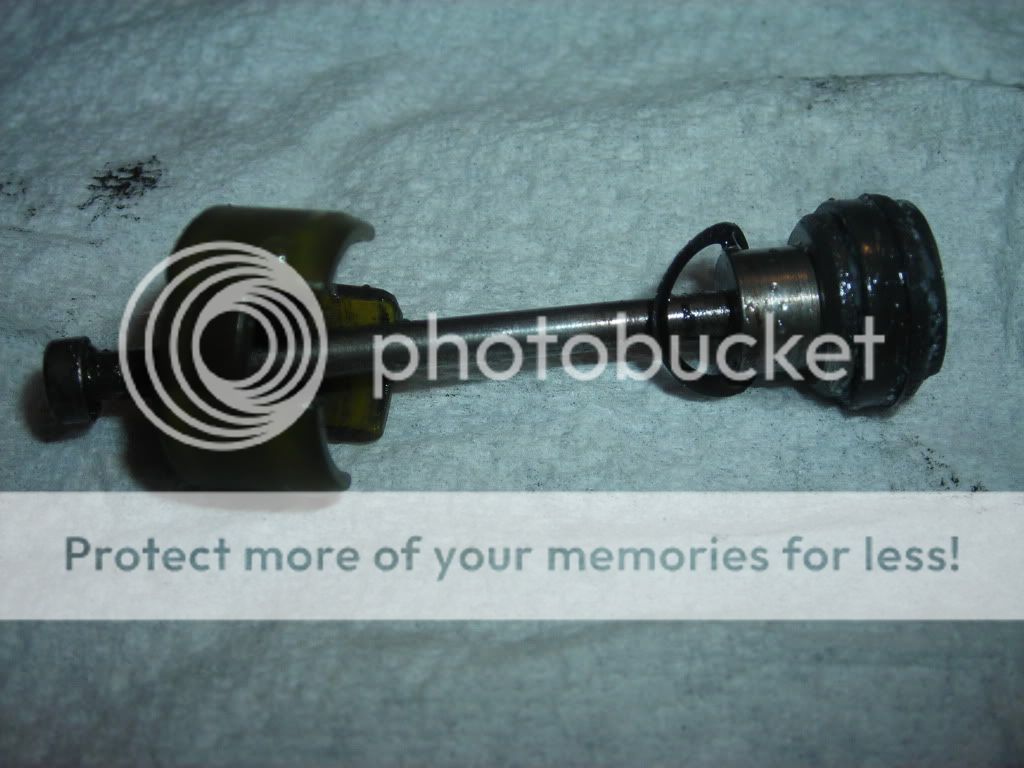
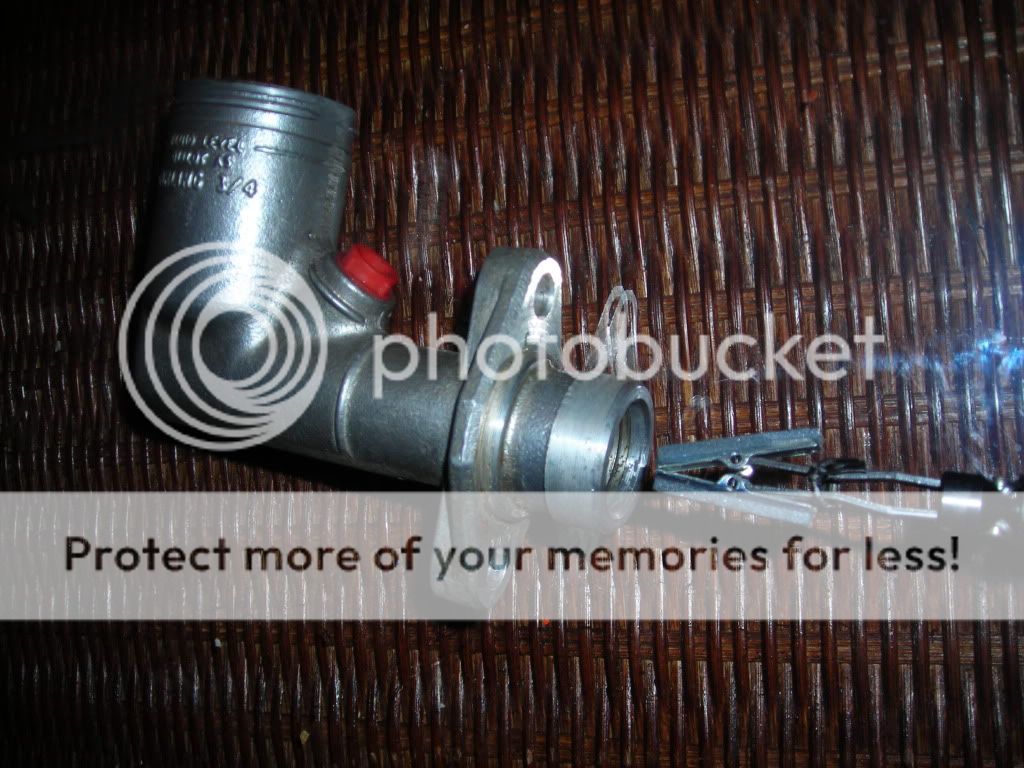
OK - so here is the documentation on putting the clutch master back together. Please point out any errors so I can correct the steps.

TR4aclutchmastercylinderreassmbl-32.jpg


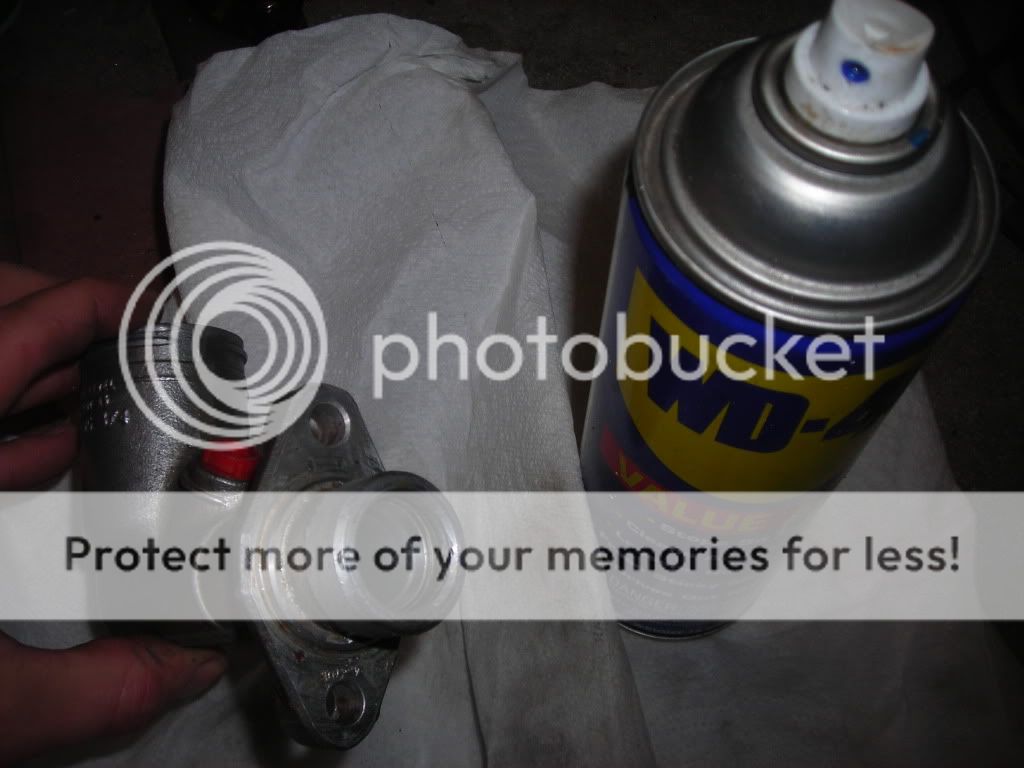
Getting ready to be honed;

TR4aclutchmastercylinderreassmbl-21.jpg


Spray the bore with WD40 to help prevent scoring the bore;

TR4aclutchmastercylinderreassmbl-6.jpg


TR4aclutchmastercylinderreassmbl-4.jpg


TR4aclutchmastercylinderreassmbl-5.jpg


I've been coached not to "over" hone the clutch M/C, a little will do;

TR4aclutchmastercylinderreassmbl-3.jpg


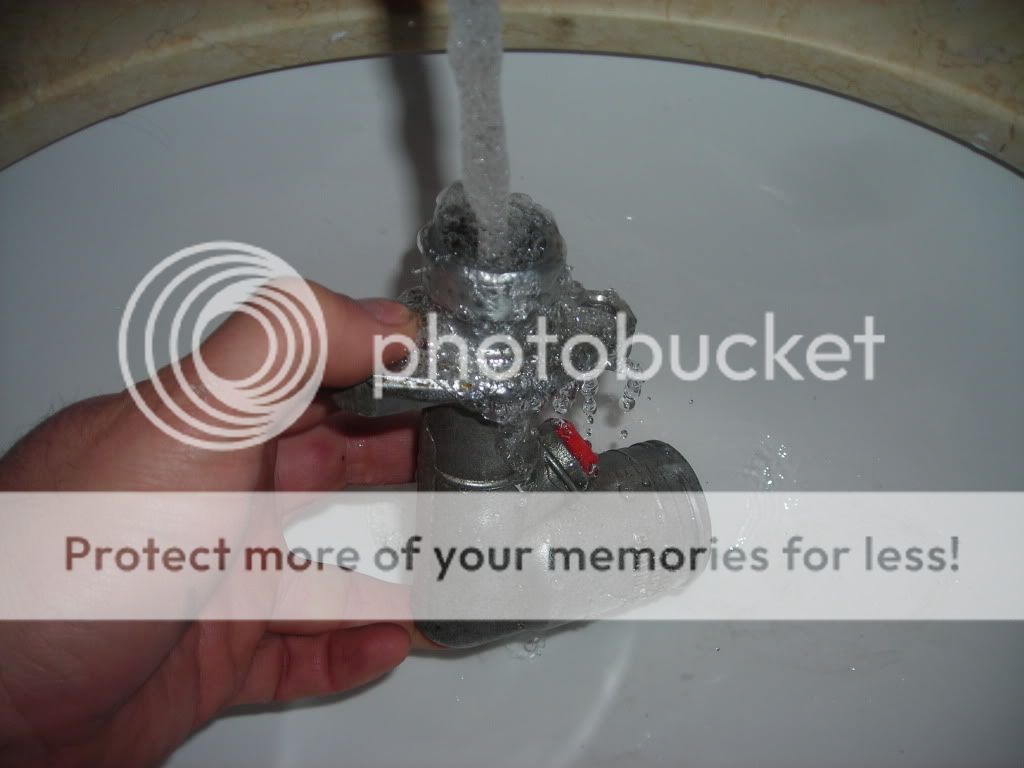
Wash it out well using tap water;

TR4aclutchmastercylinderreassmbl-31.jpg


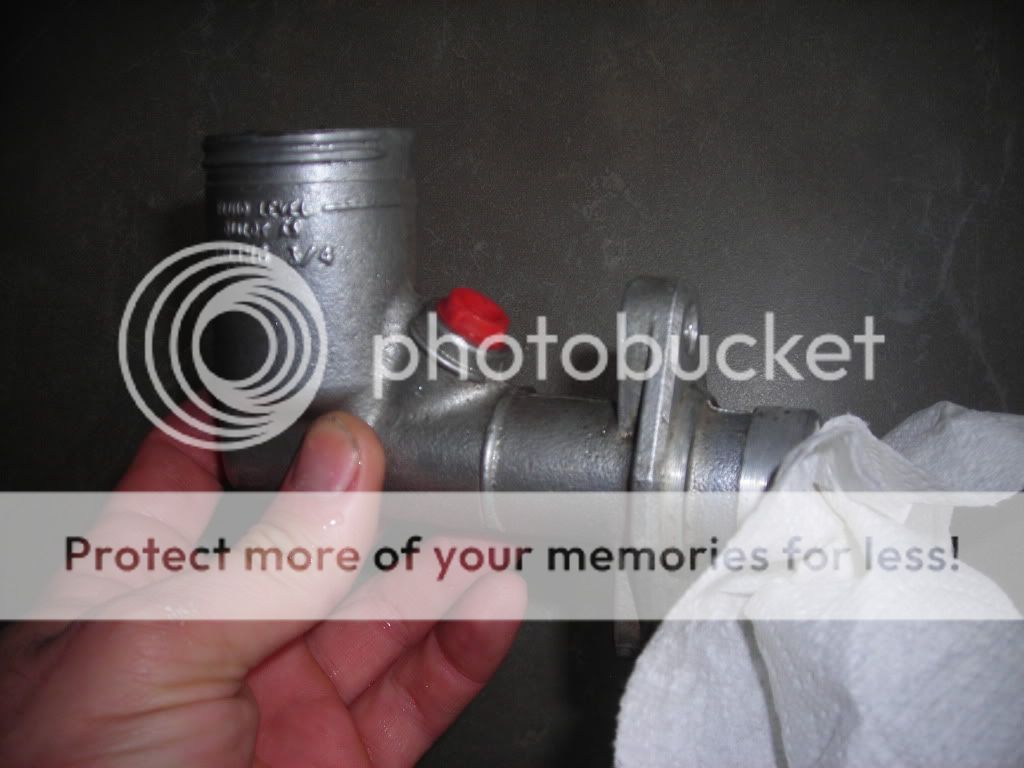
Dry it out in prep for the rebuild;

TR4aclutchmastercylinderreassmbl-30.jpg


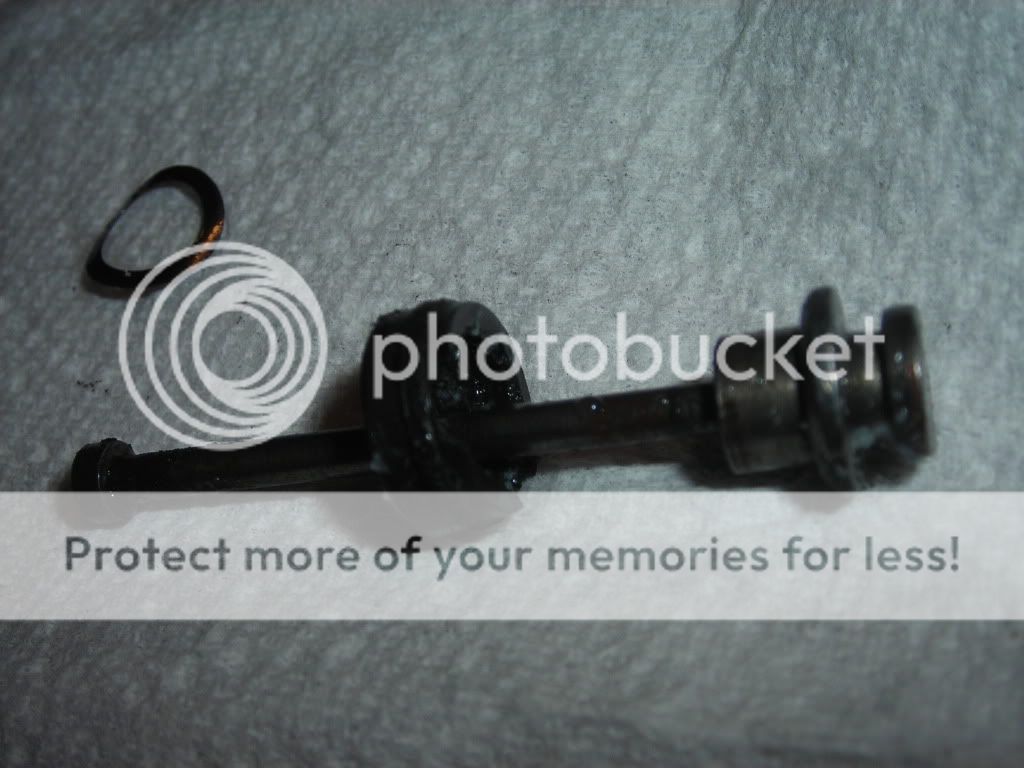
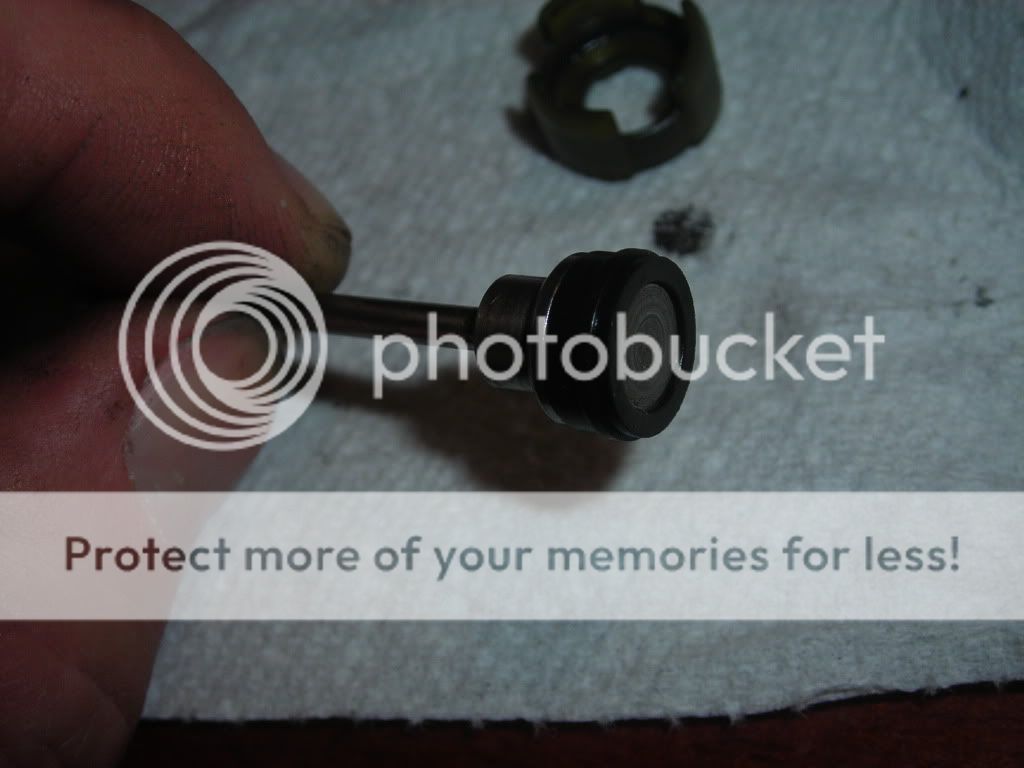
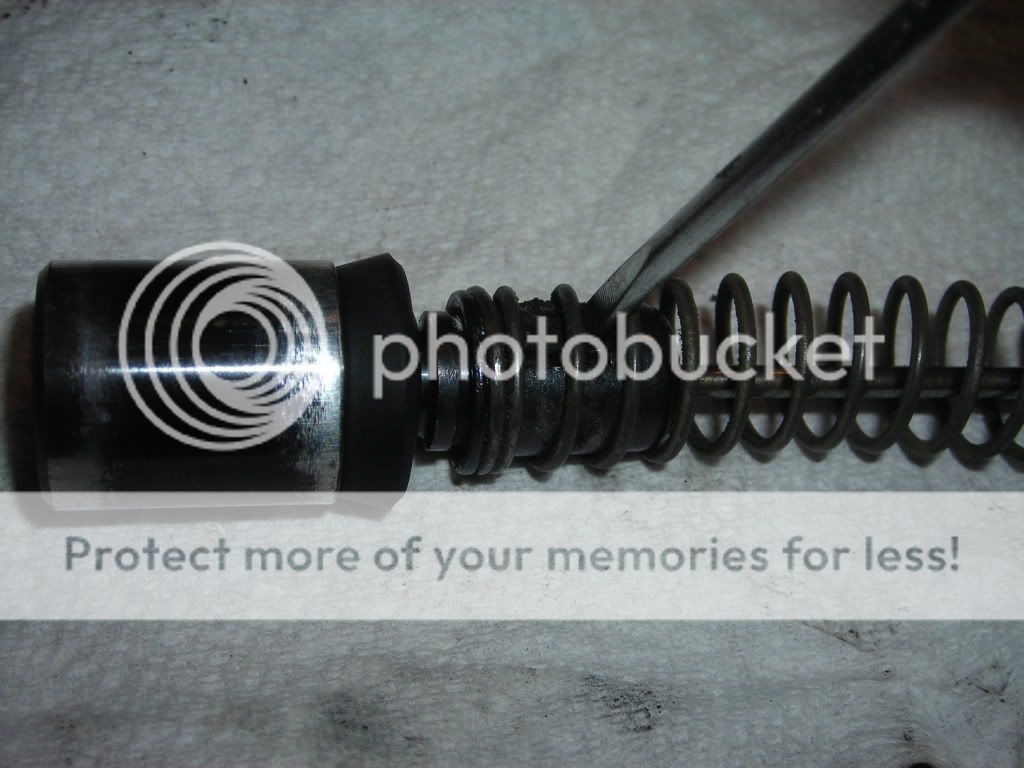
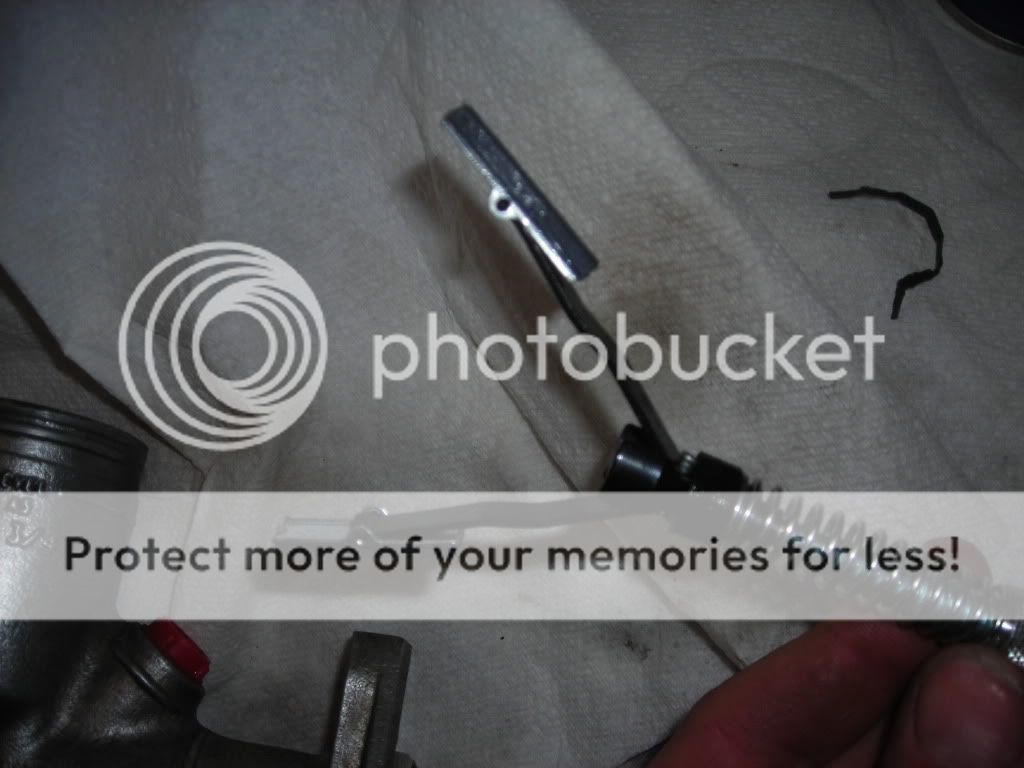
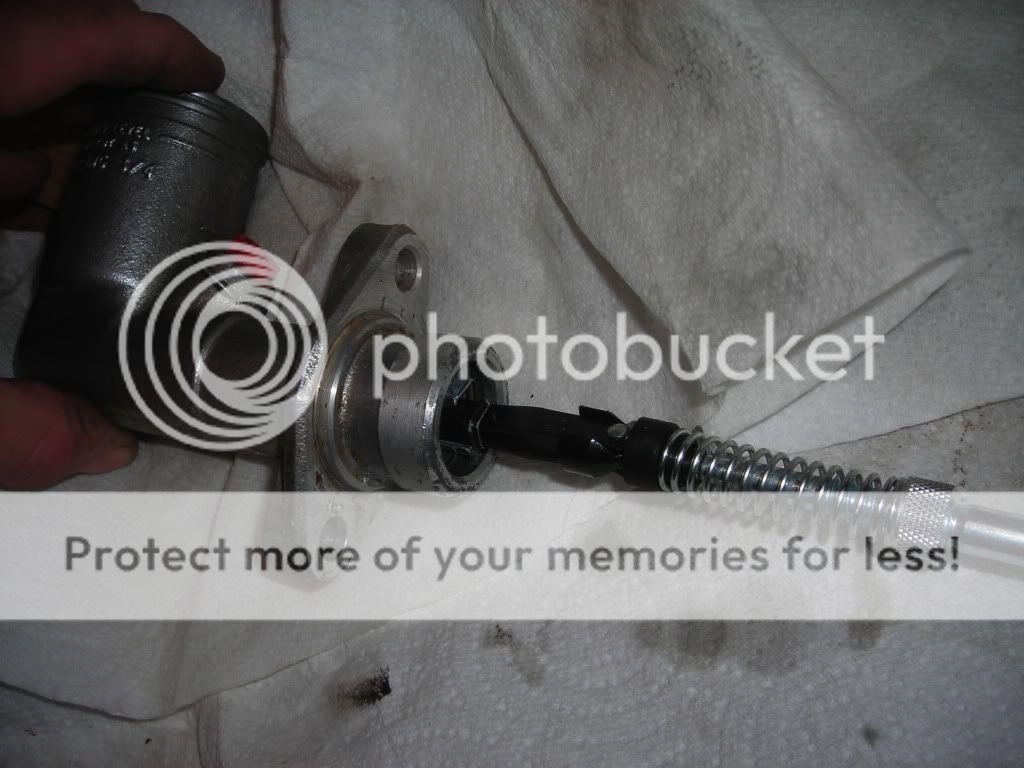
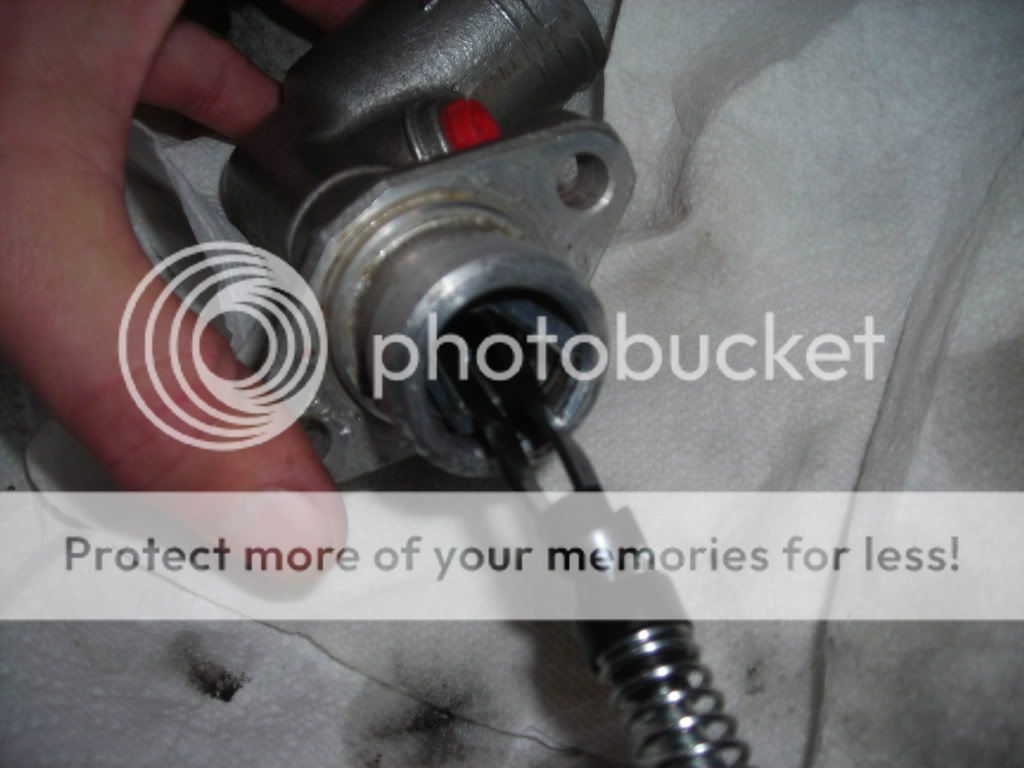
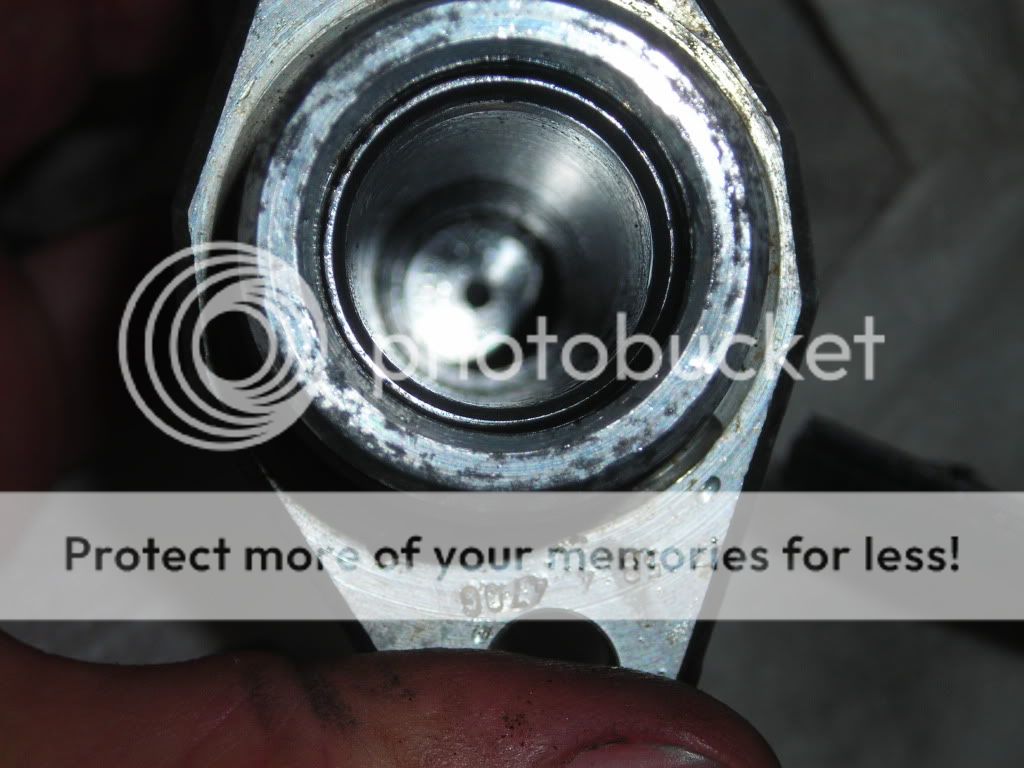
Ready for the plunger to be rebuilt now;

TR4aclutchmastercylinderreassmbl-2.jpg
 
OK - time to start the plunger;

TR4aclutchmastercylinderreassmbl-29.jpg


You first have to "unlock" the spring assembly, you do that bu gently lifting up on the tab;

TR4aclutchmastercylinderreassmbl-26.jpg


Once you do that you can separate the piston;

TR4aclutchmastercylinderreassmbl-12.jpg


You then remove the rubber ring on the pistion

TR4aclutchmastercylinderreassmbl-24.jpg


Peel it all the way off

TR4aclutchmastercylinderreassmbl-23.jpg


Then push the new one one. The side with the indentation/ring faces back towards the spring like shown here;

TR4aclutchmastercylinderreassmbl-22.jpg
 
Next is the spring and fittings on the other end;

TR4aclutchmastercylinderreassmbl-19.jpg


Pull the "crown" fitting down;

TR4aclutchmastercylinderreassmbl-19.jpg


And then peel off the rubber boot. if you look closely you can see how torn up this one was, hence the leaking.

TR4aclutchmastercylinderreassmbl-18.jpg


Put the new rubber on

TR4aclutchmastercylinderreassmbl-17.jpg


Put the curved washer and crown back on

TR4aclutchmastercylinderreassmbl-15.jpg


It should look like this when it is ready to rejoined with the piston

TR4aclutchmastercylinderreassmbl-13.jpg


Guide the spring up over the end of the piston and then press the tab back down securely;

TR4aclutchmastercylinderreassmbl-8.jpg


It is now ready to be reinstalled!
 
tdskip said:
Then push the new one one. The side with the indentation/ring faces back towards the spring like shown here;
A little clean brake fluid will help lubricate the process.
 
tdskip said:
And then peel off the rubber boot. if you look closely you can see how torn up this one was, hence the leaking.
I'd call that a "seal" rather than a boot. Normally, it's easier to remove/install over the small end
grin.gif


Overall, it all looks good to me. Two bits that perhaps could be clearer : sliding the link (inside the spring) to one side to remove it from the cup-shaped clip, and being sure the link fits into the center of the piston when reassembling the clip onto the piston.

Good work, Tom!
 
Re: Putting the clutch master cylinder back togeth

Tom-

Excellent stuff here - any thoughts of saving it to the Wiki for future use?

Randy
 
Re: Putting the clutch master cylinder back togeth

TR4nut said:
Tom-

Excellent stuff here - any thoughts of saving it to the Wiki for future use?

Randy

That is what I was thinking Randy. I've learned so much from everyone here so when I have to do something that I haven't seen documented (or with as much focus on newbies like me) I try to write it up. The Buckeye Triumph site does have a very good write up, but I thought that some additional pictures of the details might help.

I have fooled around with the wiki yet, can I largely just cut and paste?
 
Re: Putting the clutch master cylinder back togeth

One thing, on reinstalling the clip, it's a good idea to make sure you install it properly. There will be a bevel edge and a sharp corner edge. The sharp corner needs to go in properly.
 
Re: Putting the clutch master cylinder back togeth

Photos seem a little dark ...
 
Re: Putting the clutch master cylinder back togeth

Ahola Ron - good point. Thanks.

Randall - My camera doesn't like the white paper towell in the background, will try a different surface next time.
 
Re: Putting the clutch master cylinder back togeth

Tom, Irfanview is really cheap (free), and does a good job at fixing things like that. https://www.irfanview.com/ The photo I posted above is a copy of yours, with just a quick crop and shift-U.
 
Back
Top