but were afraid to ask:
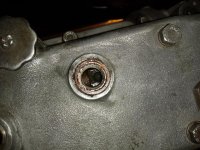
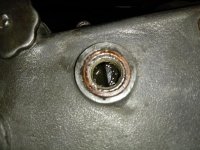
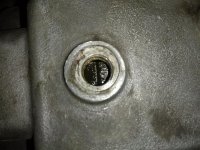
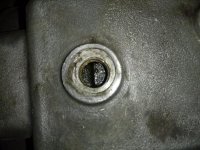
 Here is a walkthrough an A overdrive, including testing at the end. Afraid photobucket is holding the pictures hostage again, but select them and they’ll link you to better versions.
No pics?

 Hey Guest!

 Hey - did you know if you click on the title of a thread it will take you to the first unread post since you last visited that thread?
 STOP!! Never post your email address in open forums. Bots can "harvest" your email! If you must share your email use a Private Message or use the
  smilie in place of the real @
 Pretty Please - add it to our Events forum(s) and add to the calendar! >> Here's How <<
  Change the look and feel of the forum to fit your taste. Check it out
 Here is a walkthrough an A overdrive, including testing at the end. Afraid photobucket is holding the pictures hostage again, but select them and they’ll link you to better versions.
Maybe. Depends a lot on what's wrong, and how creative you are. Normally, there is a plastic pushrod that the plunger hits when it pulls home in the housing. The pushrod opens contacts under the end cap. If your existing pushrod is worn or melted, you may have to fabricate a replacement. AFAIK, no one sells anything but the complete solenoid.I think my solenoid may not be switching to the lower setting. I am blowing a 15 amp fuse after a few minutes of engagement. Going to get an amp clamp to check the draw. Are the solenoid repairable?
Very likely. In fact, that's just the reason I added a fuse; my previous solenoid burned up after a bit of gravel got caught and kept the plunger from moving all the way. Using a small fuse means the fuse will blow if the contacts don't open; and perhaps save the solenoid.I presume the fact that I blow a 15 amp fuse implies no change over.