• The Roadster Factory Recovery Fund - Friends, as you may have heard, The Roadster Factory, a respected British Car Parts business in PA, suffered a total loss in a fire on Christmas Day. Read about it, discuss or ask questions >> HERE. The Triumph Register of America is sponsoring a fund raiser to help TRF get back on their feet. If you can help, vist >> their GoFundMe page.
  • Hey there Guest!
    If you enjoy BCF and find our forum a useful resource, if you appreciate not having ads pop up all over the place and you want to ensure we can stay online - Please consider supporting with an "optional" low-cost annual subscription.
    **Upgrade Now**
    (PS: Subscribers don't see this UGLY banner)
Tips
Tips

TR2/3/3A My A-Type overdrive rebuild project, some questions

OP
T

TuffTR250

Jedi Warrior
Country flag
Offline
Berry, the accumulator bore on mine is not bad. I will try the buffing method used by CJD (John).

John, a couple of questions, did you install new steel accumulator rings, use the old ones, or did you go to the newer style accumulator? Also, when you buffed using polishing compound, how did you apply that, by hand or using something over the hone stones? Thanks!
Regards, Bob
 

CJD

Yoda
Country flag
Offline
I re-used all the original rings. As long as they are not broken or otherwise damaged, they should last forever working against an aluminum bore. My OD was one of the first generation...so many of those parts are NLA. All my seal rings are metal. I would have had to modify the OD to take the newer parts if any had been damaged. Now, for the newer OD with rubber seals, I would definitely replace them, so long as they can be found. Unlike metal rings, rubber rings do deteriorate over time.

I found a buffing wheel at Arrow Bolt Supply that fit the bores and spun them with a 1/4" die grinder. I would apply buffing compound to the cotton wheels and then just let them work up and down the bore until it reflected like a mirror.
 

TR3driver

Great Pumpkin - R.I.P
Offline
Unless you have an extremely early Atype with the smaller operating pistons, the Oring pistons are a drop in replacement. No mods needed.
Pretty easy to make an Oring piston for the very early units, but I don't know of anyone that normally sells them. Pretty sure Bob Jasper would make you some though.

Might be interesting to try an Oring accumulator piston,but I suspect life would be short. Unlike the operating pistons, the accumulator moves with every shaft rotation, even with OD not enabled.
 
Last edited:

titanic

Jedi Warrior
Country flag
Offline
I think that O rings would have a short life in the accumulator because passing over the relief port holes would tend to wear them. The operating pistons live in a safer neighborhood.
Berry
 
OP
T

TuffTR250

Jedi Warrior
Country flag
Offline
I'm still researching A-Type steel accumulator rings. I saw that Overdrive Repair Services web site in the UK shows p/n 500605 for the 1-3/4 inch accumulator for the A-Type overdrive, but the picture shows 6 rings whereas my accumulator piston has 4 rings. On my piston all 4 rings are within the same piston grove. Last Thursday evening I sent a message via ORS's web site asking them if 6 rings will work on my piston, but I have not gotten a reply. Does anyone know if the six ring set will work on a piston that previously had 4 rings? Thanks!
Regards, Bob
 

CJD

Yoda
Country flag
Offline
The metal rings in my early OD pistons were on top of each other. The inner rings acted as a spring for the outer ring. If I remember right, each groove had 3 rings stacked up...so you could only see the outermost ring, except through the gap.
 
OP
T

TuffTR250

Jedi Warrior
Country flag
Offline
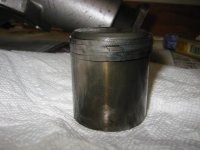
I have attached a picture of my accumulator piston showing the 4 rings.
Regards, Bob
IMG_6149.jpg
 

CJD

Yoda
Country flag
Offline
They don't look bad to me. I would re-use them unless the replacements are cheap and readily available.

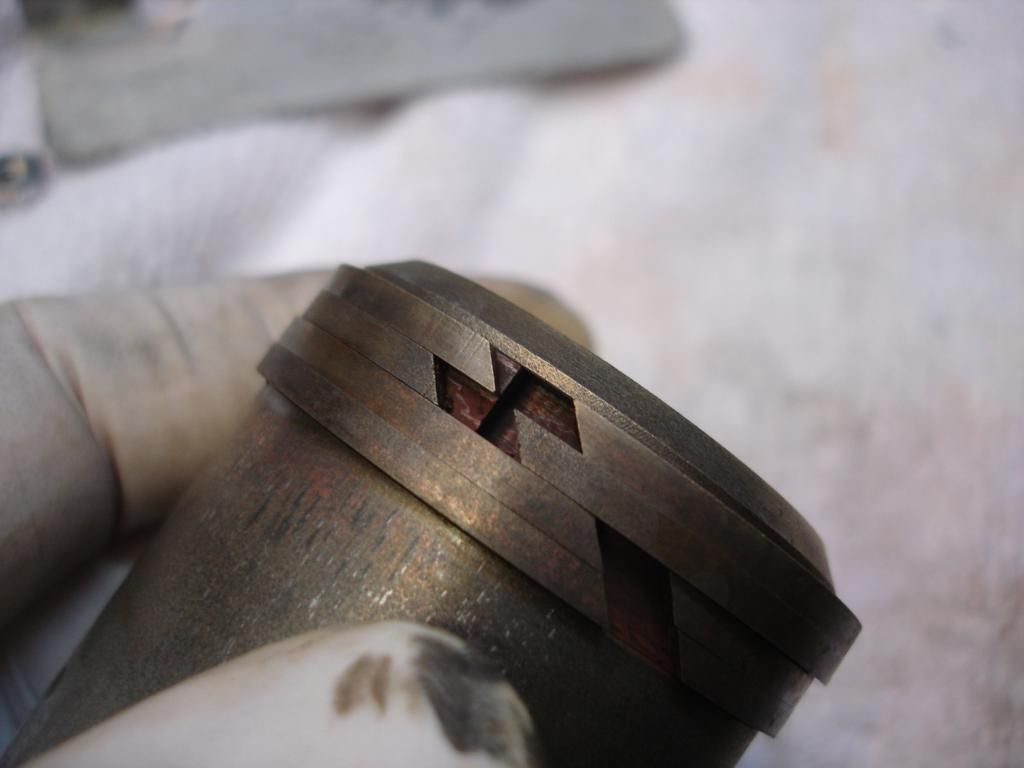
Also, looking inside the gap in that one ring in the pic, that is another, internal ring in there. I assume the inner one is to act like a spring to the outer ring. It is quite the system! But the beauty of metal rings is they should last forever...as long as the bore doesn't get pitted from corrosion, or somebody breaks one from faulty installation. They don't move often enough to ever wear out. Figure thousands of actuations over their lifetime, vs 10's of millions for an engine piston. Be sure to alternate the gaps when the piston goes back in.
 
OP
T

TuffTR250

Jedi Warrior
Country flag
Offline
Wow! You're right John about the way the rings are made on the accumulator piston! That really surprised me. I had not looked that close at them and when I turned the rings I did not notice that the "inner" ring" turned with the outer ring. That seems like a very unusual design. I tried Googling that design but could not find anything right away. I'll have to try later.
Regards, Bob
 

CJD

Yoda
Country flag
Offline
This is a pic with all the inner rings lined up:


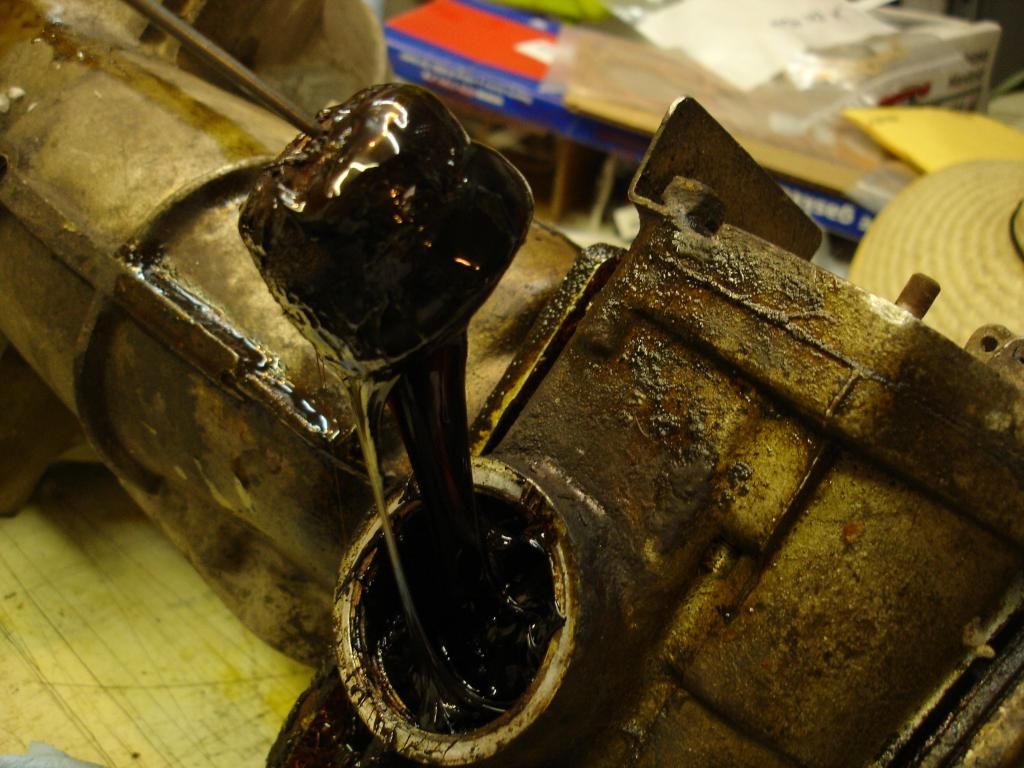
I got to know them pretty well, as the oil in my OD had turned to tar over the years. I spent hours on each piston to get all the gook out.

 
OP
T

TuffTR250

Jedi Warrior
Country flag
Offline
Before I drill out the pin from one of the gears in the planet carrier assembly in order to insert a new thrust washer in the carrier, are there any precautions I should take to ensure that the small roller bearings around the gear's shaft do not fall out? I cannot tell from pictures if the bearings are loose or in a cage. Thanks!
Regards, Bob
 

TR3driver

Great Pumpkin - R.I.P
Offline
They are caged.
 
OP
T

TuffTR250

Jedi Warrior
Country flag
Offline
I'm back working on my overdrive. I have a question on measuring sun gear float. I've got the overdrive flange bolted to a wooden platform so it is standing straight up on it'e end. I've rigged up a dial gauge like the Greasy Hands article where I used a hose clamp to clamp a small metal tab to the sun gear. I bolted a piece of heavy iron to the overdrive to hold the dial gauge solid and then pointed the dial gauge down onto the tab clamped to the sun gear. I tightened down the 6 nuts holding the front OD piece to the back OD piece, and the main shaft is installed.

My question: with this set up, is the first step to push down on the sun gear and take a gauge reading?, and if yes, how hard? Then is the next step to pull up on the sun gear and take a gauge reading, how hard do I pull up? I'm using a small curved pick to move the sun gear, whereas the Greasy Hands article said they used a small pry bar. Should I being using a pry bar to put more pressure up and down to get the float readings? Thanks!
Regards, Bob

p.s. I know my question seems pretty basic. But I kept getting different readings. I am wondering if I'm missing something. When I first bolted the two halves together for this sun gear trial, it appeared that I had zero float. So I loosened the 6 nuts and measure again and still zero float. I then knocked the two parts apart via the brake ring. I then showed float. So I bolted it back down and after several measurements with pushing down and pulling up on the sun gear I had about .007 float. I don't know why I had zero at first and .007 on a later measurement.
 
Last edited:

KVH

Darth Vader
Country flag
Offline
I agree with the Greasy Hands guys that measuring the float by using a washer and measuring the housing gap is just too crude and problematic. I also believe that using hose clamp and tab is problematic as well. I bolted mine together and reached down with a hooked tool and pulled the gear up with a dial gauge in place. My float was right on. Using the other "tricks" had me all over the place (e.g. the gap method and the hose clamp). But you shouldn't have zero float, and nor should you need to apply great pressure when you pull up.
 
OP
T

TuffTR250

Jedi Warrior
Country flag
Offline
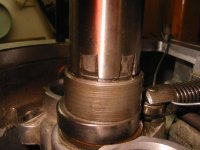
A new question. When I insert the mainshaft into the overdrive the ridge on the shaft bottoms against the bronze face of the front housing but the oil pump cam is not tight against the shaft ridge above it. There is about 1/16 inch gap that allows the cam to slide back and forth on the shaft slightly. See the gap in the attached picture. Is that gap normal? Or is that a problem? Thanks!
IMG_6213.jpg
Regards, Bob
 
Similar threads
Thread starter Title Forum Replies Date
71TR6 TR6 Type-J Overdrive identification Triumph 4
T TR2/3/3A A type overdrive hard engagement Triumph 36
R TR6 J-Type overdrive will not disengage when warm Triumph 8
RonC TR2/3/3A J Type Overdrive in TR3A Triumph 4
H TR4/4A A-type overdrive pump Triumph 4
Got_All_4 TR6 Refurbishing gearbox with A type overdrive Triumph 7
D TR2/3/3A Type A overdrive not engaging Triumph 0
D TR2/3/3A Type A overdrive not engaging Triumph 16
M TR4/4A A type Overdrive Oil Leak Fix Triumph 3
Graham H TR2/3/3A A type overdrive Triumph 6
KVH General TR Type A Laycock Overdrive Questions Triumph 8
C TR2/3/3A A-type overdrive drain plug oring Triumph 1
J TR4/4A TR4 A Type Overdrive Part mixup Triumph 4
CJD TR2/3/3A A type Overdrive Seal Triumph 9
T Spitfire J Type overdrive Triumph 2
T TR2/3/3A Question on A-type overdrive solenoid Triumph 21
BillyB62 TR2/3/3A Type A TR3 Overdrive Wiring Triumph 13
T TR2/3/3A Question on A type overdrive spec for "clutch movement from direct to overdrive" Triumph 7
M_Pied_Lourd TR6 J Type Overdrive High Pressure Filter Cap-Major Problem Triumph 6
R A Type Overdrive reassembly question Austin Healey 3
R TR2/3/3A A-Type overdrive question Triumph 8
T TR2/3/3A Will Spitfire D-type overdrive work in TR3 with TR4 transmission? Triumph 3
R Overdrive [Type A] brake ring gaskets Austin Healey 1
R TR2/3/3A Overdrive [Type A] Brake Ring Gaskets Triumph 14
J General TR D Type overdrive not working need suggestions Triumph 5
Gordon_Dedrick TR2/3/3A A type overdrive installation Triumph 7
T TR2/3/3A Type A Overdrive, Physical Differences between Roadster Brands? Triumph 2
T TR2/3/3A Type-A Overdrive Handling Differences Triumph 9
A TR5/TR250 A-type overdrive questions Triumph 25
71tr TR6 Overdrive Mount / J-type on A-type frame Triumph 1
D TR6 76 TR6 J Type Overdrive Triumph 7
Gordon_Dedrick Testing an A type overdrive Triumph 20
Simmo I need help with J Type Overdrive Triumph 15
Q "A" Type Overdrive Annulus End Float!! Triumph 4
D A type overdrive question. Triumph 3
John_Mc J-Type overdrive for sale on CL Triumph 4
KVH More on A Type The Overdrive Triumph 2
Coyote1 J Type Overdrive engage problem Triumph 3
J A Type Overdrive Triumph 17
K TR6 TR6 J Type Overdrive...Link to Schematic? Triumph 3
O J Type Overdrive Conversion Triumph 19
Marvin Gruber J type overdrive unit on BCF classifieds Triumph 2
HerronScott TR4/4A TR4A A-type overdrive and Moss Europe TR2-4A cat. Triumph 2
T A-type Overdrive & Gearbox Triumph 9
TR3TR6 J-type overdrive question Triumph 5
CinneaghTR A-type Overdrive Model Number Triumph 14
71tr J-type Overdrive Pressure Port Question Triumph 2
T A-type overdrive / gearbox trouble shooting Triumph 69
R_Lyle TR6 J-Type or A-Type Overdrive for 1972 TR6 Triumph 18
TR4A_IRS Looking for a J Type Overdrive? Triumph 0

Similar threads

Top