but were afraid to ask:
 Brosky
Great Pumpkin
Offline

 Hey Guest!

 Hey - did you know if you click on the title of a thread it will take you to the first unread post since you last visited that thread?
 STOP!! Never post your email address in open forums. Bots can "harvest" your email! If you must share your email use a Private Message or use the
  smilie in place of the real @
 Pretty Please - add it to our Events forum(s) and add to the calendar! >> Here's How <<
  Change the look and feel of the forum to fit your taste. Check it out
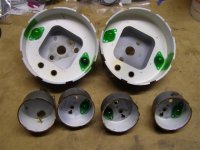
Wouldn't have a chance, with the knobs I was pulling off. We (the TR6 owner and I) had basically agreed that it no longer mattered if we broke the switches, the knobs had to come off. The Stag was the same way; I honestly thought the switch would break first but it didn't.Brosky said:What about the plastic tools for door trim removal? They're like mini pry bars, but I'm not sure if they are stiff enough.
Brosky said:Al,
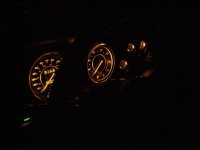
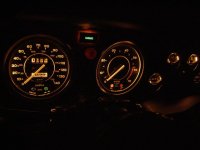
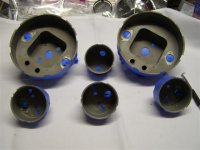
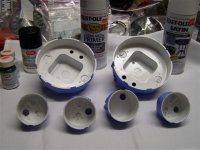
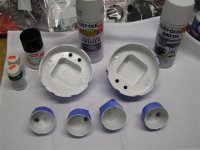
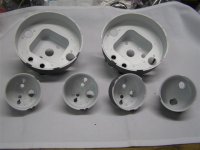
It was cleaning the gauges, painting the inside of the cases and then new bulbs, with the rheostat that makes them brighter. I just went back to 1974, but with 8 watt bulbs.