• Hey Guest!
    British Car Forum has been supporting enthusiasts for over 25 years by providing a great place to share our love for British cars. You can support our efforts by upgrading your membership for less than the dues of most car clubs. There are some perks with a member upgrade!

    **Upgrade Now**
    (PS: Upgraded members don't see this banner, nor will you see the Google ads that appear on the site.)
  • When posting a classified ad, you MUST select a prefix from the drop-down next to the subject line. If you don't you will get an error and your ad will not be posted!
Tips
Tips

Inner fender progress - welding pictures

tdskip

Yoda
Country flag
Offline
Finally made some progress on the inner fenders today. This was a bug hurdle for me, since the patch piece was an odd shape and it had to be done correctly to allow the bulkhead panel to be replaced properly. This patch had to be done first, so nothing to do but suck it up and get started.

I'm totally open for ideas/coaching/tips if anything jumps out at you guys.

Initial fitting;

1971TR6innerfenderwork11-20-092.jpg


Getting started;

1971TR6innerfenderwork11-20-0910.jpg


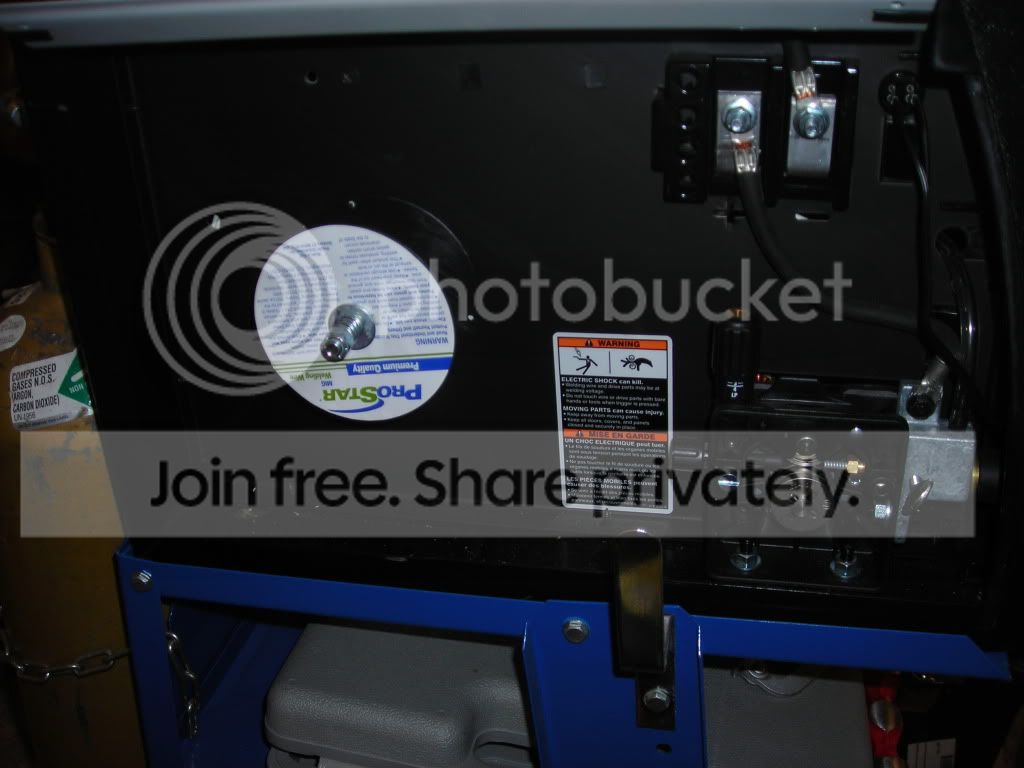
Hey - why did the welder stop working?

1971TR6innerfenderwork11-20-097.jpg


There is a pressing on this part of the inner fender that I wasn't able to match, but I did pick up some of the curve. If you are really looking at the inner fender from the engine bay and know what to look for you'll see this, but I don't think it will be too obvious.

1971TR6innerfenderwork11-20-0911.jpg


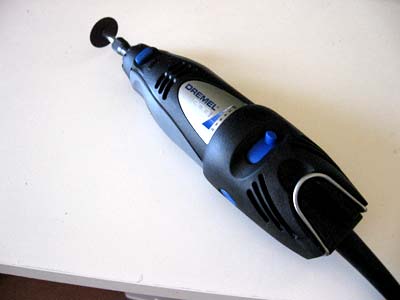
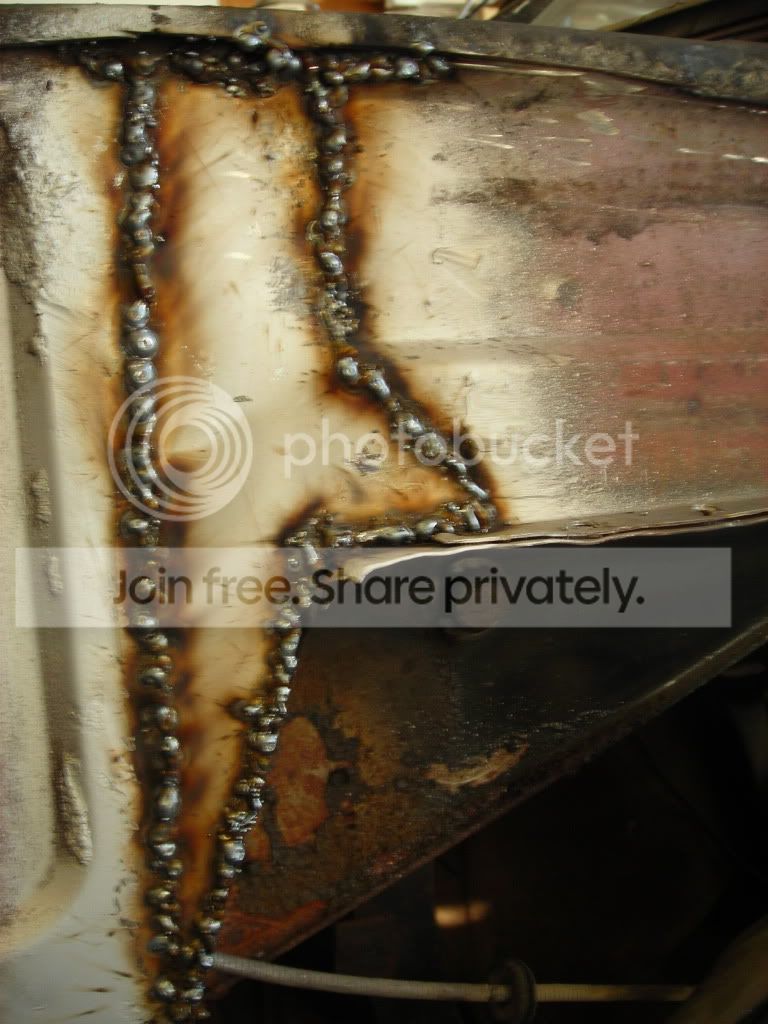
Finished with the welding, now I need to grind and dress the welds;

1971TR6innerfenderwork11-20-0913.jpg


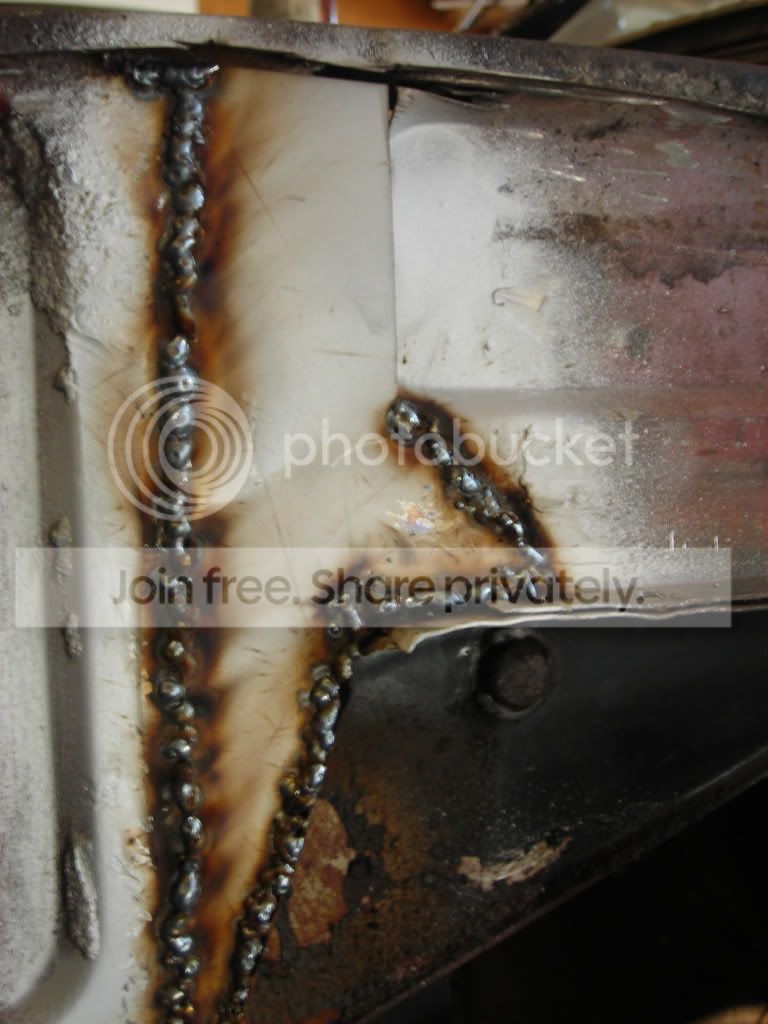
Sorry for the lousy focus, but the welds as viewed from the engine bay are pretty close to flush. If this were going to be more load bearing you'd want better penetation, but for this panel it is probably OK'

1971TR6innerfenderwork11-20-0914.jpg
 
Tom, don't fret the small stuff too much. This isn't a patch on your front fender panel that will stick out like a sore thumb. Make it commercially acceptable, prime and paint it and cover it up.

You're doing great. Save the finicky labor for the visibly cosmetic areas.
 
Tom-

Excellent work. Just curious, what I are you using to grind and dress it up? Angle grinder? I find that part of the job to be an area I'm not very good at.

Randy
 
I think you guys are being charitable, but thanks for the support!

Randy - I use an combination of an angle grinder and various Dremel accessories. Hopefully, it will be a long time before anyone get a glimpse of this inner bulkhead but I still want it to be well done.... So thanks for coaching Paul.
 
Glad I`m not grinding for you *SMILE*. No seriously, After you dress up what you have there, look closely for pinholes or anything you have left that isn`t welded and weld those areas. You wouldn`t want moisture entering behind that patch.
As far as the place where your curvature didn`t quite match, small potatoes! If it really really bugs you, you could heat it up with Oxy acetylene and beat it into shape more. But were it me I would leave it go.
So far so good, we`re waiting for the finished product pics. *SMILE*
 
Hi Kerry - yeah, I tend to put a bit too much metal on my repairs. LOL.

Do your prime and then seam seal and then paint?

OR

Do you seal seal on bare metal, then prime and then paint?

I have brushable seam sealer which indicates you can paint over it.
 
I put down primer sealer first to penetrate the seam, then seam sealed. For body filler, it goes on first then the primer.
 
tdskip said:
Randy - I use an combination of an angle grinder and various Dremel accessories.

How do you get the dremel accessories onto the angle grinder? (Different shaft sizes??) I use a cut-off wheel, the $7.99 HF model to be precise), which lets me grind the weld w/o the surrounding material. But is is pretty big - an angle grinder would let me get into smaller areas that I currently use my dremel for. (Much lower power than an air tool!)
 
Take a tip from an old bodyman,do stop and grind your stitches after each pass. If you just weld and weld and weld some more, you will be grinding till your are old and gray(grayer?)The stitches tent to get built up too high.Also its NOT necessary to go for solid welds,just be sure to use a high quality seam sealer when doing the finishing.
MD(mad dog)
 
tdskip said:
Hi Mike - I have a handheld Dremel for those accessories that looks just like this;

OK, thanks! I thought you were putting Dremel cutting disks onto an angle grinder... the compact size of the dremel plus the power of an air tool sounded interesting.

I do what you do; and I wish the Dremel disks lasted longer. Have you ever tried to double them up?
 
I haven't Mike. I guess that could work, but I like how precise I can be with a single disk. Are you using the black reinforced disks?
 
tdskip said:
Are you using the black reinforced disks?

Yep - and my chief complaint is replacing them is a pain requiring a small screwdriver (i.e. remove face sheild, remove gloves, replace, replace safety gear, grind away).

Actually my chief complaint is the amount of weld I must grind, but that has to do with my welding skills (lack thereof) :smile:
 
Popeye said:
tdskip said:
Are you using the black reinforced disks?

Yep - and my chief complaint is replacing them is a pain requiring a small screwdriver (i.e. remove face sheild, remove gloves, replace, replace safety gear, grind away).

No kidding - I dislike that part as well!


Popeye said:
tdskip said:
Are you using the black reinforced disks?

Actually my chief complaint is the amount of weld I must grind, but that has to do with my welding skills (lack thereof) :smile:

Me too my friend, me too... I think we need to suck it up and buy a "finger grinder" or what ever they are calls again (forgot already - sorry guys)
 
To dress a stitch weld I use an air angle grinder using the edge of a 3" disk. I follow that with a 2" flex disk in an air right angle die grinder. If I have a burn through I will use a piece of copper on the back side and fill it in with weld.
 
Back
Top