tdskip said:
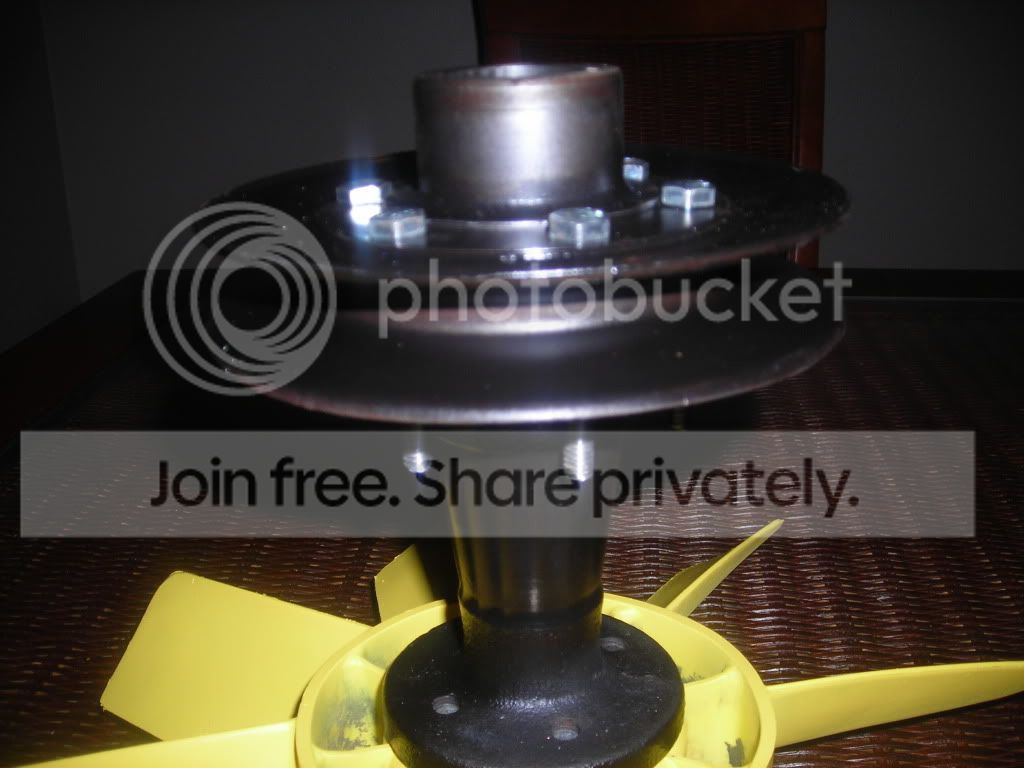
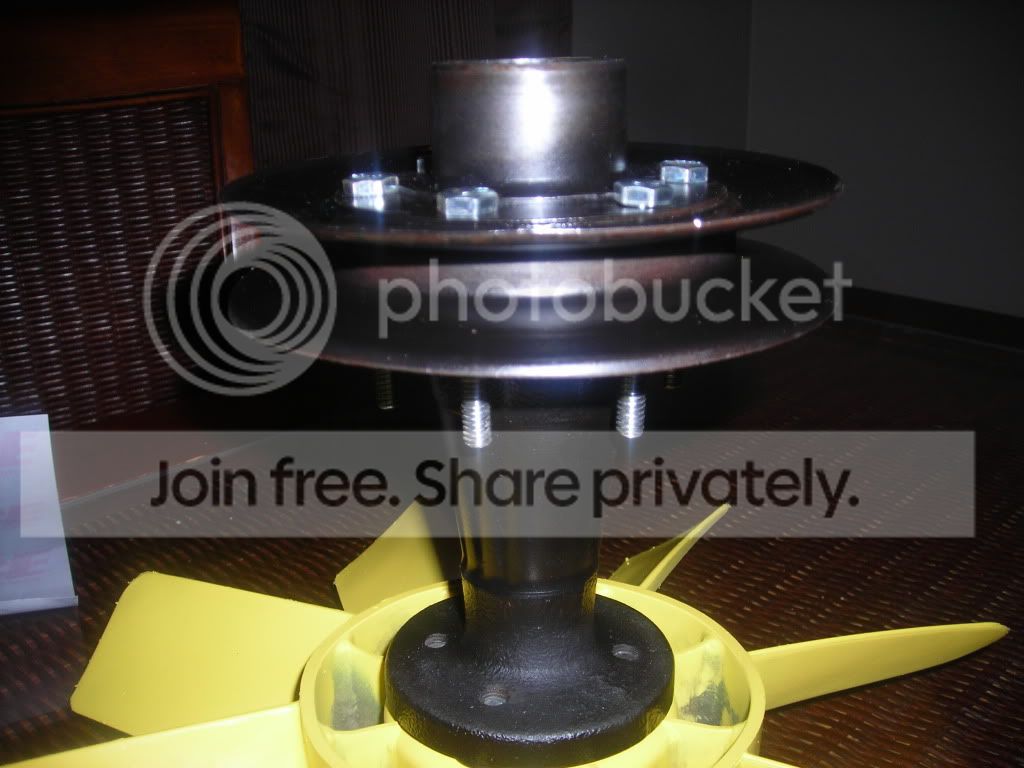
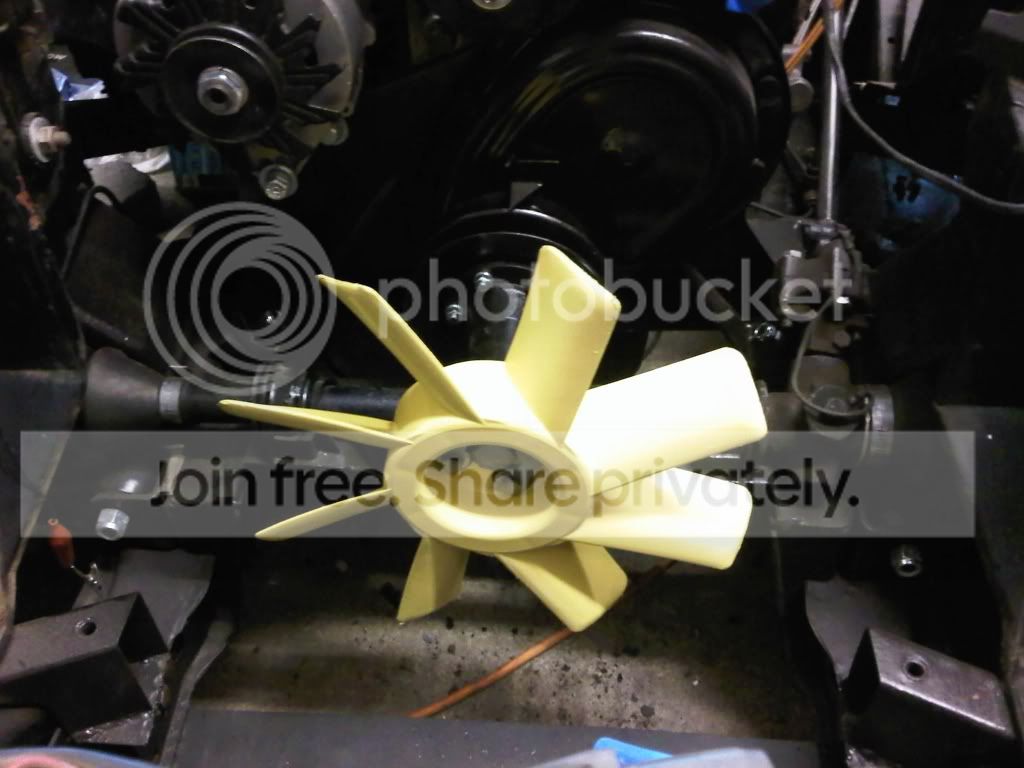
On #75, the Hub Pulley, this appears to be a very tight fit
Yes, it should be very snug on the crankshaft. Some are tighter than others, I have occasionally had to use a puller to get it off.
<div class="ubbcode-block"><div class="ubbcode-header">Quote:]1) Does the Woodruff key self-align, meaning as long as it is the right one and inthe right place it will locate itself properly once #75 is installed?[/QUOTE]
Yes, although of course you have to turn #75 so the keyway (slot) lines up with the key. I usually install the key with the top slightly tilted toward #75, which makes it less likely to come up out of it's seat while I'm fiddling around getting the slot lined up. As you tap #75 into place, it will rotate the key to the correct position.
<div class="ubbcode-block"><div class="ubbcode-header">Quote:]2) Am I supposed to uee any grease on #75 when I install it? On the crank extension? On the outside of #75?[/QUOTE]The polished area where the seal rides should be coated with grease. It's not required anywhere else, although I don't suppose it would hurt anything to put a little on the crank nose and/or hub bore. The crank in my previous TR3A motor was worn a bit undersize, so I used Loctite instead of grease.
Just for clarity, note that #75 should be assembled with 76 and 77 (and 71 if you're using it) before installing the assembly on the motor. Don't forget the orientation between 75 & 77; there are 6 different ways it will go together but only one is correct.

 Hey Guest!

 Hey - did you know if you click on the title of a thread it will take you to the first unread post since you last visited that thread?
 but were afraid to ask:
  STOP!! Never post your email address in open forums. Bots can "harvest" your email! If you must share your email use a Private Message or use the
  smilie in place of the real @
 Pretty Please - add it to our Events forum(s) and add to the calendar! >>