but were afraid to ask:
 Healey Nut
Luke Skywalker
Offline
 Hi Guest!

 Hey - did you know if you click on the title of a thread it will take you to the first unread post since you last visited that thread?
 STOP!! Never post your email address in open forums. Bots can "harvest" your email! If you must share your email use a Private Message or use the
  smilie in place of the real @
 Pretty Please - add it to our Events forum(s) and add to the calendar! >> Here's How <<
  Change the look and feel of the forum to fit your taste. Check it out
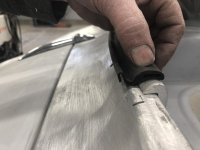
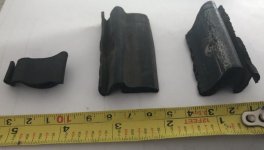
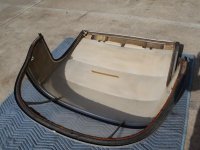
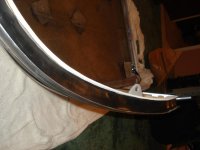
 If you look at Healeyblue's pic you will see the second layer of rubber that is glued to the hardtop before you attach rubber with the ciips.
For sure there will be many test fits as is typical when rebuilding these old girlsHealey nut, test fit the double flat pieces and final seal. You may find if you add to many layers of rubber around the back that the sides of the hardtop will not sit on the cockpit railings behind the doors.