Hey Guest!

 Hey - did you know if you click on the title of a thread it will take you to the first unread post since you last visited that thread?
 but were afraid to ask:
  STOP!! Never post your email address in open forums. Bots can "harvest" your email! If you must share your email use a Private Message or use the
  smilie in place of the real @
 Pretty Please - add it to our Events forum(s) and add to the calendar! >>
Brosky
Great Pumpkin
Offline
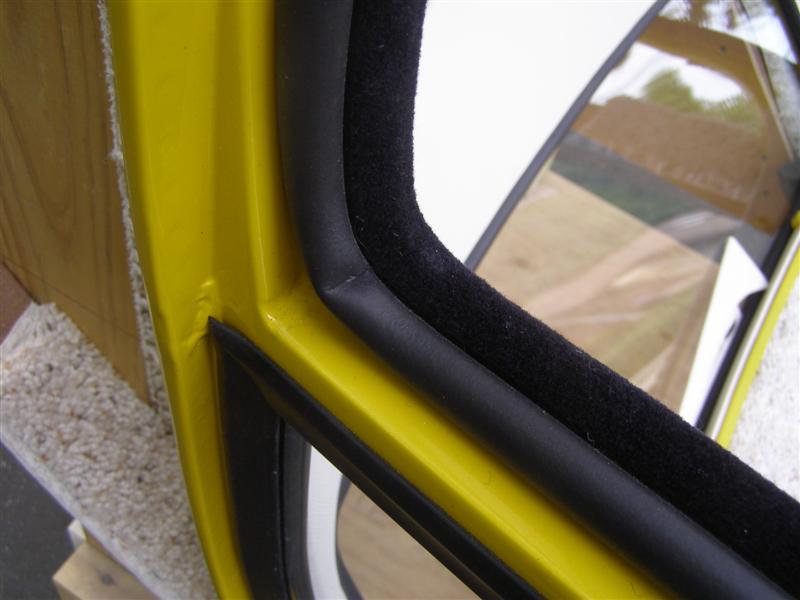
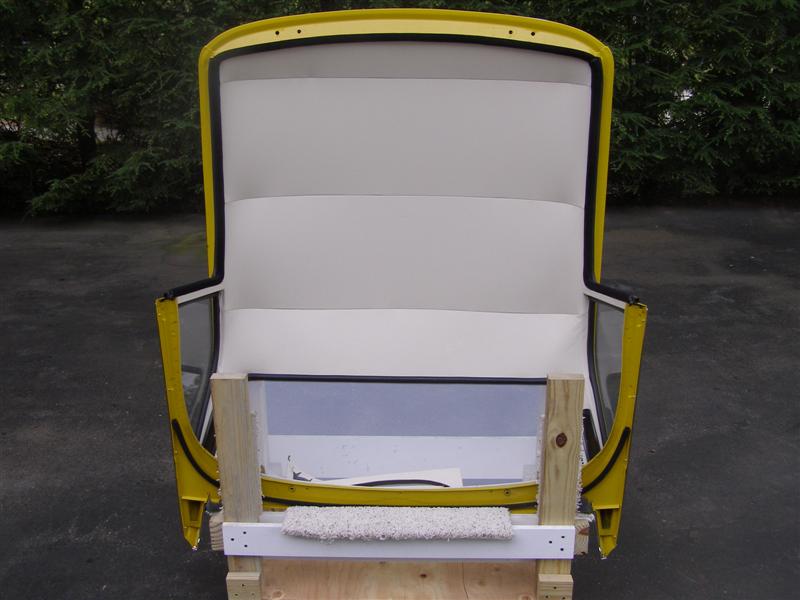
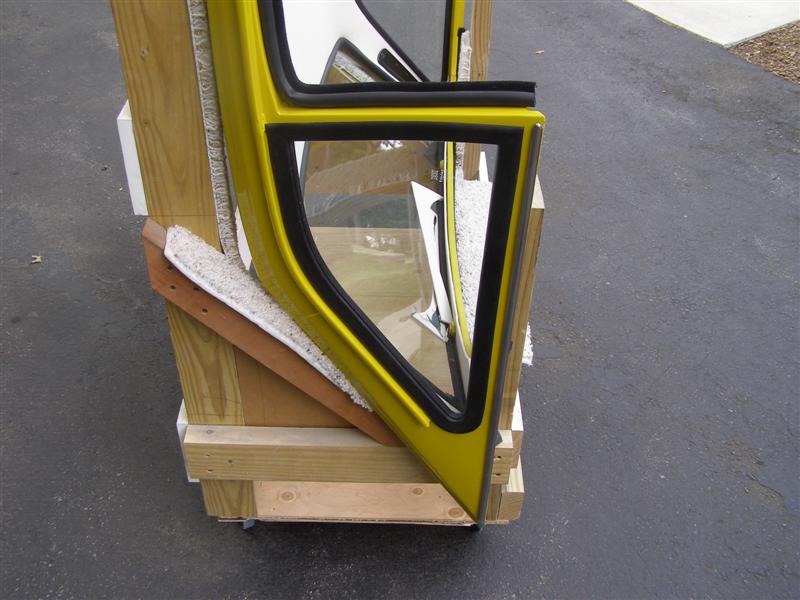
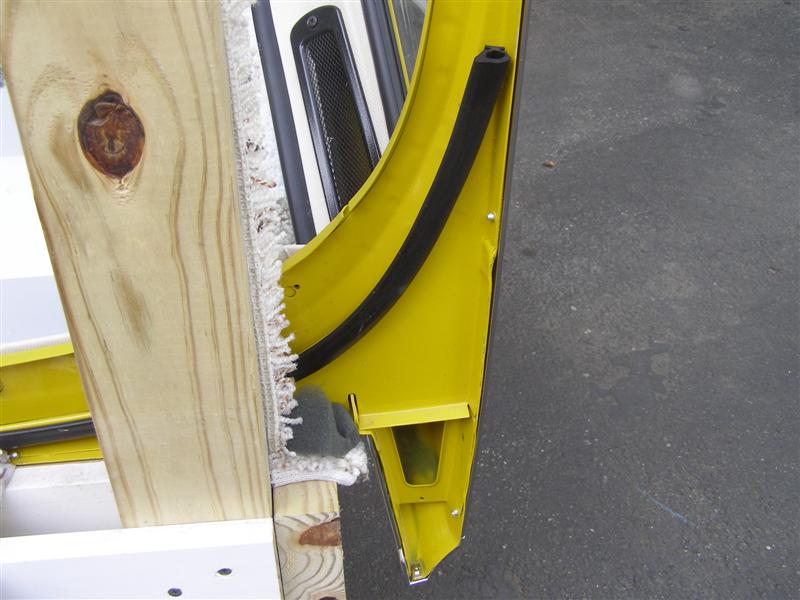
Not that I want winter to come, but I am liking the idea of putting this top on. Allan finished it up this afternoon and delivered it to my house in his pickup. This is what it looks like with the weatherstrips and moldings on.
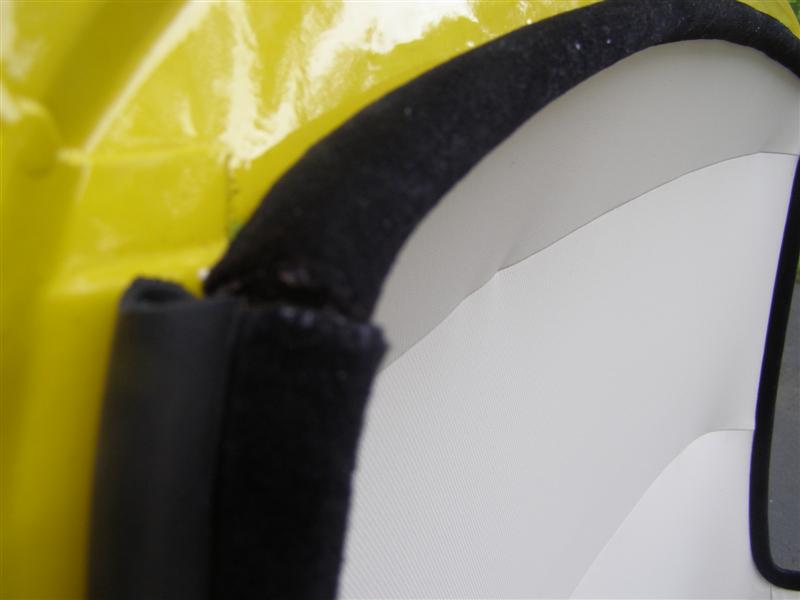
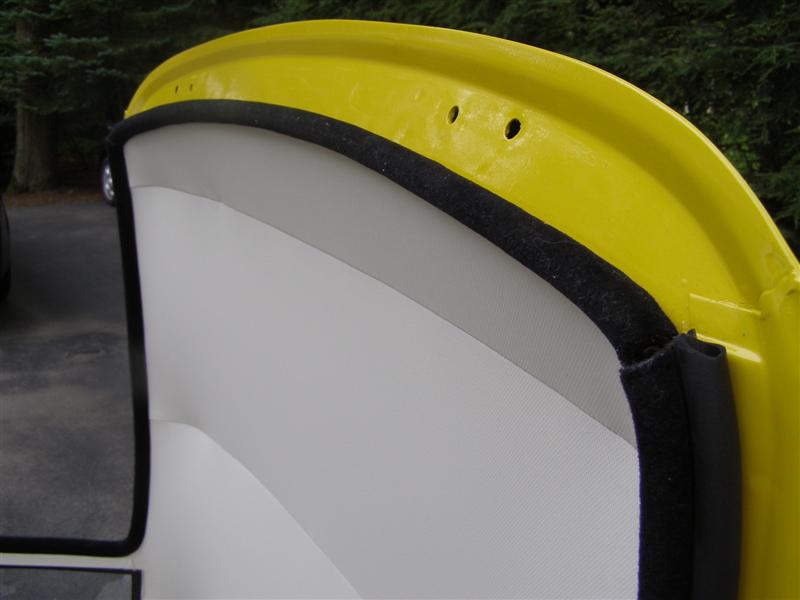
The seal or weatherstrip that goes here will not be installed until it's time to mount the top.
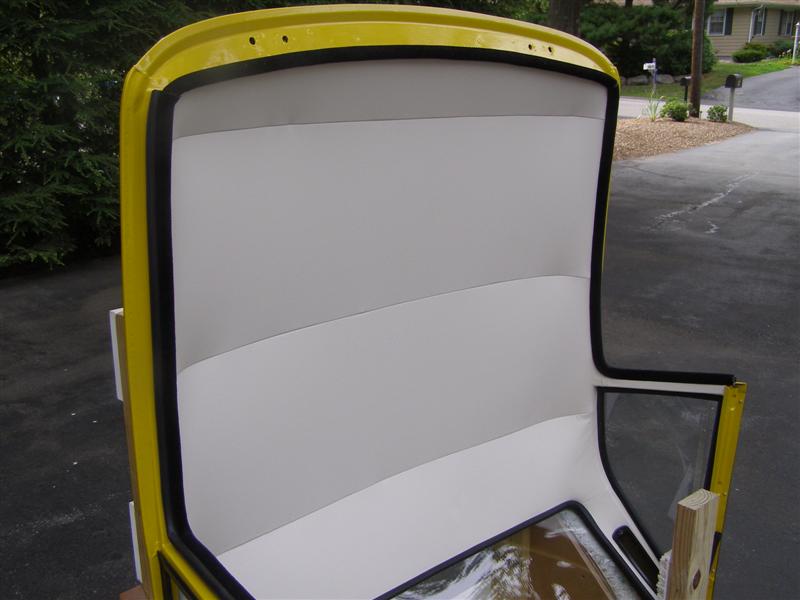
Eddie from J.T. Leddy did a great job on the headliner and Allan did a great job on the rest of it.
Allan fit all of the new weatherstrips and seals so that everything matches and fits perfectly.
These will each get the final trim after the hardtop is installed in the fall, after the glasses are fit and the top is bolted down.
What can't be seen is the insulation shown in earlier pictures that should make this a nice warm and quiet ride in the fall.
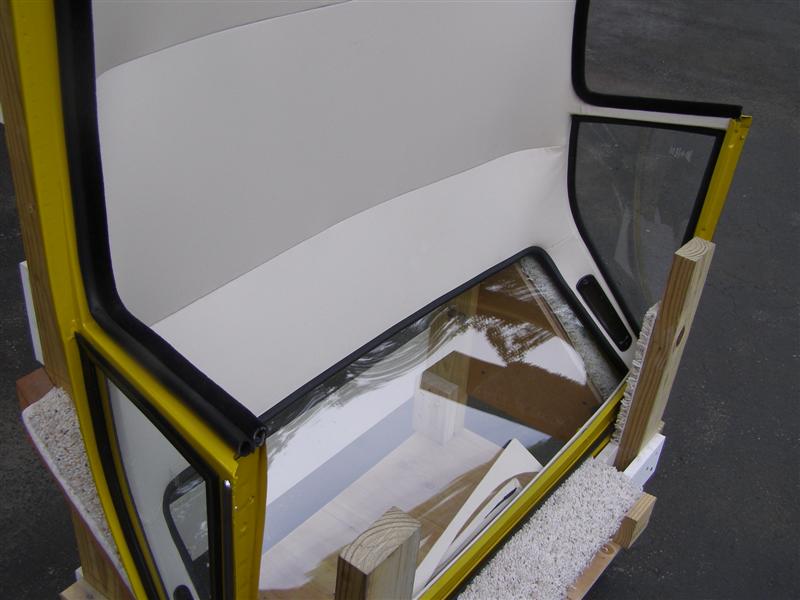
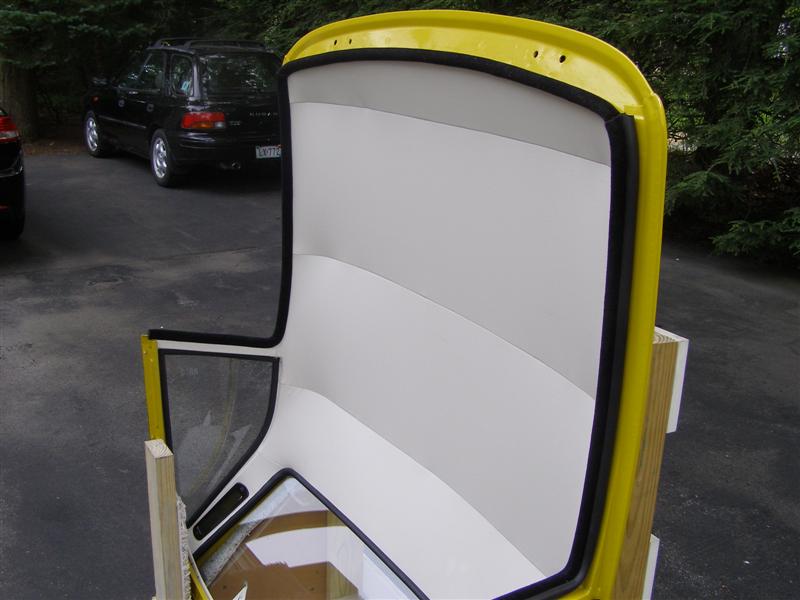
These seams are held up by the three rods that go across the top shown earlier. If you buy a top, make sure they are included as they are NLA.
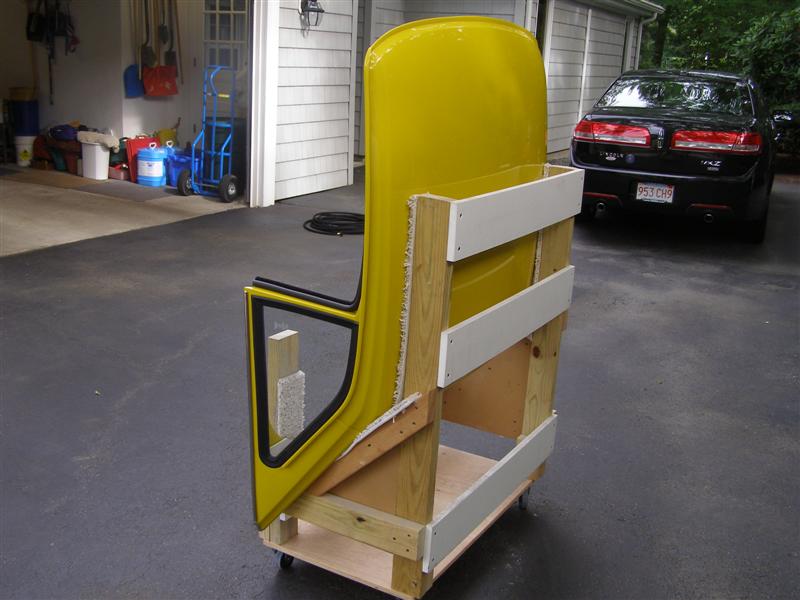
The trimmed down stand is now all set to go with the larger wheels and relocated side support panels.
The rear seal is glued in place and waiting bolt down.
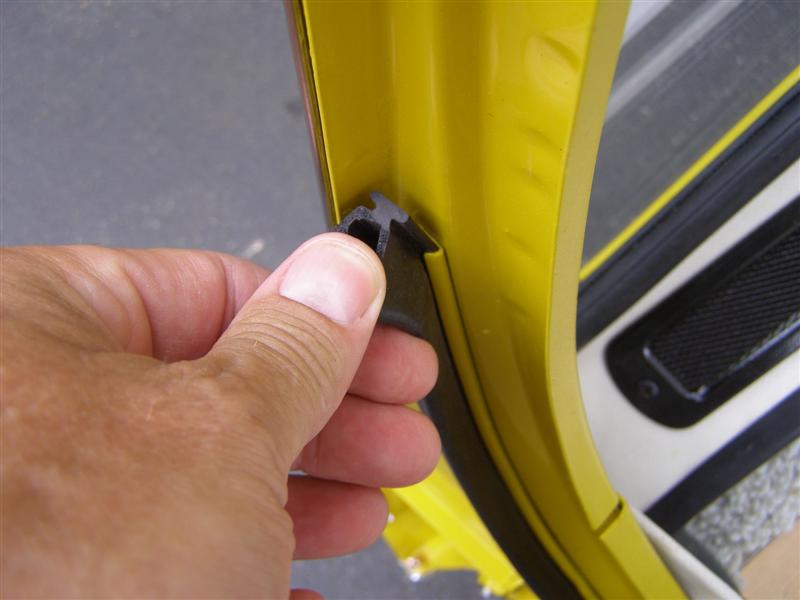
These are a little tricky to get in the track without butchering them up. Then you have to work it all along the back.
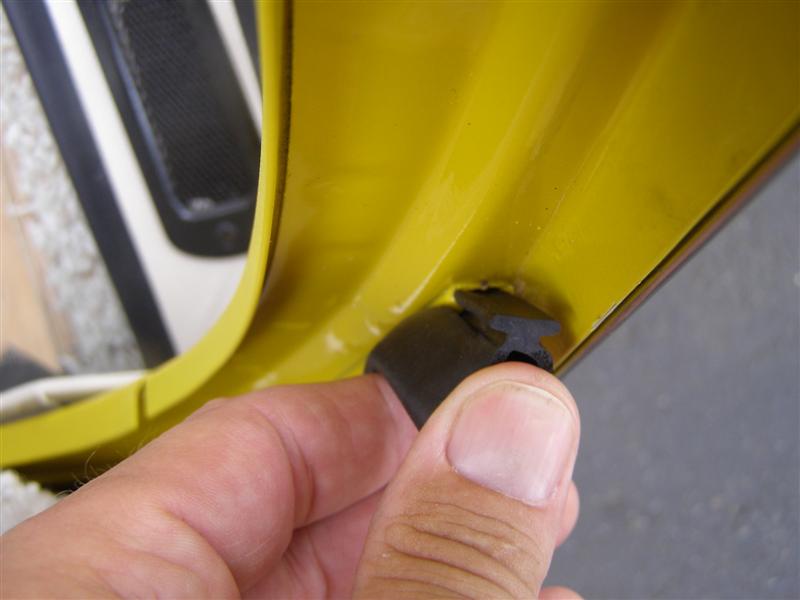
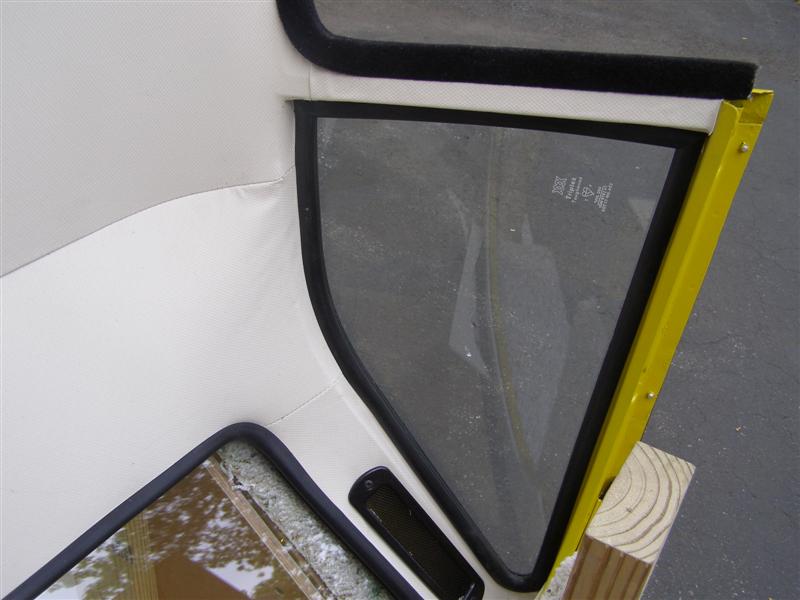
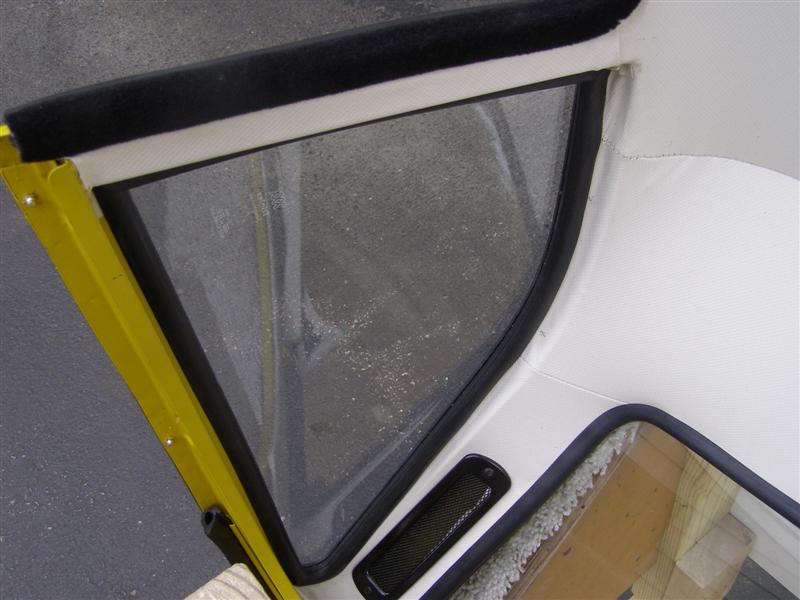
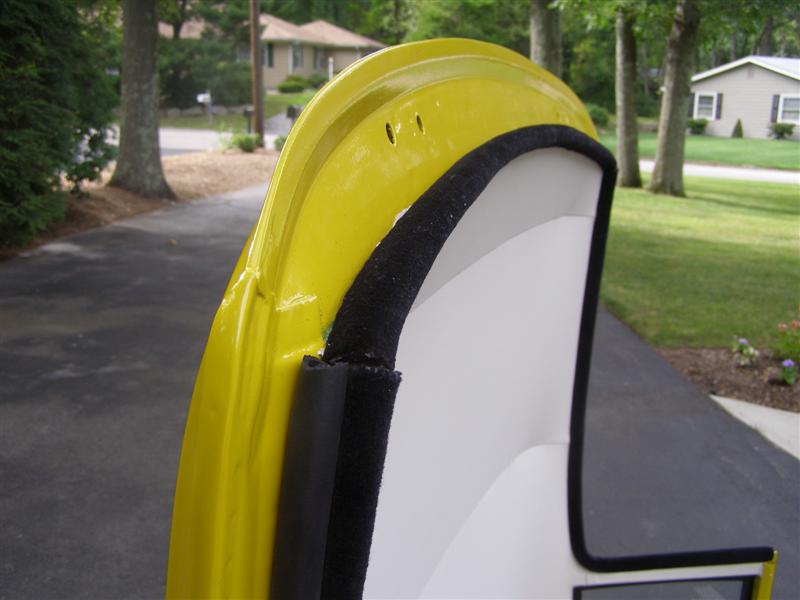
This is the other end of the seal. It will also be trimmed at final installation.
Continued in the next frame.
The seal or weatherstrip that goes here will not be installed until it's time to mount the top.
Eddie from J.T. Leddy did a great job on the headliner and Allan did a great job on the rest of it.
Allan fit all of the new weatherstrips and seals so that everything matches and fits perfectly.
These will each get the final trim after the hardtop is installed in the fall, after the glasses are fit and the top is bolted down.
What can't be seen is the insulation shown in earlier pictures that should make this a nice warm and quiet ride in the fall.
These seams are held up by the three rods that go across the top shown earlier. If you buy a top, make sure they are included as they are NLA.
The trimmed down stand is now all set to go with the larger wheels and relocated side support panels.
The rear seal is glued in place and waiting bolt down.
These are a little tricky to get in the track without butchering them up. Then you have to work it all along the back.
This is the other end of the seal. It will also be trimmed at final installation.
Continued in the next frame.