Hey Guest!

 Hey - did you know if you click on the title of a thread it will take you to the first unread post since you last visited that thread?
 but were afraid to ask:
  STOP!! Never post your email address in open forums. Bots can "harvest" your email! If you must share your email use a Private Message or use the
  smilie in place of the real @
 Pretty Please - add it to our Events forum(s) and add to the calendar! >>
Brosky
Great Pumpkin
Offline
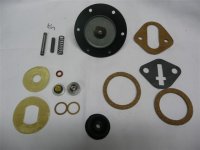
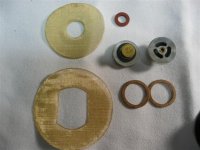
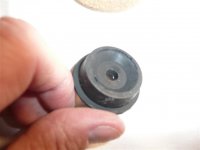
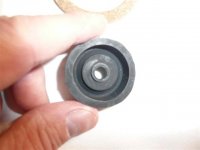
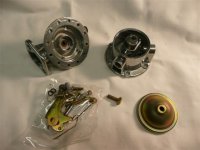
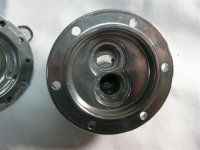
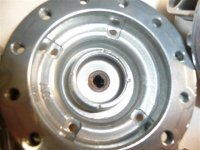
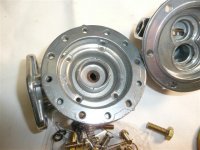
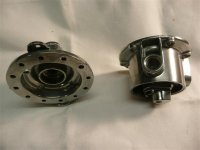
I got this kit form a company in Weymouth, MA that I didn't even know existed until a few weeks ago. I found them by accident after searching for AC fuel pump kits and they make their own. I did a page for my web site about a year or more ago featuring the kits from TRF with some Micropolishing pump bodies. Those kits were good, but had no shaft and clips, no screens and no way to replace the shaft cup & seal at the bottom of the body without ruining the cup.
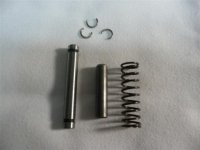
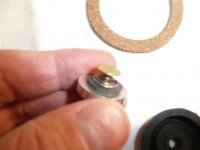
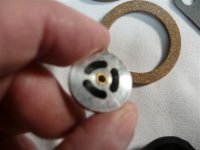
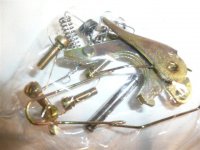
This kit has a nice thick seal to fit over the diaphragm shaft that will fit right into the lower pump body without worry of destroying the steel cup that holds the old flat style seal in place. They also use aircraft grade neoprene ti make the diaphragms that will withstand the fuels of today and the valves are their own design. The lever shaft with new clips as well as a new spring come with it too.
Then and Now Automotive
I have no financial interest in this company. I will be building a few new pumps that were polished by Jeff Schlemmer at Advanced Distributors as soon as I have a few hours to spare on the bench. Pics of those to follow.