Hey Guest!

 Hey - did you know if you click on the title of a thread it will take you to the first unread post since you last visited that thread?
 but were afraid to ask:
  STOP!! Never post your email address in open forums. Bots can "harvest" your email! If you must share your email use a Private Message or use the
  smilie in place of the real @
 Pretty Please - add it to our Events forum(s) and add to the calendar! >>
DNK
Great Pumpkin
Offline
I don't remember if it was Doug or Tom who posted about why do things have to be so hard and everything you touch goes Fubar.
But, I am so there!!
Pulled the water pump housing off the new motor. Did some work to the carb side. Put it back on . Bottom return pipe was a pain but got it.
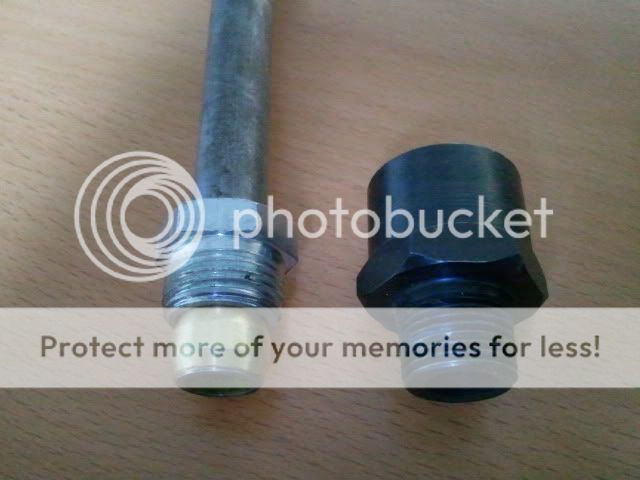
Didn't like the fix I did on the original so bought a used one at the Bellevue show. Had my machinist do the work this time. Beautiful. Sent it out to be ceramiced and came back nice. Pulled the old one and exchanged the water pump and the inlet for the lower return pipe. Made another gasket for it (#3) and stuck it on loosely. Went to install the bottom return pipe and it won't go on. Pulled the whole thing off. Pulled the return pipe of the trans housing (that's not going to be fun to put on) and tried to install the return pipe while off the car. No go .Must have bunged up on or both the threads. Now I have to go out to buy the tap and die for those threads. That won't be cheap.
Why do things have to be so difficult???
But, I am so there!!
Pulled the water pump housing off the new motor. Did some work to the carb side. Put it back on . Bottom return pipe was a pain but got it.
Didn't like the fix I did on the original so bought a used one at the Bellevue show. Had my machinist do the work this time. Beautiful. Sent it out to be ceramiced and came back nice. Pulled the old one and exchanged the water pump and the inlet for the lower return pipe. Made another gasket for it (#3) and stuck it on loosely. Went to install the bottom return pipe and it won't go on. Pulled the whole thing off. Pulled the return pipe of the trans housing (that's not going to be fun to put on) and tried to install the return pipe while off the car. No go .Must have bunged up on or both the threads. Now I have to go out to buy the tap and die for those threads. That won't be cheap.
Why do things have to be so difficult???