Hey Guest!

 Hey - did you know if you click on the title of a thread it will take you to the first unread post since you last visited that thread?
 but were afraid to ask:
  STOP!! Never post your email address in open forums. Bots can "harvest" your email! If you must share your email use a Private Message or use the
  smilie in place of the real @
 Pretty Please - add it to our Events forum(s) and add to the calendar! >>
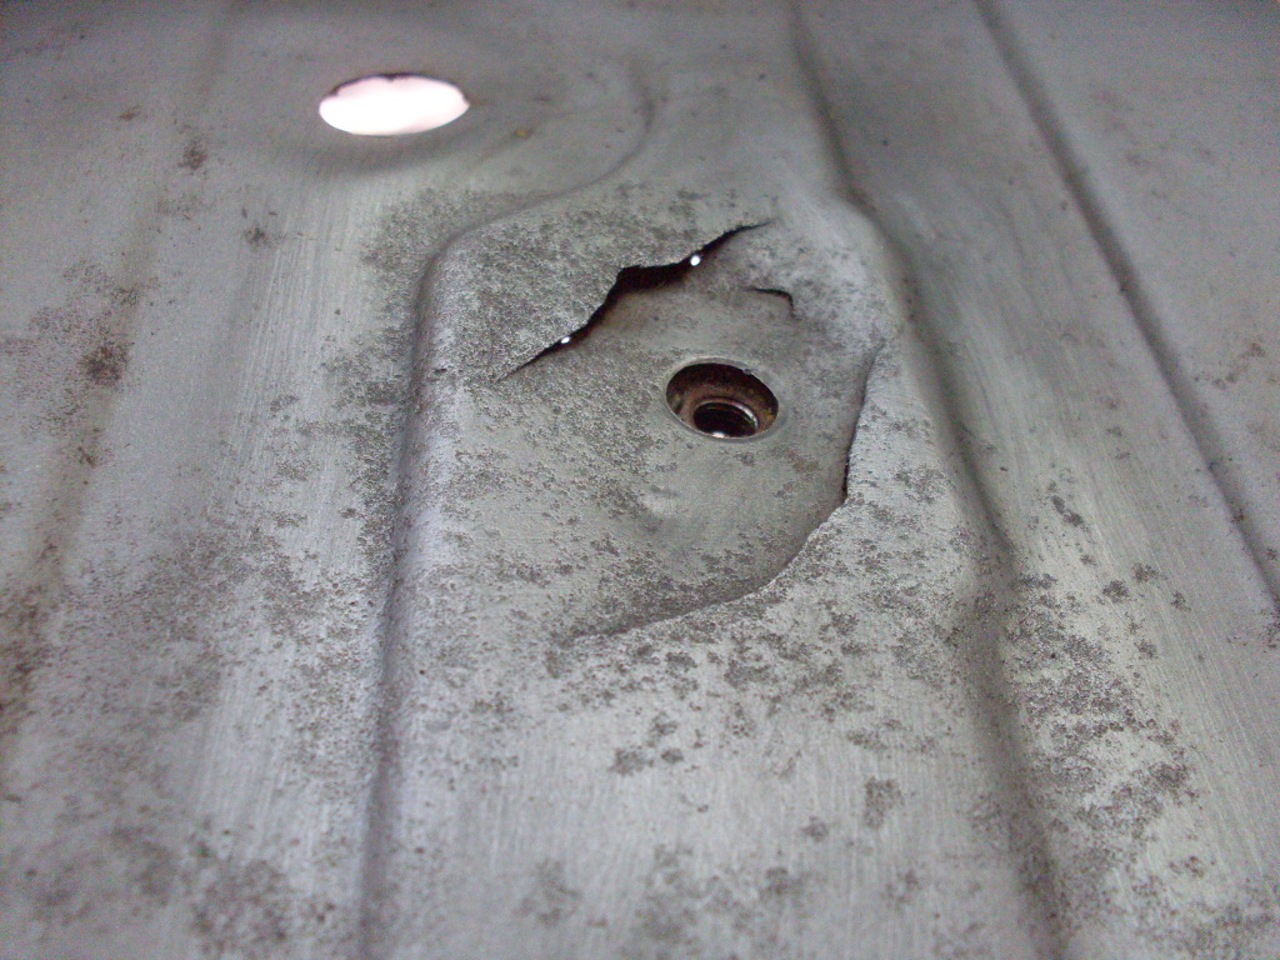
Well, I pulled the seats out today to look at my floor pans for the first time (see pictures below). Any ideas on what to do about the cracks around the hole where the seat track mounts? What about the rest of the pan. Leave as is or try and put down some type of rust inhibitor like POR15. This is a survivor car so I am not doing a restoration or anything just trying to keep it in good shape and useable.
Thanks for the help.


Thanks for the help.