• Hi Guest!
    If you appreciate British Car Forum and our 25 years of supporting British car enthusiasts with technical and anicdotal information, collected from our thousands of great members, please support us with a low-cost subscription. You can become a supporting member for less than the dues of most car clubs.

    There are some perks with a member upgrade!
    **Upgrade Now**
    (PS: Subscribers don't see this gawd-aweful banner
Tips
Tips

TR2/3/3A Clutch/Flywheel Bolts

CJD

Yoda
Country flag
Offline
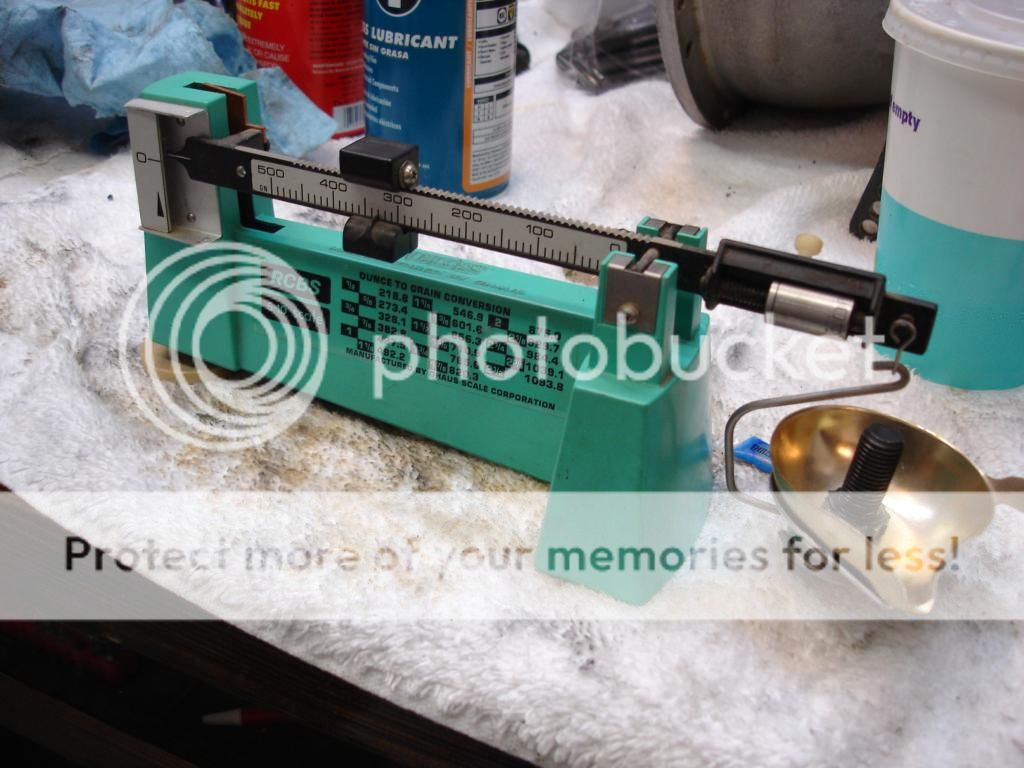
I have run into a bit of a crisis. When I sent the crank and flywheel to the machine shop they were a grungy mess. When they came back...after all the cleaning and machine work was done, I saw a bunch of wallowing around the dowel holes and some scarring. I made a mental note to study it later. Well, later is now.

It appears the flywheel was run loose, and it damaged the threads in the crank. I looked all day for the flywheel bolts without luck...but I now think I had them all along, but they are not right. I have 4 bolts about 7/8" long, marked on the head with "KUMAX 8 8". I'm pretty sure that means metric...although none of my metric taps match them. It appears the PO fixed the wallowed crank threads by re-tapping for these 88 bolts. Bummer. He also left the dowel out completely. Double Bummer.

Of course this has me asking several questions...

1) What were the factory sized flywheel threads?
2) Does anyone have experience with thread inserts on a crank?
3) What size dowel does the crank take?
4) Has anyone studied the clearance between the flywheel bolt heads and clutch disc? I assume the originals had thinner heads for clearance?

Anyway...as usual...I am studying options before I either do something drastic to repair, or just scrap, the crank and flywheel after all that pricey machine work. I'm especially bummed at my machinist for not noticing this before he put the time into these parts...
 
Don't know the thread sizes but if the current holes are not salvageable is there more room to drill and tap new ones? The old ones may need to be plug too. Sounds like your machinist owes you a favor too.
 
Original threads were 3/8-24. Lots of racers like to have them tapped out to 7/16-20 though (which of course requires drilling the flywheel to match). I'm 99% certain the pin is exactly 3/8" (0.375"), but there is some chance it is 3/8" + .001" (0.376"). Some of the racers also add more bolts and/or more pins.

According to some old notes I saved, ARP has flywheel bolts in both sizes, but the 7/16" ones may need to be shortened just a bit. However, there is supposedly an old Ford part number that is technically obsolete but still stocked in many places, B8AZ-6379-A which are 7/16" flywheel bolts with the correct grip length.
 
John,
I can understand missing the crank bolt holes but not the flywheel holes. That would not set well to have paid for that. As usual I have extra cranks and flywheels.

marv
 
Thanks for the replies. Once again you bailed me out, Randall!

I compared the hybrid 88 holes to a 25/64 drill bit...which is the size for a 7/16" bolt. Plenty of meat! My machinists said the 88 bolts would be fine, but the closer I looked, the more I realized the PO did a really botched job. I asked him about using inserts, and he said definitely not to on a crank.

So...the plan is to drill and tap the crank for 7/16 bolts. I called Oreilly's, and it turns out Randall's Ford part numbers are good! Got the new bolts and tap ready to go. I will likely need a bottom tap...those take a day or to to get locally.

Now, for those unfamiliar with our flywheels, they have double locator dowel holes. One lines a #1 TDC arrow on the flywheel with a line on the block. There are degree marks also for each degree before or after. The second turns the flywheel 90 degrees, so the TDC no longer lines up. My primary dowel holes are badly wallowed. I initially just planned to turn the wheel by 90, but Randall has convinced me to drill for a larger dowel and keep the cool timing marks. By the way...I found the stock dowel is 11/32". Not unheard of, but not common either.

What this all means is...larger stronger bolts with greater clamping power that will be better than stock...and larger stronger dowel, also stronger than stock. I've gone from bummed to excited for the mod!

I was concerned at first about how to fix the crank on the drill press. I'm slow...the solution was easy. All I have to do is mount the flywheel with the 88 bolts, and then clamp the wheel to the drill press table. Then it's just a matter of removing the junk bolts one at a time to drill each hole in perfect alignment. At least that's the plan...

Now, what I really find fascinating is how anyone could run a loose flywheel for any length of time. It must make one h&@$ of a racket. PO's never cease to amaze me.
 
I know for a fact the vibration gets your attention. I fixed one for a guy years ago that had just replaced clutch and had the flywheel surfaced. Whoever put it back together didn't bother to tighten up the flywheels bolts. I got to it before any damage was done. Glad it worked out!

marv
 
I know for a fact the vibration gets your attention. I fixed one for a guy years ago that had just replaced clutch and had the flywheel surfaced. Whoever put it back together didn't bother to tighten up the flywheels bolts. I got to it before any damage was done. Glad it worked out!

marv

All I can figure is that some people just drive cars till they won't move any more!?!
 
Thanks for the replies. Once again you bailed me out, Randall!


I was concerned at first about how to fix the crank on the drill press. I'm slow...the solution was easy. All I have to do is mount the flywheel with the 88 bolts, and then clamp the wheel to the drill press table. Then it's just a matter of removing the junk bolts one at a time to drill each hole in perfect alignment. At least that's the plan...

Now, what I really find fascinating is how anyone could run a loose flywheel for any length of time. It must make one h&@$ of a racket. PO's never cease to amaze me.

Of course you will have to ream the 25/64 flywheel holes for the 7/16 bolts. I might also have a machinist re-check the crank for trueness and cracks and then get it all balanced. My 2p.
As for PO, think of where your feet would be if this let go. That's why the drag racers mandated shields.
TOM
 
Yes I agree John- plus in a weird way I think life is actually less stressful for them. I have seen “women” “do not tell mine; she is kinda a feminist” drive cars until the actual metal pad the brake material is stuck to falls away and the puck falls out.
 
By the way...I found the stock dowel is 11/32".
That is curious. I double-checked both an early flywheel (original from TS13571L I believe) and a TR4 crankshaft with the pin still stuck in it, both were clearly 3/8". As I said before, the pin might possibly have been .001" oversize, I couldn't get a micrometer onto the crank pin and my digital calipers could be off by .001". But a 3/8" +000 pin tapped in and out of the flywheel just as it should. There is no way it was a 1/32" interference fit!

Note that the pin is supposed to be a tight fit in the flywheel. You can't insert it by hand (normally).
 
I think you're right again, Randall. I was going by the closest size to the hole. When I started fitting dowels it's obvious they were for 3/8".

So, tonight I started work. It is a very slow process. I learned that when the flywheel came loose, it was actually off from the factory orientation by 90 degrees. That means it was following a rebuild that everything came loose. The result of the shoddy work is that no matter what orientation I turned the flywheel on the crank, one dowel hole was wallowed. I chose the factory orientation and re-drilled for a 7/16" dowel. Indexing the holes was a real pain.

After that, it was obvious that the mating surface for the flywheel to crank was not true. 6 hours later, after using straight edges, files, diamond blocks, and dial indicators...and refitting the flywheel at least 50 times, the wheel mates perfectly and the dowel pin is indexed. Runout is down to .002". That's in limits, but I will likely work on it some more to get it within .001".

Tomorrow I drill for the 7/16" bolts. That should be much quicker now that all the indexing is done. At least that's what I'm hoping!

Oh, this all started when I was just looking for the correct clutch and flywheel bolts to include when I sent everything to be balanced. Just shows, it's the parts you don't suspect that end up taking the most time.
 
Just adding some pics to the thread. This is what the mating surface looked like on the flywheel. I still cannot beleive that it appears the wheel was run so loose that the dowel popped out and gouged all the way to the bolt hole. It had to make some kinda' racket!


This is the new dowel hole drilled out to 7/16". Note the bolt holes are also wallowed. These will be cleaned up when I drill them oversize also.


This is the new 7/16" dowel in place on the crank. You will note the face of the crank has been honed true and smooth. That took most of the 6 hours. I finally got the runout (wobble) on the flywheel down within .001"


These are the fancy stampings the factory put on the rim of the early flywheel. It has the arrow for TDC, and 1 degree marks on each side as double dots. The PO had the wheel mounted so these were not lined up. After my work they now are usable again.


Here goes the upgrade to 7/16" bolts. First, I bolted the wheel on using the hybrid 88 metric bolts. I know it is true after all the work I put in on the mating faces. I have the crank/flywheel bolted to the table on my drill press. The flywheel keeps it perpendicular to the drill. It takes some time to get the old hole lined up perfectly, and then I drilled completely through the flywheel and crank with a 25/64 drill bit.


This is the 7/16" bit, with the drill stop set to .420". That makes the hole in the flywheel so the bolt will slip through, and it goes .020 into the crank. This small relief in the crank keeps the mating surface of the crank from being distorted when the bolt is tightened and strain is put on the threads.


Now, without disturbing anything, I chucked the 7/16-20 tap and used the drill to perfectly align it. Once in a few threads, I unchucked the tap and finished by hand.


And, here is the final hole for one new bolt. Now I inserted that new bolt, torqued it down, and moved on to the next bolt till the job was finished. The signs of the abuse are still there...but this is much more substantial than the 4 loose metric bolts in wallowed holes with no dowel pin!


The final step before the assembly goes to the balancer tomorrow is to match all the fasteners. There is little difference between them, but why not get them all the same to eliminate one more variable. I also make very obvious marks on all the parts that can be mounted different ways, to ensure the balance will be as perfect as possible. I ask the balancer to do the crank alone, then add each part individually, so that each part should be perfectly balanced by itself. Most good balancers will do that, but it is faster for them to bolt everything together and just spin it one time. If you don't ask, many just do it the fast way. If they spin it just once as an assembly, then changing any part throws the balance off.

DSC02659.jpg
[/URL]

DSC02658.jpg
[/URL]


Thanks again, Randall, for the ideas and tips!
 
Keep up the good work, John. Those factory markings are neat - I'm sure the machinist who put them there 60 years ago would smile in approval of your work!

Aloha - Jeff
 
Thanks, Jeff.

I do have a quick question for you guys...

What would be a good torque for these 7/16" bolts for final assembly? I thought I would just look in the manual and go with what is recommended for other 7/16-20 bolts. It turns out the manual torques are anywhere from 24ft-lb to 60 ft-lb. Not much help.
 
Well, the factory spec with 3/8" NF bolts was 44 ftlb (+/- 5%). That seems to indicate that both the bolts & crank were somewhat better than Grade 5, as my standard torque chart gives 40 ftlb for a 3/8NF Grade 5. Same chart gives 75 ftlb for 7/16NF Grade 5; so lacking any other information (like what grade those Ford flywheel bolts are), I'd go for 75.

Might be interesting to look up the Ford spec, though. Bound to be on-line somewhere.
 
Just looking over the photos again ... That's an interesting tap handle you have there. Looks like a round die handle, with an insert to match the square on the tap ?? Don't think I've ever seen one like that.
 
Good idea Randall. Looked at the ARP site for Ford 7/16, and they recommend 75ft-lbs, so you hit it right on the head. They recommend lubricating the head, loc titing the threads, and warn not to use washers.

That tap holder is part of a 35 year old Craftsman tap and die kit. Most of the time I chuck the taps in a drill...but every now and then I pull out the holder to do a better than average job. For this job I even went so far as to buy a brand new tap to ensure decent threads.

Thanks again!
 
So does it really have inserts for each tap? Seems like the hard way ...
 
So does it really have inserts for each tap? Seems like the hard way ...

No, that insert has 4 different sized square holes. Between the 4 it accepts all of the taps that came in the kit. The photo just happened to catch it at an angle that looks like the hole is centered, but none of the holes are really centered.
 
Ah, I see. Thanks!
 
Back
Top