• Hi Guest!
    You can help ensure that British Car Forum (BCF) continues to provide a great place to engage in the British car hobby! If you find BCF a beneficial community, please consider supporting our efforts with a subscription.

    There are some perks with a member upgrade!
    **Upgrade Now**
    (PS: Subscribers don't see this gawd-aweful banner
Tips
Tips

Cleaning a distributor

bigjones

Jedi Warrior
Country flag
Offline
Distributor.jpg


Well, the distributor I won on Ebay finally arrived. It looks like it was dug up from a secret burial ground.

No worries, looks like everything works, just needs disassembly and some cleaning.

Thinking of a brass wire brush, alkaline Super Clean (don't worry - I won't soak it overnight - ha!) and maybe trying out a buffing wheel on the grinder.

Sound like a plan or is there a better way?

Cheers!
 
Take it all apart.
Take the aluminum housing and clean it using a (hand) steel wire brush and alkaline cleaner (I use ZEP Industrial Purple from Home Depot). Work quickly and wear rubber gloves. Rinse thoroughly with water when done.
Once you've degreased and removed the heavy scale with the alkaline cleaner, use a Nylox wheel/brush with in a drill press or on a pistol drill if you must. The Nylox wheel will abrade away the high spots and deposits and leave a satin finish.
From there you can use a fine brass wire brush and finally finish off with some Simicrome on a small buffing wheel (cotton wheels on a Dremel will work if you don't have something larger).
When you are done you will want to clear coat the casting so it looks good for more than a week or two.
You can use this same method on SU carbs but you need to be careful to not get the alkaline cleaner inside. SUs also may need wet sanding with progressively finer wet/dry paper until you reach about 1500 grit.
 
Wow!
Thanks for all the info Doug.
Where do you get the Nylox wheel from?
Yeah, I got some Simichrome - good stuff, isn't it.
I was going to wax it when done but I like your idea better about the clear coat.

Cheers!
 
Send it to Jeff to rework, you will be very pleased with the results not only preaty but correctly working.
 
But that distributor is not for a Sprite. Maybe a 1500 Midget but I think it's from a Mini A+ engine, a bit tough to tell from the 1 picture but it's not for an A series engine unless it's for an A+ and it is way different from an A series.
 
Jack,
I hear you - and I would, but this is just a spare to carry in the trunk, fully tested and equipped to slide in if I get more ignition problems on the road in the future.

Spritenut,
Well spotted. This is for a 1500 (with contact breakers, ar, ar!)- or it better be! I've waited long enough for it - the bloke shipped it on the Queen Mary.
I got it from the UK (unfortunately, it was wrapped in the Daily Mail newspaper instead of the Sun) I'm hoping that this UK version (as with the UK version of carburation) may be a little less docile than the US. No matter, I try this against the original and just put one in the trunk as spare.

Doug,
I just brass wire-brushed it and it looks good enough to me - can I just put the thing in and not bother shining it up. Jack has inspired me with cleaniness next to godliness (and I'm getting better) but it is too cold to clear coat anything these days.

Cheers
 
Spritenut, the Mini distributor is outwardly indistinguishable from that used in a rear-wheel drive application like a Spridget. The boss you see on the bottom of the dizzy in Adrian's picture is the adapter used to secure the Lucas or Delco dizzy to the Triumph 4-cylinder block.

Adrian, you certainly don't need to go to all the trouble I was suggesting for a spare dizzy. I thought you were asking how to clean the dizzy up for a detailed engine compartment. As long as you are happy with the spare dizzy, the way it cleaned up with the brass wheel... you're good to go.

The Nylox brushes are available at most home centers. Look for them near the wire brushes for use in electric drills. They will look similar to a wire brush but their bristles will look like colored fishing line (orange, blue, or red). The color identifies how coarse the abrasive in the filament is. Nylox is a brand name (like Kleenex). If you ask a store clerk about them, you may wish to describe them as abrasive nylon bristle brushes. Nylox is specifically made by Weiller, Nyalox (with an "a") is from Dico.

Picture link:
https://ace.imageg.net/graphics/product_images/pACE2-999698dt.jpg
 
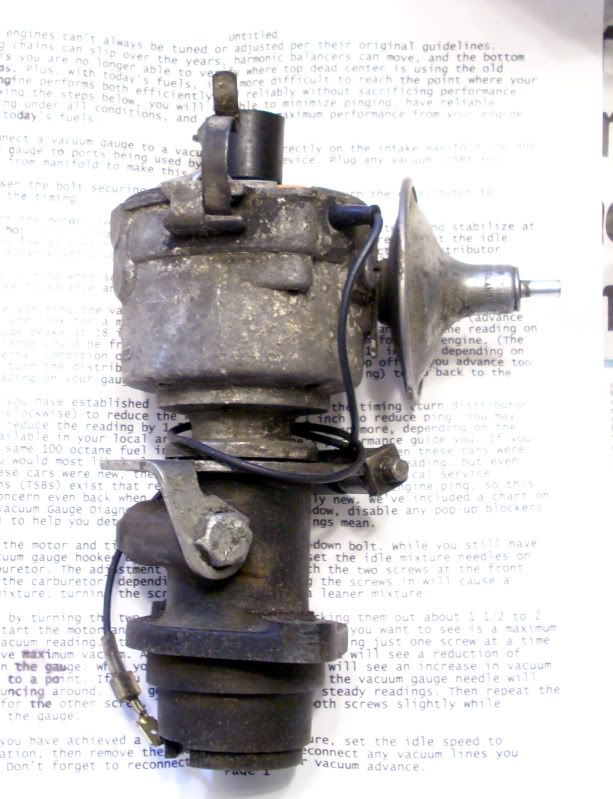
Just to add to Doug's description, this being a UK distributor for a 1500, it has a vacuum advance (rather than the hated vacuum retard) and is fitted with points. Hence it has the spindle with the lobes and so it takes the Pertronix from the 1275 (and happily for me, the TR3). So, I get a dizzy with an advance and it will also serve as a spare for my TR3.

(The Pertronix for the US 1500 is of a slightly different design because it has to fit on a lobeless spindle.)

Also, take a look at this article (for the MGB engine) that says, on page 17:
"...Remember: if you change either the camshaft profile or timing radically, you'll most likely have to alter the ignition curve.
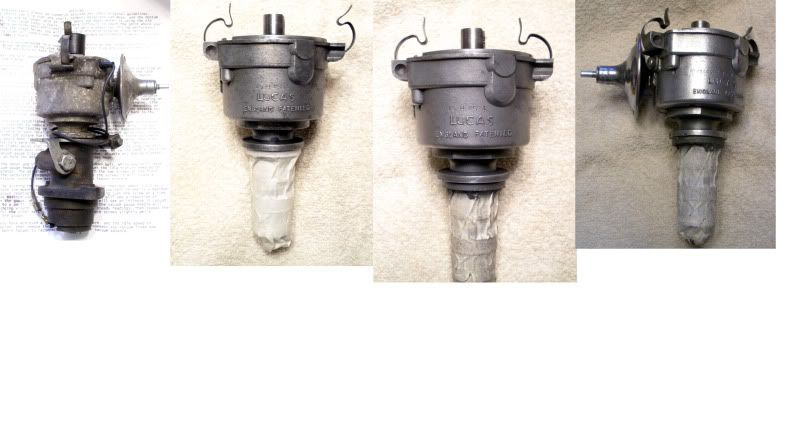
Probably the worst distributors that you can use are the North American Market specification Lucas 45DE4 or 45DM4 as they use
so much advance and retard to meet US emissions standards that they eliminate any hope of getting real performance from the
engine. The European specification Lucas 45D4, however, is excellent for this purpose...."

Cheers
Hopefully off to Ace Hardware this cold morning for some Nylox brushes (thanks for the tip Doug)
 
Now that's it's all cleaned up,you might want to put it on the car and drive or run it a bit, make sure it works. You'd hate to be out somewhere and find your spare had a fault.
 
Mike,

You better believe it!
I had a spare DM2 rattling around in the trunk of the TR3 for the longest time in case of a distributor failure. (this actually happened to me years ago on the way home from work one night - the engine quit and there was this ginormous back-fire out the exhaust. Investigation showed the inside of the dizzy had exploded! 1 mile from home so I walked but had to call for a tow truck for the TR3)
Anyways, last week I put this spare DM2 in the Midget and it wouldn't even fire up. Turns out the points were roasted. Glad I didn't find that out in the middle of the night somewhere.

Cheers!
 
Cleaned.jpg


While I'm waiting for the garage to warm up, I finished up cleaning the distributor following Doug's suggestions. This is the progression from:

1. as received
2. brass wire brush
3. Nylox wheel
4. Simichrome (on a Dremel felt pad).

That Nylox wheel is a joy to use - put it in your drill press and it is totally safe (of course wear the eye protection)

Cheers!
 
Thanks Doug and thanks again for the excellent cleaning procedure.

Folks, slight problem on the installation of the Pertronix 1275 ignition to this UK 1500 dizzy. The Pertronix adaptor plate doesn't fit. Ha! Come to think of it, why would it!

All is not lost - I think I just need to drill an accomodating hole in the plate to fit the contact breaker adjusting "post", then drill and tap one hole in the dizzy base plate. If anybody is vaguely interested I can post photos as I know this isn't too clear.

Just waiting for it to warm up a bit - we are having unseasonably cold weather here in NC. Living in the south for many years you kinda forget how cold is cold. Dug out my old wool pullover from when we lived in Idaho - that helps.

Anyways, onward and upward.

Cheers!
 
Wow, what the guy stuck in side does for the winter in front of the TV.
 
I'm impressed and I have been quite meticilous on my restore, I guess the dizzy needs to come out for some hand work. I have never actually pulled it out as my car runs great. Does is just pull out, mark a spot and put back in the same direction?

I was fortunate in my 65 rebuild the engine runs great just replaced every gasket I could touch without removing the head.

Mark
 
My advice would be leave alone and enjoy driving because IMHO, even if you make marks, the timing will need to be double-checked.

When you have absolutely nothing to do and are bored with life, mark the disributor, so you can put it back in the same position, and undo the bolt on the clamp. Make a mental note of where the rotor is pointing.

It should then pull out vertically - there will be a slight drag due to an O-ring on the shaft.

Clean it up and put in new points, etc.

Put it back in, align the marks and align the rotor. Push down until it fits. Try twisting the rotor - it should only move a slight amount. Re-check timing with timing light or do a static timing.

IMHO, it is worth taking out the dizzy and putting it back in just to give you confidence. However, you should be aware of the necessity for checking the timing.

Next step would be to acquire a spare from Ebay, check it to make sure it works and then pack securely and put it in the trunk.

Cheers!

PS. Just to put it in context, if you mess up the timing you can do serious bad news damage to the engine.
 
Back
Top