Hey Guest!

 Hey - did you know if you click on the title of a thread it will take you to the first unread post since you last visited that thread?
 but were afraid to ask:
  STOP!! Never post your email address in open forums. Bots can "harvest" your email! If you must share your email use a Private Message or use the
  smilie in place of the real @
 Pretty Please - add it to our Events forum(s) and add to the calendar! >>

Offline
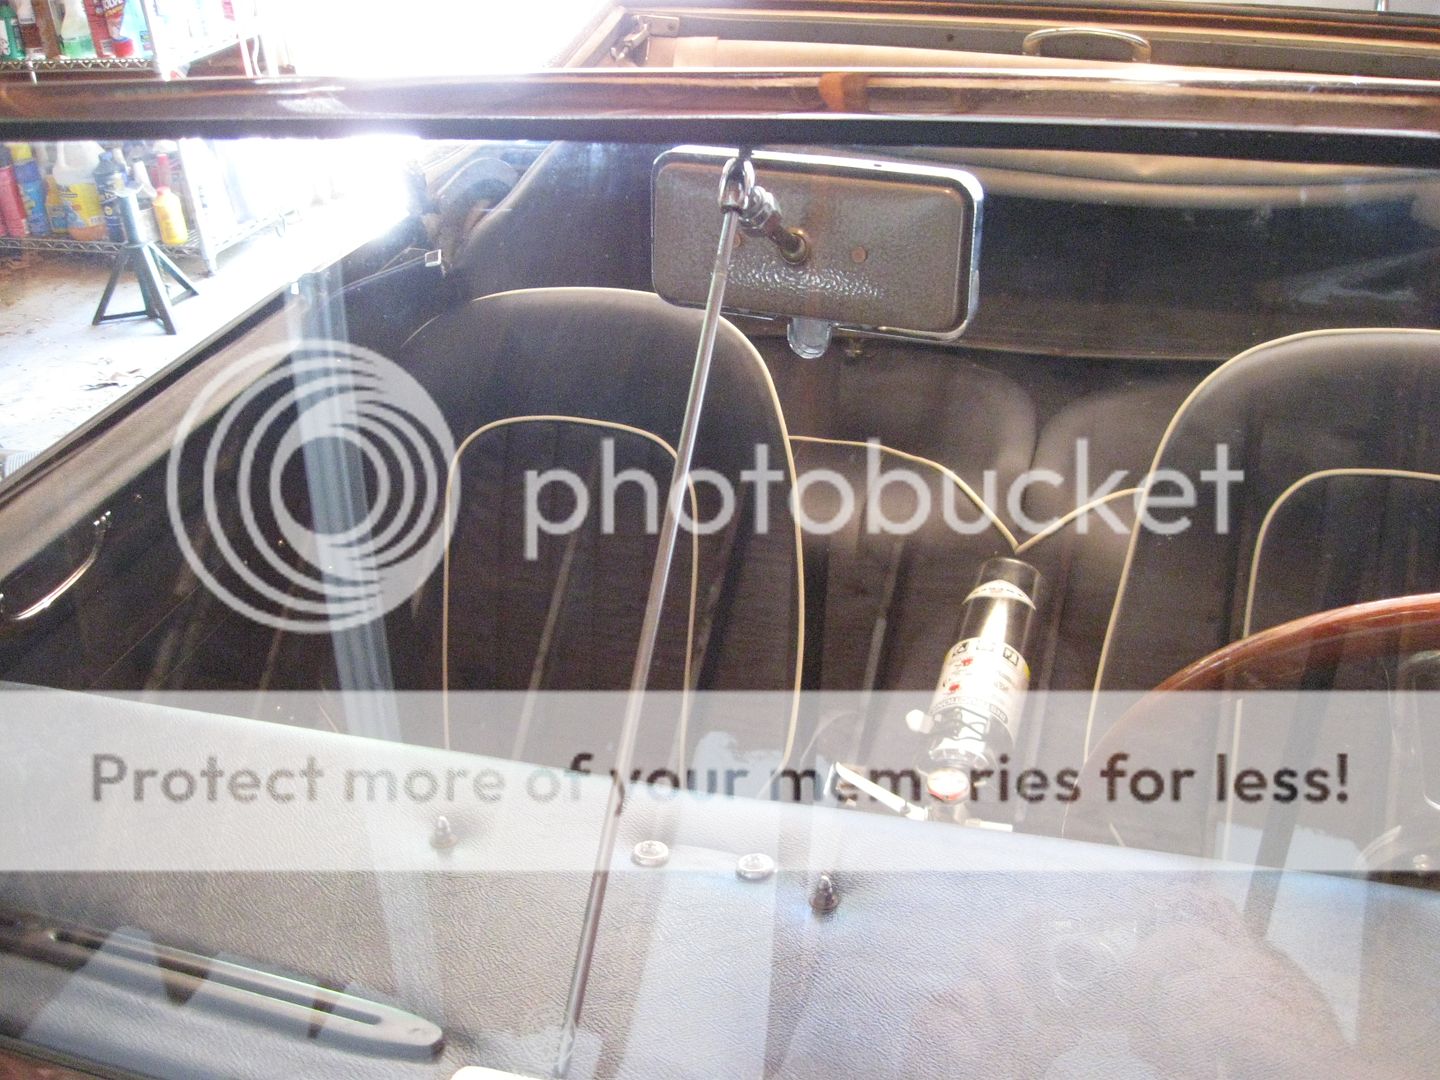
Convertible owners know the biggest problem with their rear view mirror. With the top up it gives a lovely view of the lower portion of the convertible top and a pretty restrictive view of what's behind them. There have been a number of means to address this, the most common one a riser placed between the bottom of the mirror and the dash pad. I've never really liked the looks of the riser and set out to do something different with the aid of the BMC parts pin.
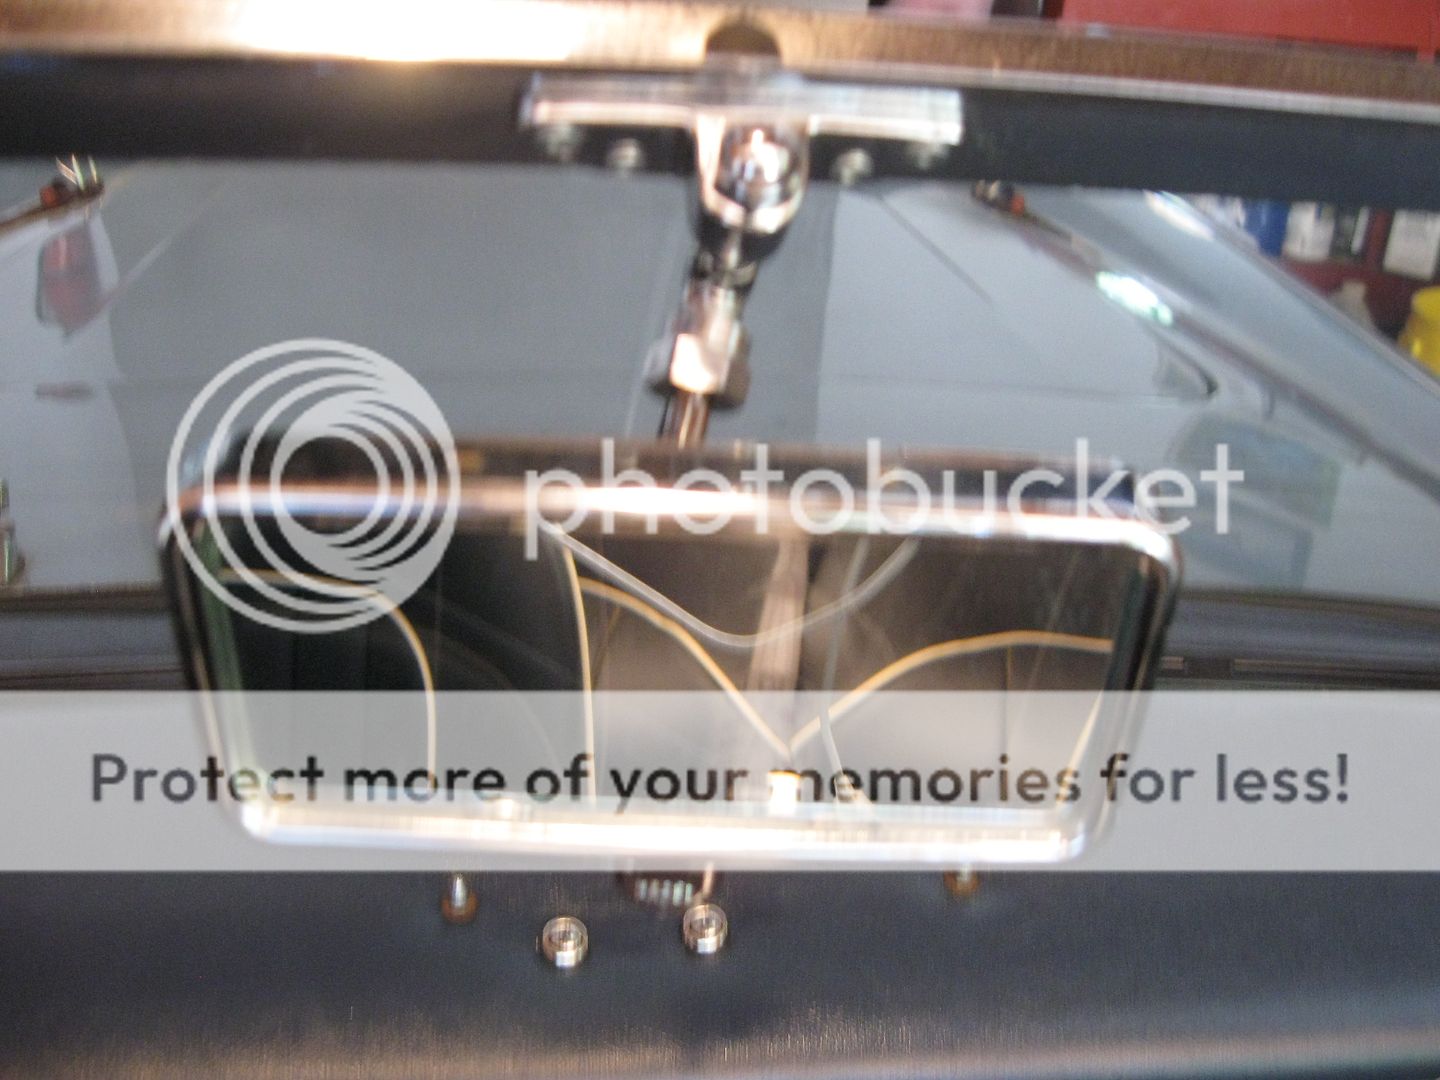
The mirror is a Series I Jaguar E-Type one which has the added convenience of a Day/Night dipping feature. Originals are quite expensive, but repros are available at reasonable prices from the Jaguar specialists. Check around as prices vary widely and they are probably all coming out of the same factory in a country not named England.
Here's all the parts required:
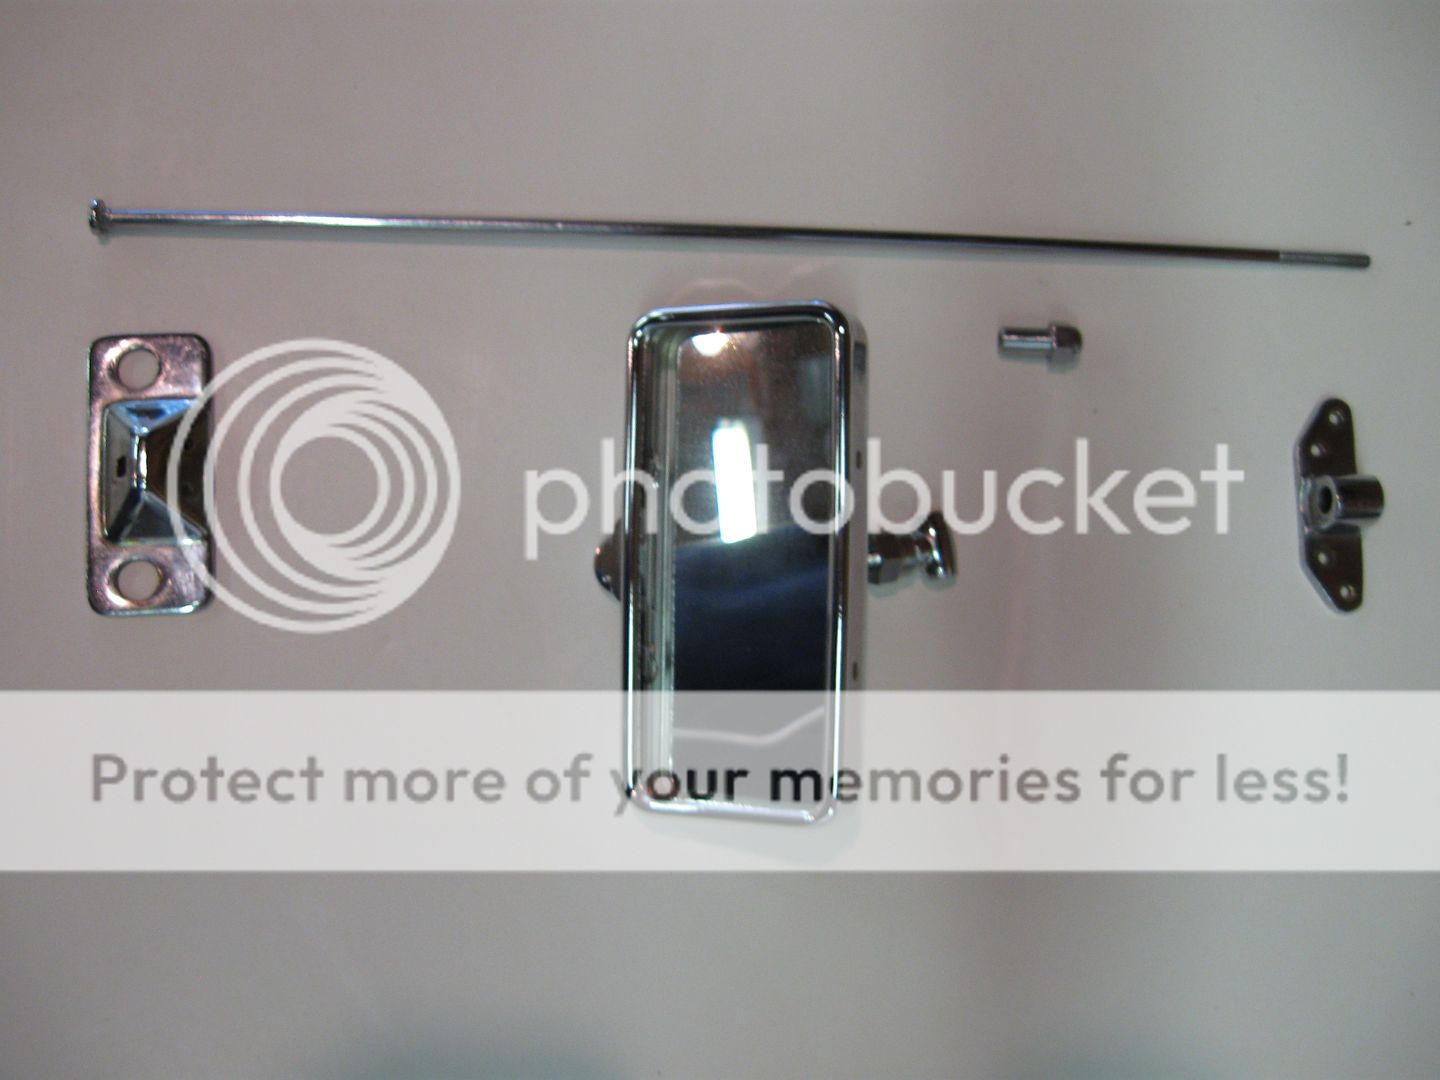
A lower dash bracket, an upper windshield bracket, a support rod and a dome screw. These are all sourced from an early MGB roadster. The support rod and dome screw are available new from the usual suppliers. Unfortunately, the lower and upper brackets are NLA. I went onto a couple of MGB forums and asked around. I'm sure there are plenty of them out there.
It will require a bit of modification to a standard car, so decide whether it's for you. First place some masking tape in the center of the windscreen frame, center the upper on the windscreen frame and mark the location of the four mounting holes. Drill four 1/8" holes and secure the upper mount with 1/8" pop rivets.
Next install the support rod into the lower bracket, thread the rod through the hole in the upper bracket, and find the location of the lower bracket that will allow the support rod to parallel the slope of the windscreen. Mark the location for the two lower bracket mounting holes on the dash pad.
You'll also notice that the support rod will stick above the upper bracket, Mark the location on the rod where it will be even with the top of the bracket. Also mark the location on the rod of the bottom part of the bracket.
Remove the dash pad. Locate some oval head phillips machine screws and bolts that will fit the holes in the lower mount and drill appropriate sized holes through the dash pad in the marked location. You'll also want to locate some fender washers, nuts and lockwashers to place under the dashpad to hold the macchine screws and lower mounting bracket.
Take a 10/32" die and thread it onto the threads of the support rod and cut the existing thread down to the lower mark you made on the support rod. Remove the die and cut the threaded part of the support rod off with a dremel wheel even with the upper mark you made on the rod. You've just shortened the support rod and moved the threads down.
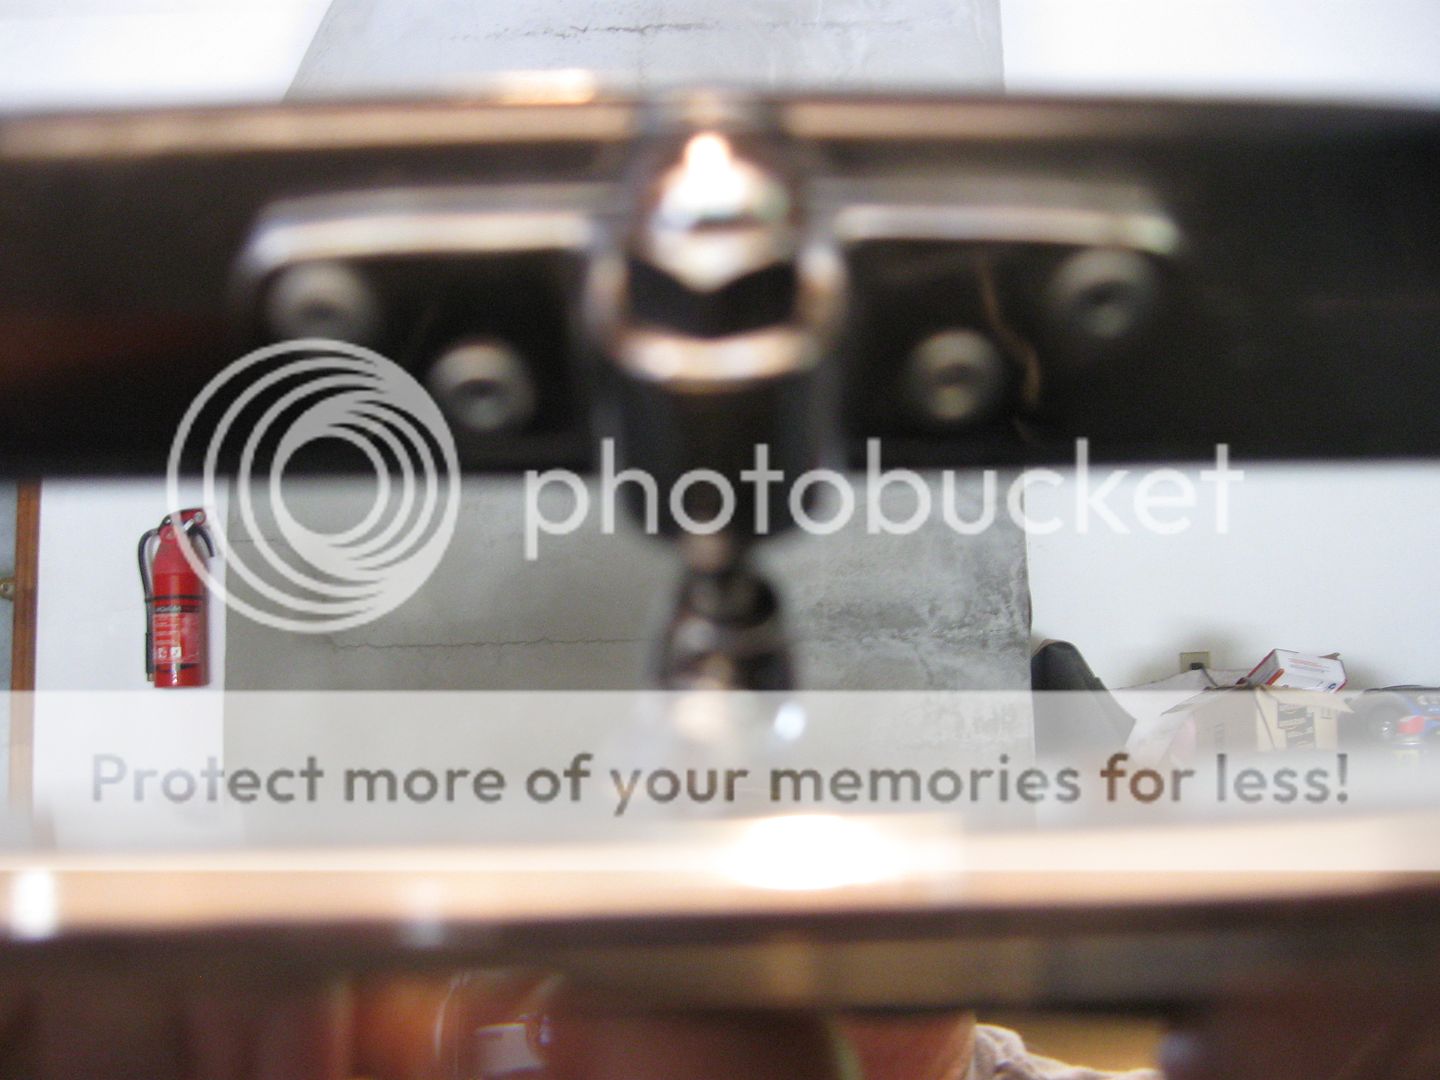
Place the support rod into the lower bracket, then place the rear view mirror bracket onto the support rod. The rear view mirror bracket is a little larger diameter than the support rod. I cut a small piece of water hose clamp to use as a shim and placed it inside the mirror bracket around the support rod. Place the dashpad on top of the scuttle. Take the bracket, support rod and mirror assembly and pass the upper part of the support rod through the hole in the mounting bracket. Mount the lower support bracket to the dashpad. (I thought the support rod was a little shaky in the mounting bracket so packed the well of the lower mounting bracket with epoxy putty, installed the rod, and let the unit harden before mounting) You can lift the dashpad to provide access underneath to affix the fender washers and nuts underneath the pad. It will look like this:
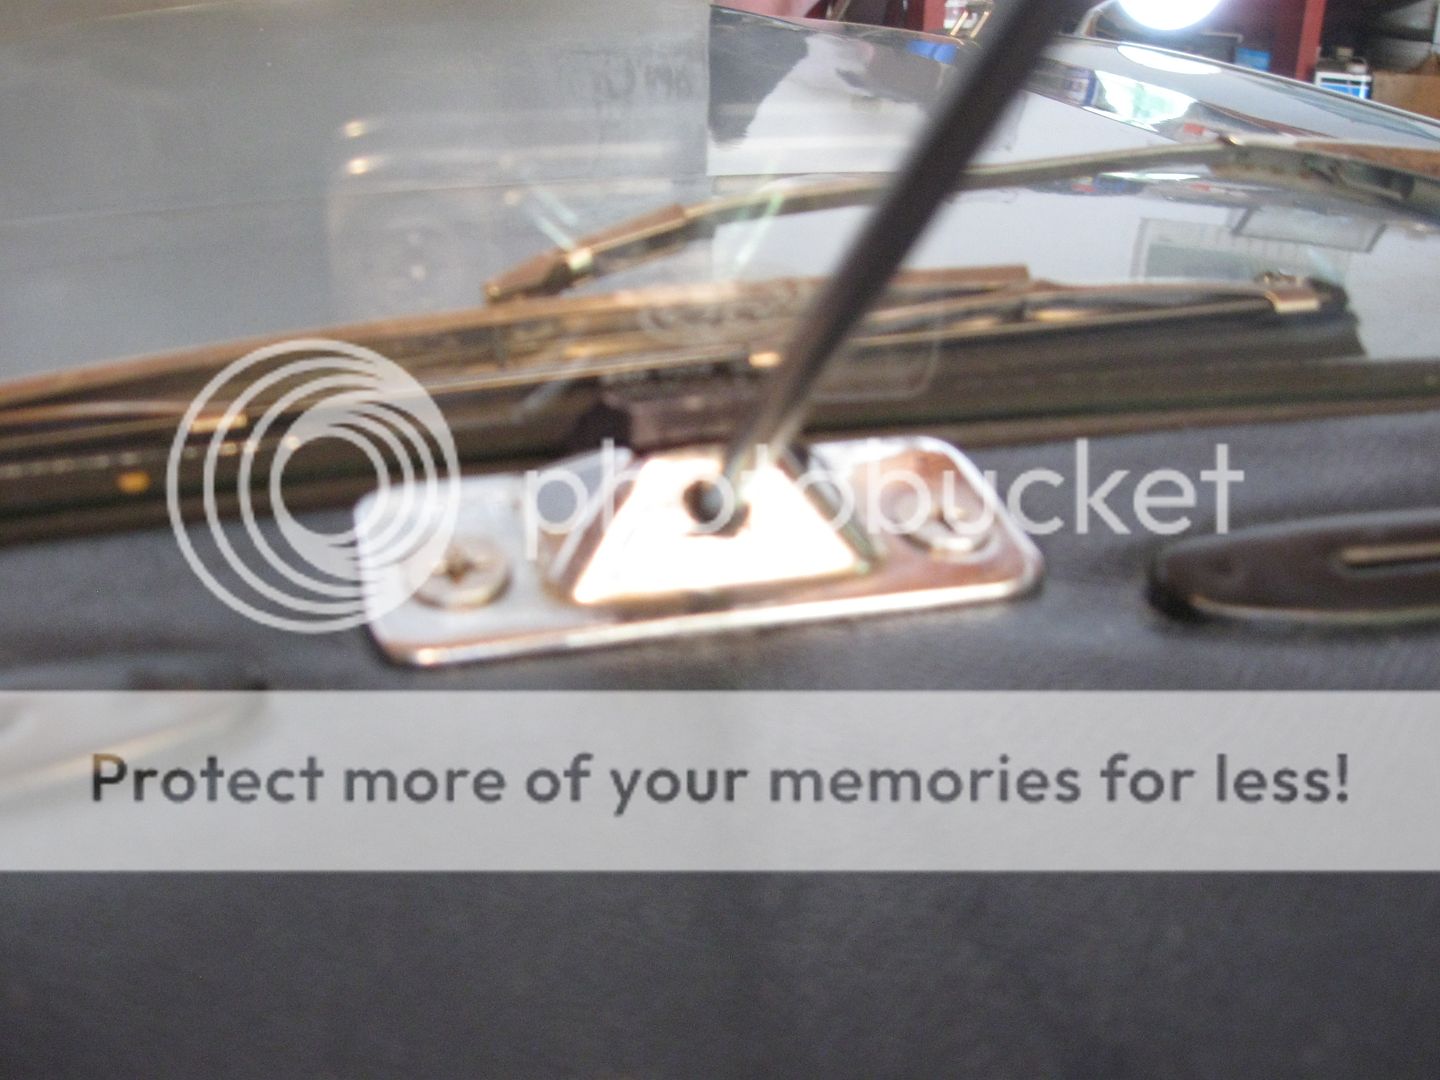
Once everything is in place, replace the dashpad fixing screws. Screw the upper dome mount screw onto the support rod, tensioning the rod. (I also added a little piece of weatherstrip between the lower bracket and windscreen while adjusting the tension to give some additional support). Use a couple of finishing washers where around the screws that used to hold the old rearview in place. Adjust the rearview mirror to your preferred height and off you go.
(I thought the support rod was a little shaky in the mounting bracket so packed the well of the lower mounting bracket with epoxy putty, installed the rod, and let the unit harden before mounting)
DISCLAIMER - Do this at your own risk. If you break your windscreen , I'm not buying a new one.
The mirror is a Series I Jaguar E-Type one which has the added convenience of a Day/Night dipping feature. Originals are quite expensive, but repros are available at reasonable prices from the Jaguar specialists. Check around as prices vary widely and they are probably all coming out of the same factory in a country not named England.
Here's all the parts required:
A lower dash bracket, an upper windshield bracket, a support rod and a dome screw. These are all sourced from an early MGB roadster. The support rod and dome screw are available new from the usual suppliers. Unfortunately, the lower and upper brackets are NLA. I went onto a couple of MGB forums and asked around. I'm sure there are plenty of them out there.
It will require a bit of modification to a standard car, so decide whether it's for you. First place some masking tape in the center of the windscreen frame, center the upper on the windscreen frame and mark the location of the four mounting holes. Drill four 1/8" holes and secure the upper mount with 1/8" pop rivets.
Next install the support rod into the lower bracket, thread the rod through the hole in the upper bracket, and find the location of the lower bracket that will allow the support rod to parallel the slope of the windscreen. Mark the location for the two lower bracket mounting holes on the dash pad.
You'll also notice that the support rod will stick above the upper bracket, Mark the location on the rod where it will be even with the top of the bracket. Also mark the location on the rod of the bottom part of the bracket.
Remove the dash pad. Locate some oval head phillips machine screws and bolts that will fit the holes in the lower mount and drill appropriate sized holes through the dash pad in the marked location. You'll also want to locate some fender washers, nuts and lockwashers to place under the dashpad to hold the macchine screws and lower mounting bracket.
Take a 10/32" die and thread it onto the threads of the support rod and cut the existing thread down to the lower mark you made on the support rod. Remove the die and cut the threaded part of the support rod off with a dremel wheel even with the upper mark you made on the rod. You've just shortened the support rod and moved the threads down.
Place the support rod into the lower bracket, then place the rear view mirror bracket onto the support rod. The rear view mirror bracket is a little larger diameter than the support rod. I cut a small piece of water hose clamp to use as a shim and placed it inside the mirror bracket around the support rod. Place the dashpad on top of the scuttle. Take the bracket, support rod and mirror assembly and pass the upper part of the support rod through the hole in the mounting bracket. Mount the lower support bracket to the dashpad. (I thought the support rod was a little shaky in the mounting bracket so packed the well of the lower mounting bracket with epoxy putty, installed the rod, and let the unit harden before mounting) You can lift the dashpad to provide access underneath to affix the fender washers and nuts underneath the pad. It will look like this:
Once everything is in place, replace the dashpad fixing screws. Screw the upper dome mount screw onto the support rod, tensioning the rod. (I also added a little piece of weatherstrip between the lower bracket and windscreen while adjusting the tension to give some additional support). Use a couple of finishing washers where around the screws that used to hold the old rearview in place. Adjust the rearview mirror to your preferred height and off you go.
(I thought the support rod was a little shaky in the mounting bracket so packed the well of the lower mounting bracket with epoxy putty, installed the rod, and let the unit harden before mounting)
DISCLAIMER - Do this at your own risk. If you break your windscreen , I'm not buying a new one.

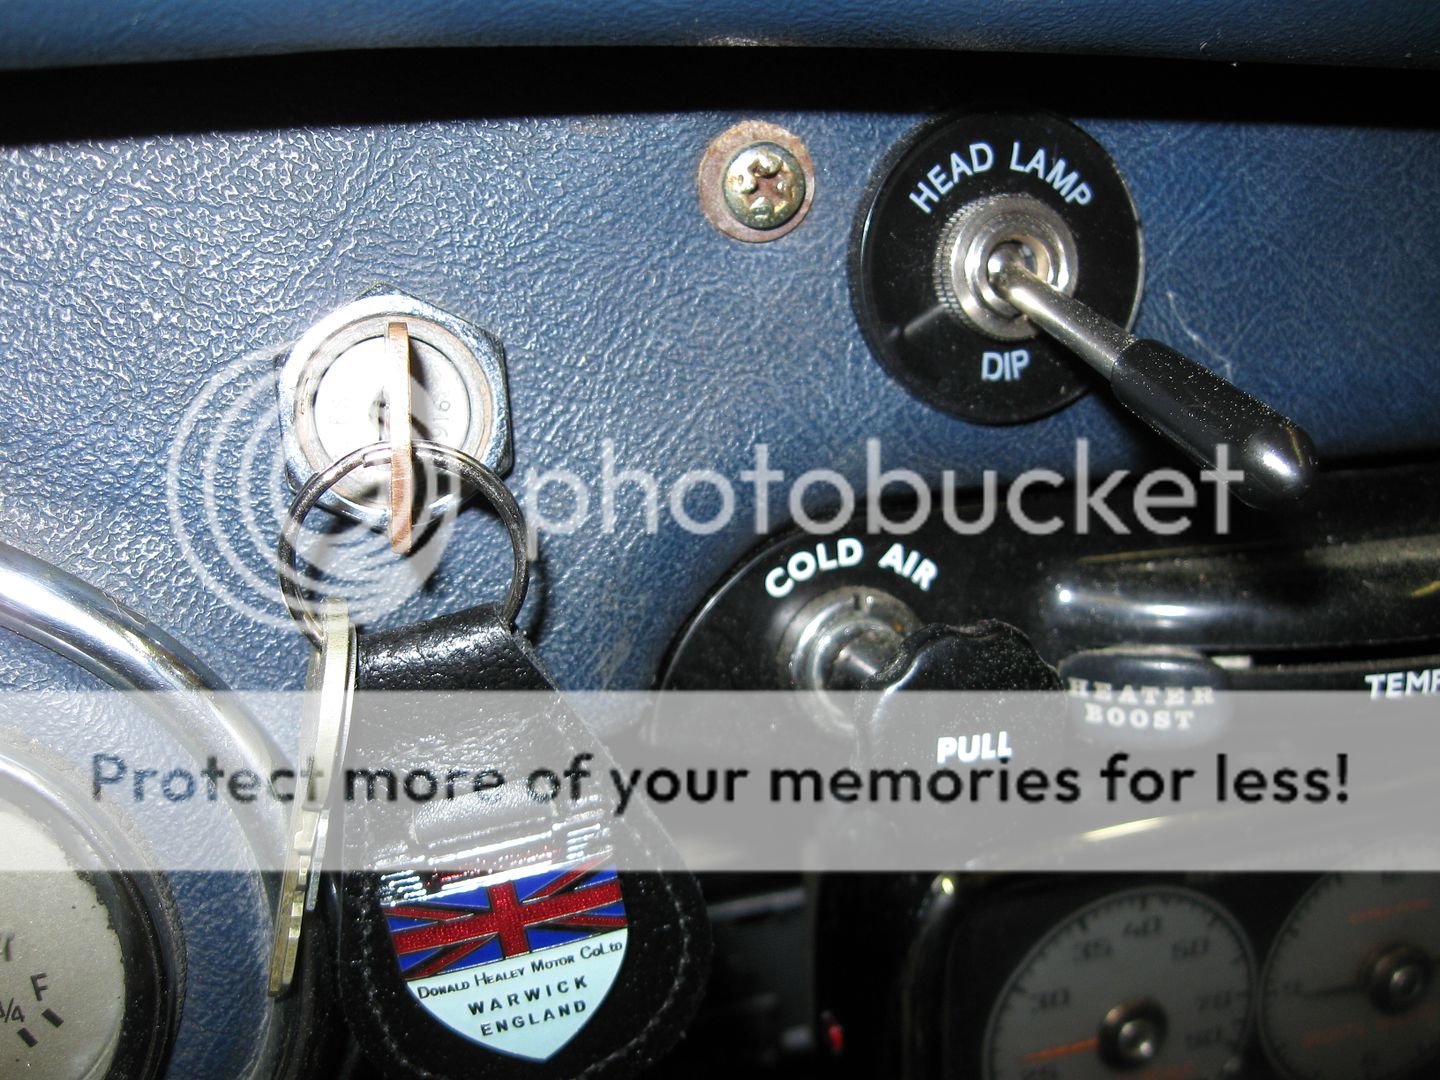
 I could argue the practicality of having the day/night switch, but the real reason for this "personalization" was it was a feature on the E-Types that always appealed to me. Here's another based on necessity. Moving the pedals to the left to accommodate the narrowed footwells made it impossible to actuate the floor mounted headlamp dipswitch. The solution? A dash mounted extended lever dip switch with the appropriate E-Type bezel: