• Hi Guest!
    You can help ensure that British Car Forum (BCF) continues to provide a great place to engage in the British car hobby! If you find BCF a beneficial community, please consider supporting our efforts with a subscription.

    There are some perks with a member upgrade!
    **Upgrade Now**
    (PS: Subscribers don't see this gawd-aweful banner
Tips
Tips

Almost ready for paint

David_Doan

Jedi Warrior
Country flag
Offline
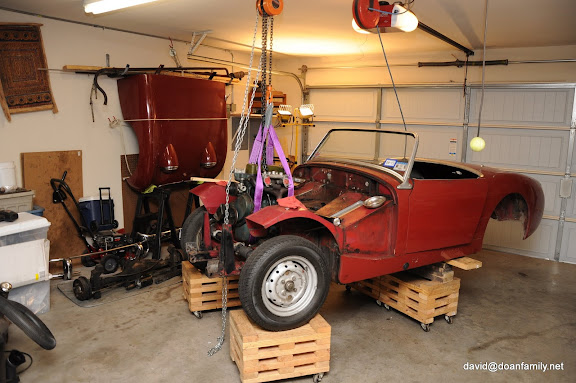
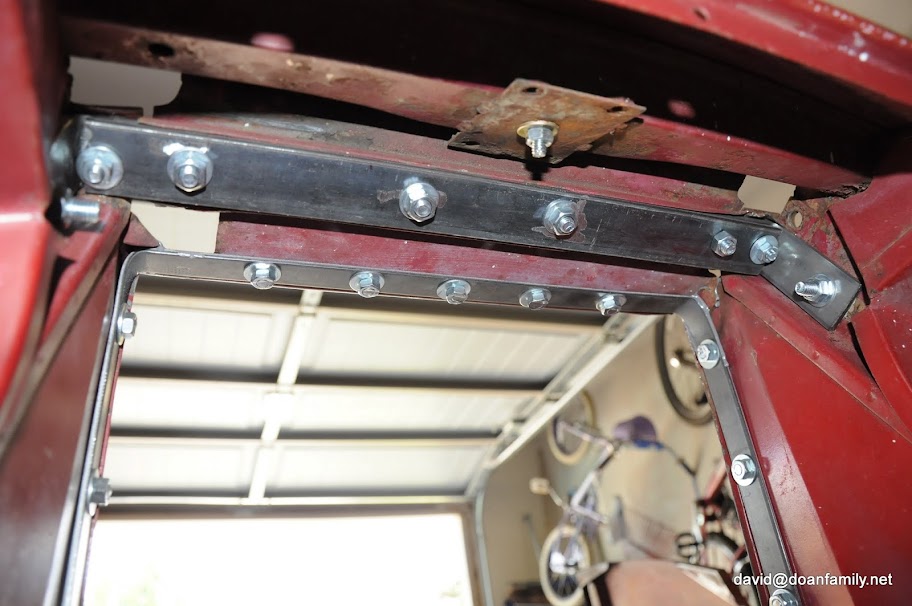
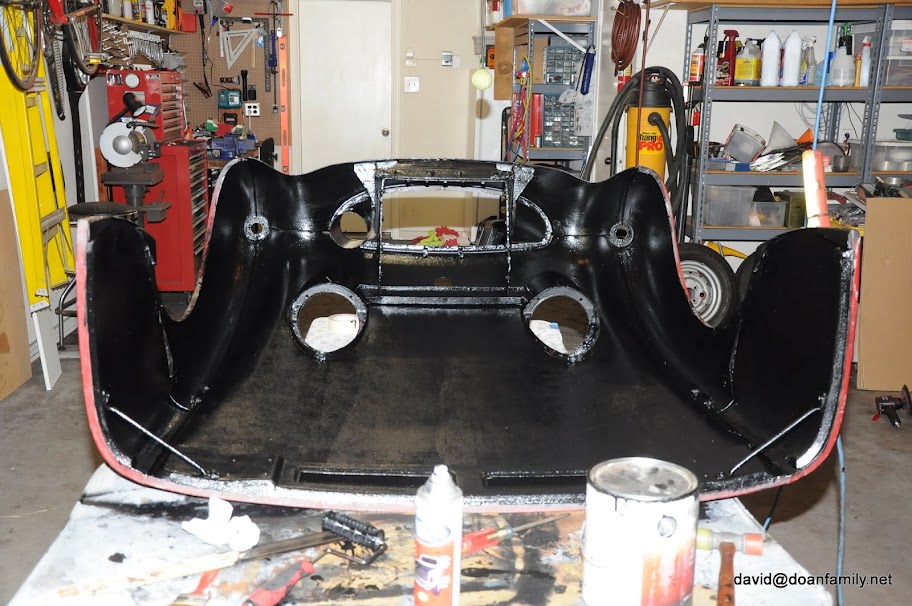
Before starting to paint the car, I decided to finish all of the other dirty work and painting parts first. My wife and Georgia were out of town this weekend, so no honey-do’s and no soccer. I got a lot done. A few pics below, the rest in my blog


  • Painted and assembled other leaf spring
  • Made new u-bolt for leaf spring (could not find one at the hardware store)
  • Installed both leaf spring bushings
  • Cleaned and painted:
    • Headlight buckets
    • Passenger side blanking panel
    • Pedal box
    • Brake and clutch pedals
    • Starter
    • Exhaust bracket
    • Seat frames
    • Radiator
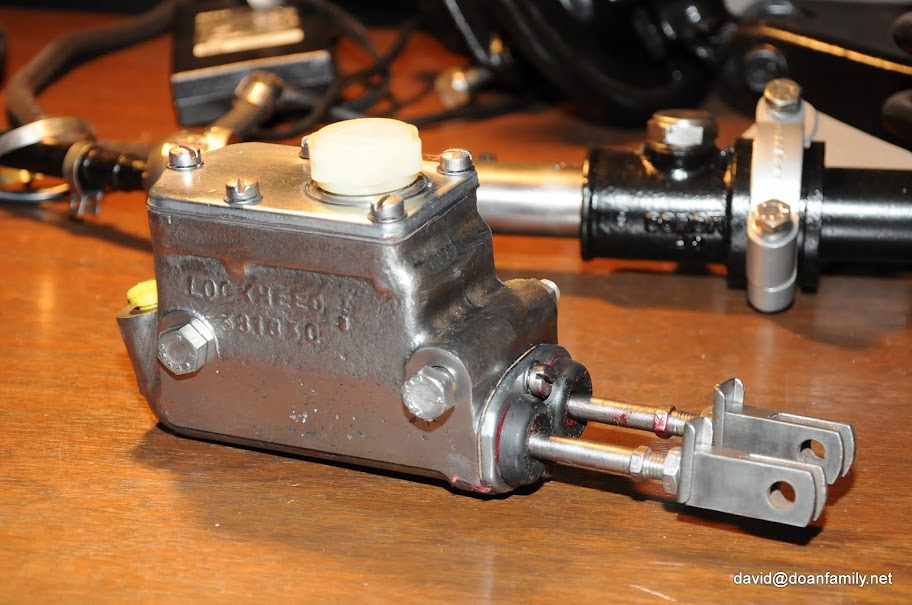
  • Cleaned and rebuilt master cylinder
  • Un-mounted spare tire to start prepping one wheel for paint. The spare is an old white-wall with a DOT code of 146. This means this tire was made on week 14 of the 6th year of the decade. This tire is from April 1966 or 1976. Way too old to drive on.
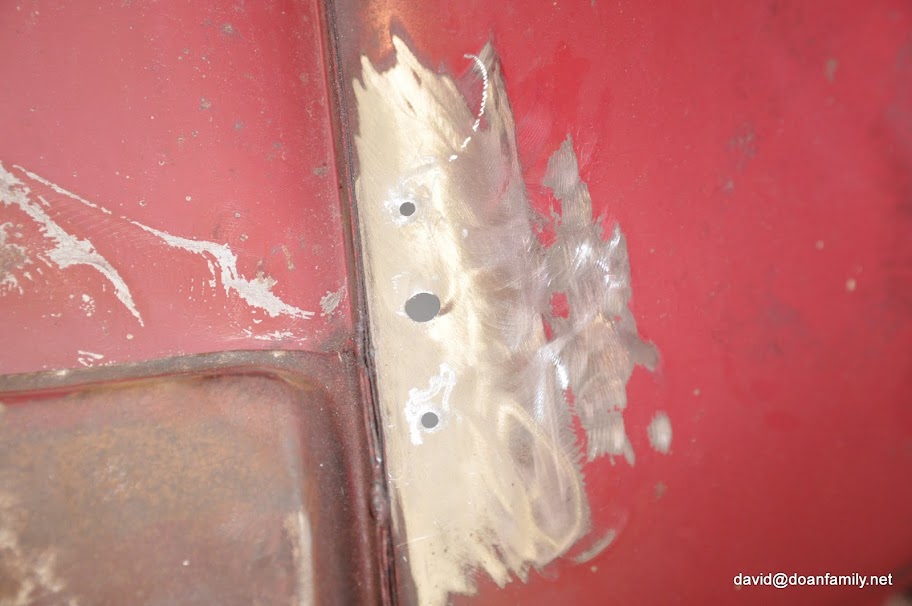
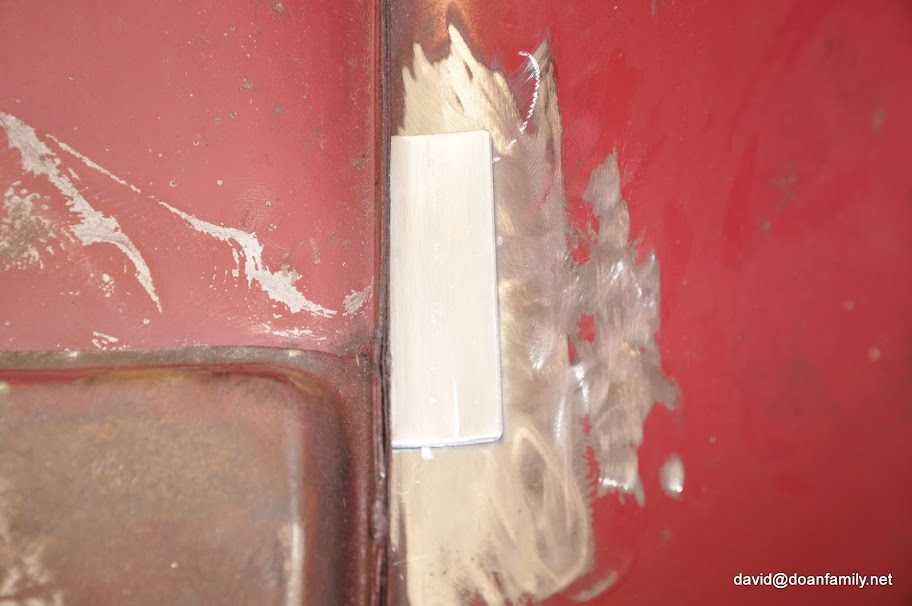
  • JB-Welded other wheel arch
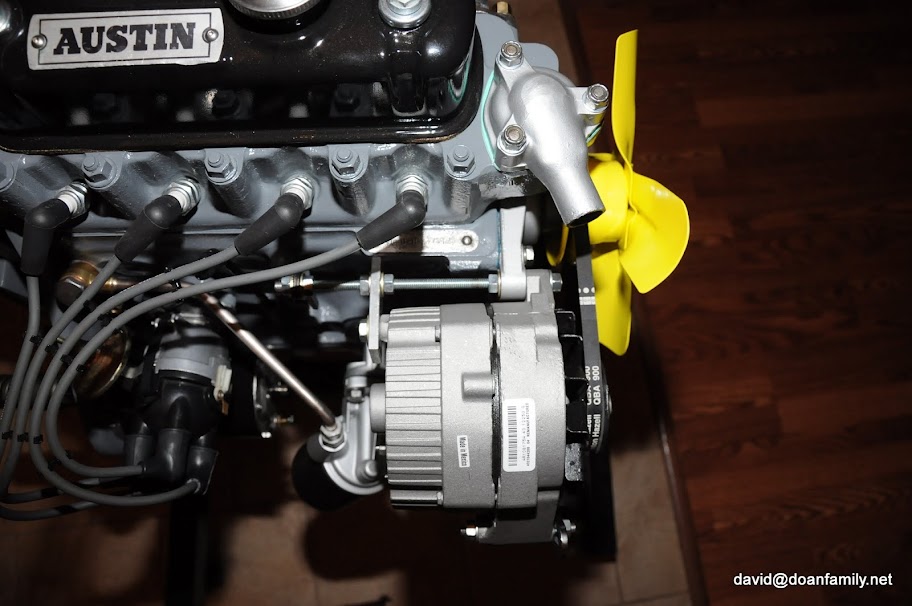
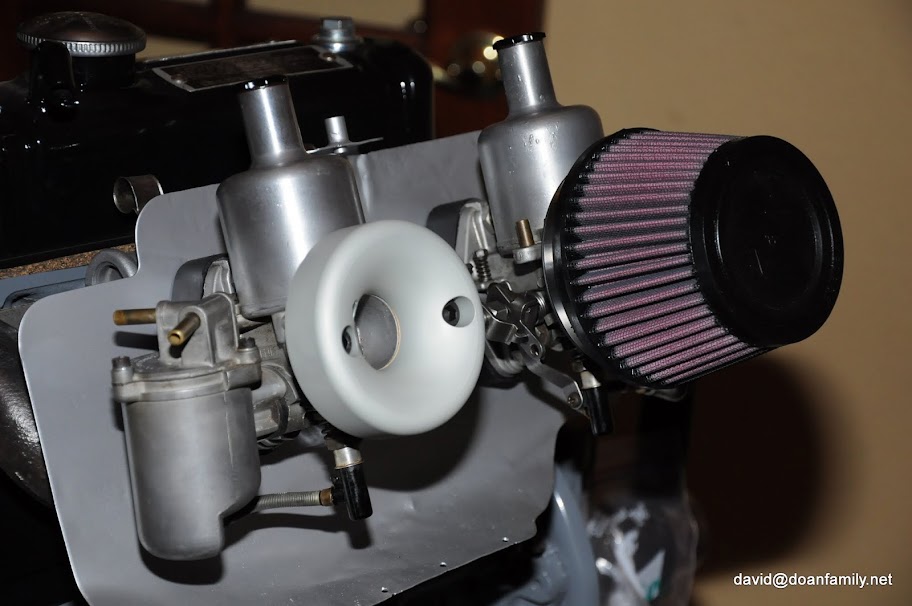
  • Cleaned carbs and assembled on engine with velocity stacks and K&N air filters.
  • Installed alternator
  • Installed starter

DSC_0607.JPG


DSC_0615.JPG


DSC_0619.JPG


DSC_0620.JPG
 
In one weekend, you've equalled the work that I've accomplished in six months.

And mine doesn't look nearly that good (or clean).
 
That looks really sharp! I like the gray paint on the engine. What alternator are you using?
 
David,

How does that bracket fasten in the rear. Is it bolted to anything or just sit against the engine block.
 
That looks really sharp! I like the gray paint on the engine. What alternator are you using?

Plain old GM 10SI. 3 wire hookup. Big lug goes to the battery for charging. Then the idiot light wire and the regulator sense line. The sense line is optional. The advantage of hooking it up is that it regulates the voltage at the battery (or wherever you hook it up) rather than at the alternator. This compensates for any in line voltage drop.

Its a big ugly alternator, but stocked by everyone with the standard pulley installed.
 
David,

How does that bracket fasten in the rear. Is it bolted to anything or just sit against the engine block.

Jim, there are more pics in my blog that might make it clearer. The 5/16 all-thread goes from the water pump ear to the original rear generator mount. The aluminum bracket on the back of the alternator attaches to a threaded ground lug and the all-thread. Hopefully the all-thread is rigid enough to keep it stable.

Other solution would be to make a new rear mount that extends to the alternator (like the moss kit) or cut lengths of pipe to slide over the all-thread.

Maybe this pic is better.

DSC_0607.JPG
 
Thnaks David,

Much clearer.
 
One more step before paint…Prep the bonnet:


  • Patch side-view mirror holes (new mirrors will be mounted on the windshield posts)
  • Reinforce fan shroud for better support of front tilt
  • Paint the underside with truck-bed-liner (same as the undercarriage and engine bay)

DSC_0637.JPG


DSC_0638.JPG


DSC_0686.JPG


DSC_0727.JPG
 
David,

Definitely heavy duty now. A close look at the pics and I can see why you reinforced.
I did similiar when I worked on Bugsy I's bonnet. Choose aluminum along with pop rivets. Your's definitely is much heavier and stronger. Now since I own a welder it would definitely be welded and steel. Nice job on the beds you made and getting them to fit correctly. There is an acquired skill there I don't have. Nice work.
 
Back
Top