[TABLE="width: 100%"]
[TR]
[TD]by Mark Singleton, Sales & Support
707-792 7352[/TD]
[/TR]
[TR]
[TD][B]Engine and gearbox removal Jaguar XKE 4.2 & 3.8 liter cars[/B]
[B]1/ [/B]Remove battery. This prevents any risk of accidents.
[B]2/ [/B]Remove bonnet. This is optional but preferred as it allows easier access for engine lifting equipment. The bonnet is heavy and could be damaged if one person attempts removal; we find it best to use 3 people. One person at each side to support the bonnet and one person removes the locating pins and bolts.
[B]3/ [/B]Raise car with a trolley jack and place the car securely on axle stands. The car must be high enough to enable the engine to be removed from underneath the car so it must be high! You require a minimum clearance between the ground and the lowest part of the front picture frame of 28 inches plus the height of your trolley. The axle stands must be placed as far back as possible to prevent the car tipping backwards when the weight is removed from the front! Use old tires or wheels under the trunk floor to prevent this if you have nothing more suitable. We suggest that you position the axle stands under the large rear radius arm mounts where they attach to the body. The front stands should be positioned under the top-hat section at the front of the gearbox tunnel where the engine frames are bolted. This might make it awkward when you remove the torsion bar reaction plate, but it is the strongest and safest area to place the stands.
[B]4/ [/B]Remove gearbox tunnel cover to gain access to the nuts that secure the driveshaft to gearbox output shaft. Remove these nuts. This will necessitate the rotation of the shaft. Make sure the shifter is in neutral and the handbrake is off. The bolts cannot be removed at this stage.
[B]5/ [/B]Remove speedo cable from right angle drive or remove right angle drive from gearbox with speedo cable attached. This is also a good time to disconnect the wires on the reverse lamp switch, etc…
[B]6/ [/B]Remove the exhaust system as far back as the rear cage. You may find it easier to remove the whole system.
[B]7/ [/B]Remove the cotter pin from the rear gearbox mount and support the gearbox with the jack. This will remove tension from the rear mount spring. You can now remove the bolts from the plate. Then remove the jack after lowering it slowly.
[B]8/ [/B]Drain the cooling system, including the radiator, cylinder block and hoses.
[B]9/ [/B]Remove the cooling system hoses that go to and from the engine. Repeat this for the vacuum lines, throttle and choke cables. Any wires going to the engine can also be removed at this stage. Use masking tape around each one labeling where it came from. This will be your best friend when you come to refit the unit!
[B]10/ [/B]Remove the fuel system connections. This can be done at the T piece or at the fuel filter.
[B]11/ [/B]Remove the exhaust manifolds.
[B]12/ [/B]Remove the Alternator/Dynamo and drive belts.
[B]13/ [/B]Remove the inlet manifolds and carburetors as one unit. This may be easier if the distributor is removed first. You can then place your hand along the underside of the manifold to gain access to some of the manifold nuts.
[B]14/ [/B]Remove the front wheels and loosen the nut on the top ball joint, but do not remove it at this stage. On both sides of the car, remove the sway bar link that fixes the sway bar to the (wishbone) lower control arm. Take the weight of the suspension only (do not lift the car!) with a trolley jack and remove the top shock-mounting bolt. At this point, remove the nut holding the top ball joint and free the joint. Now lower the jack and this will take all the tension out of the torsion bar.
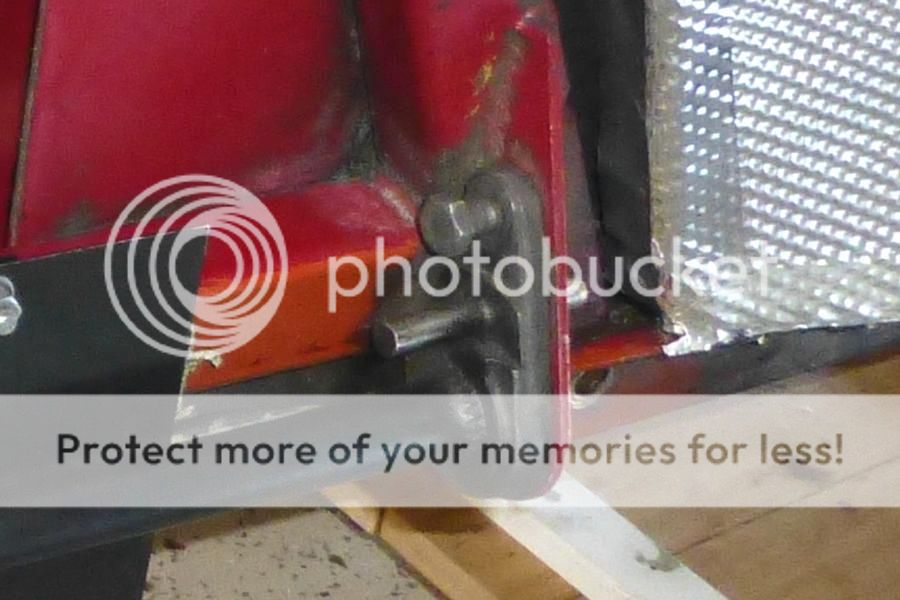
[B]15/ [/B]Place the jack back under the transmission just to support the gearbox weight while you remove the reaction plate, then remove the torsion bar reaction plate. The only problem you may have with this is if the small reaction mounts (the small splined items that fit on the ends of the torsion bar) are frozen to the torsion bar. These should be driven or levered back along the bar until the mounts are clear of the reaction plate. Once this is done, undo the rest of the bolts holding the reaction plate and remove it. Leave the jack in position at this stage. If you try to remove the plate with the suspension in place you are placing yourself in a dangerous position and risk personal injury and or damage to components.
[B]16/ [/B]Remove the starter. Again, this is not essential but it can make it easier to get the unit out. It is really no more work that the removal of a couple of bolts and a couple of wires.
[B]17/ [/B]Remove the clutch hydraulic line. This can be easily done at the joint from the hard line to the flexible hose that you will find on a bracket close to the starter motor. Hydraulic fluid will leak out when the hose is removed and may damage you paintwork. Place a hose on the bleed nipple and drain the fluid into a suitable container.
[B]18/ [/B]Fit engine hoist chains/hooks/straps to the lifting eyes on the engine. If the lifting eyes show signs of corrosion, do not use them. They have been known to break in half! Instead use a lifting strap placed around the engine. Support the engine weight with the lifting equipment.
[B]19/ [/B]Remove the engine stabilizer bar at the rear of the engine. This should be done at the top of the mount by removing the center nut and the two bolts going through the bracket attached to the firewall.
[B]20/ [/B]Remove the front engine mounts entirely, including the brackets.
[B]21/ [/B]Ensure that the engine hoist supports the weight of the engine. Then slowly lower the jack and remove it.
[B]22/ [/B]Place a suitable trolley under the engine. This can be wooden or metal. You should make sure that it could support the combined weight of both the engine and transmission, which is approximately 700 pounds.
[B]23/ [/B]Lower the engine and gearbox unit onto the trolley.
[B]24/ [/B]Pull the trolley forward from under the car. If the car is not high enough, it can be lifted higher by the use of the engine hoist equipment, but extreme care must be taken.
[B]NOTES:[/B]
a. You might find it useful to use zip lock bags with notes on the outside saying where the bolts are from. If you do that for each part as you take it off, you will find it easier when it comes time to put the units back into the car.
b. Take as many notes as you can at every step of the way. It may seem silly now, but in two months you will be amazed how much you have may have forgotten.
c. Take as many photos and drawings as you possibly can.
d. If you get stuck or are unsure of what you are doing, consult the above instruction sheet, the shop manual, or even phone and ask someone. This could save damage to components or parts and save you from injury. We at Waterloo Drivetrain Systems are available for any help you may need. Our contact information is listed below.
e. If you are doing engine work, you might want to drain the oil before the engine is removed.
f. A single person can complete this work, but it is not advised. Two people will make the whole task that much easier and faster. You also have a friend available should a problem occur.
These notes are provided as helpful hints and it is in no way meant to replace the factory shop manual or personal experience and skill with hand tools. It is provided as friendly advice only.[/TD]
[/TR]
[/TABLE]

 Hey Guest!