• Hi Guest!
    If you appreciate British Car Forum and our 25 years of supporting British car enthusiasts with technical and anicdotal information, collected from our thousands of great members, please support us with a low-cost subscription. You can become a supporting member for less than the dues of most car clubs.

    There are some perks with a member upgrade!
    **Upgrade Now**
    (PS: Subscribers don't see this gawd-aweful banner
Tips
Tips

4age midget project

seanb

Senior Member
Offline
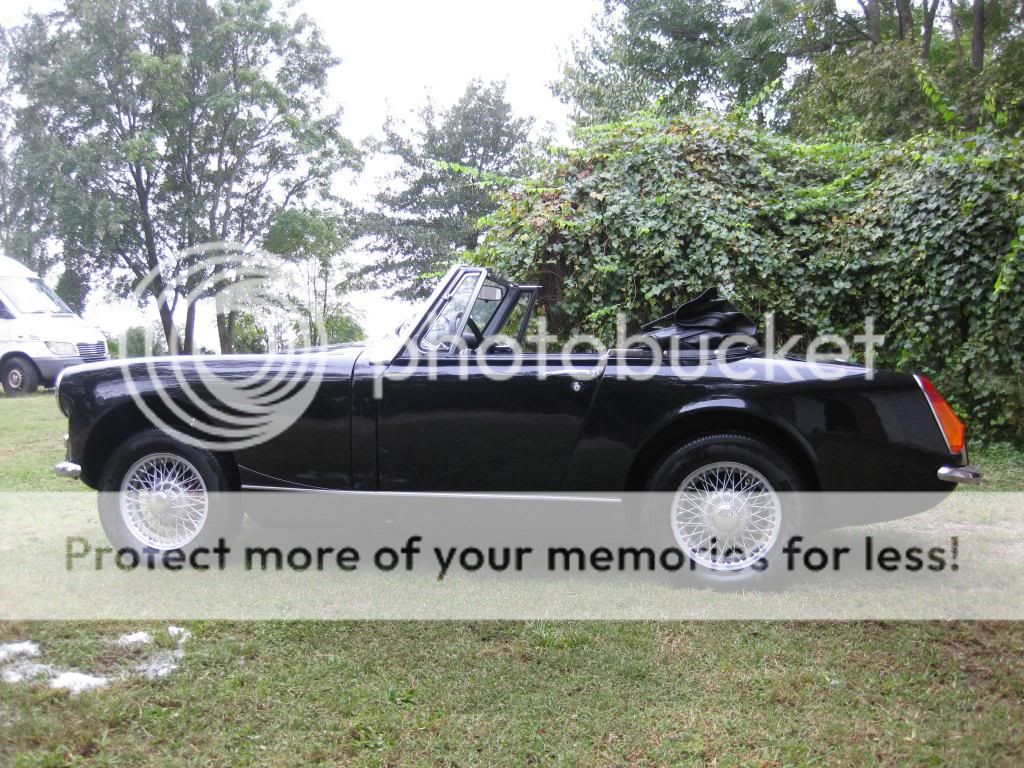
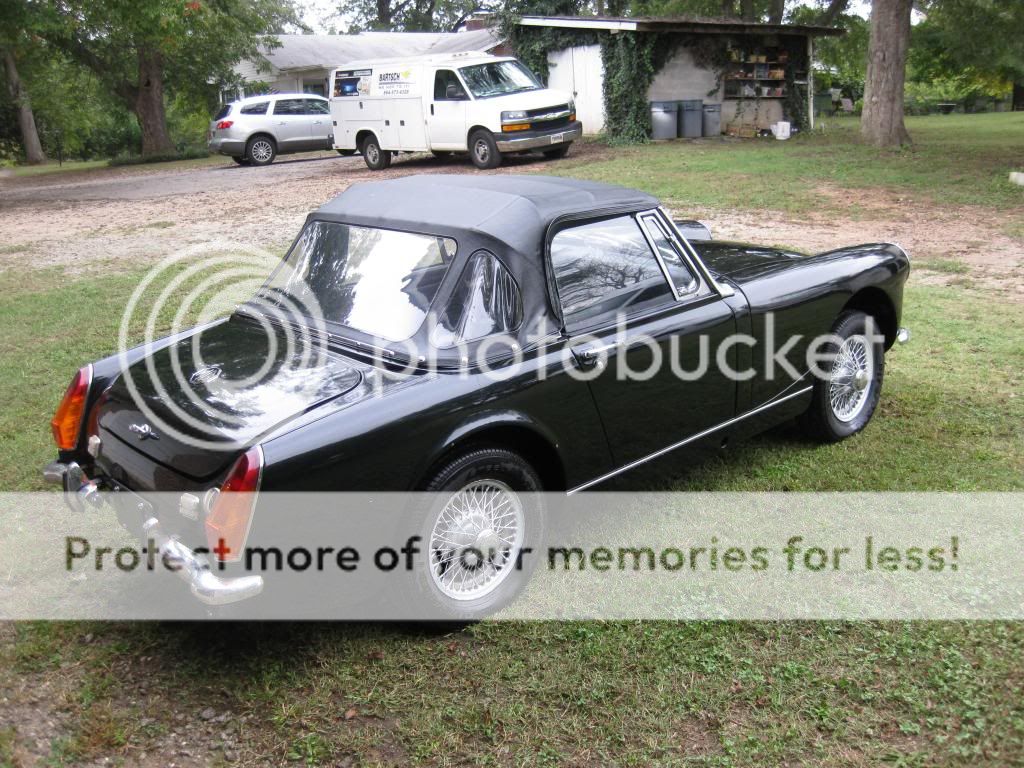
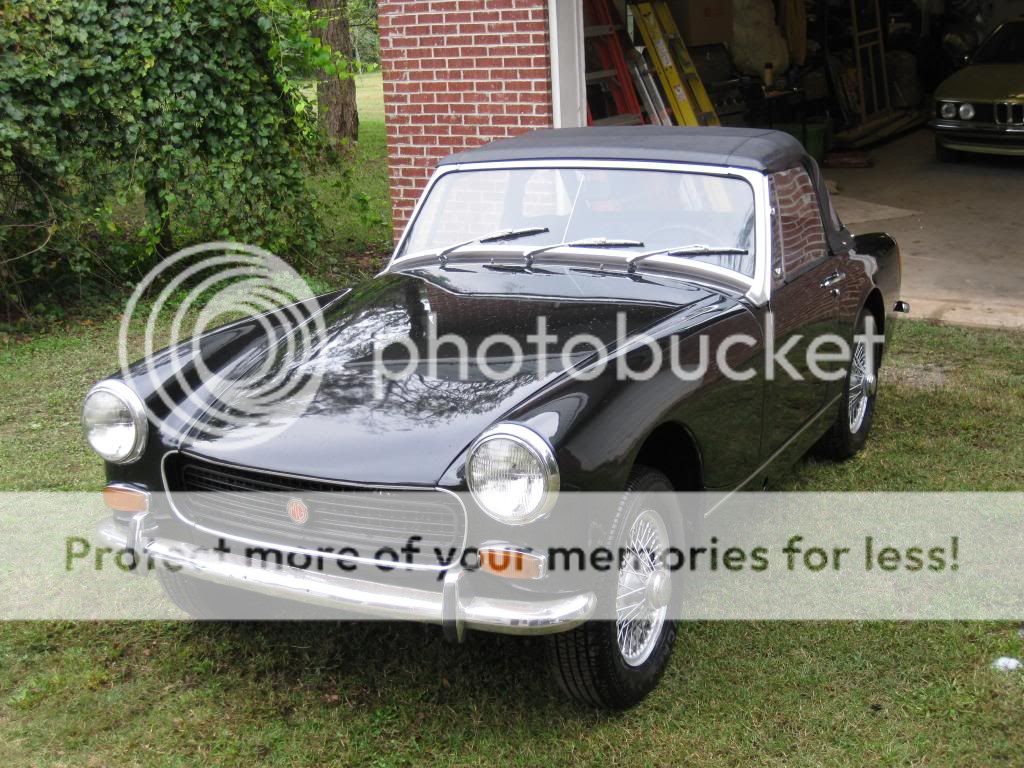
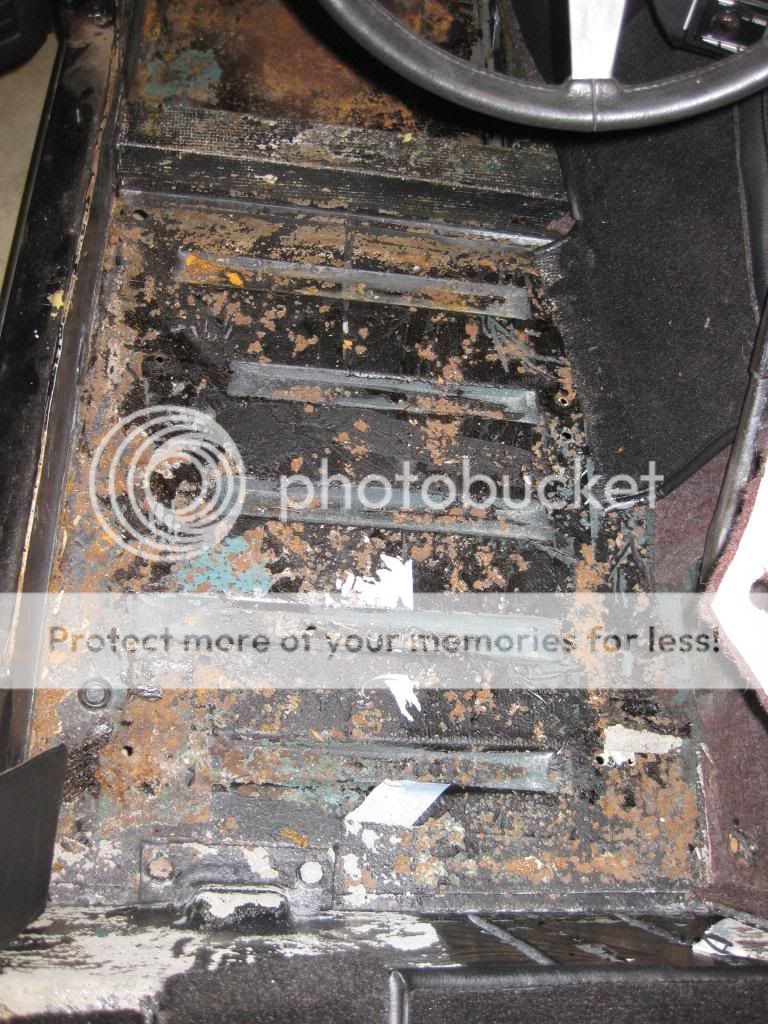
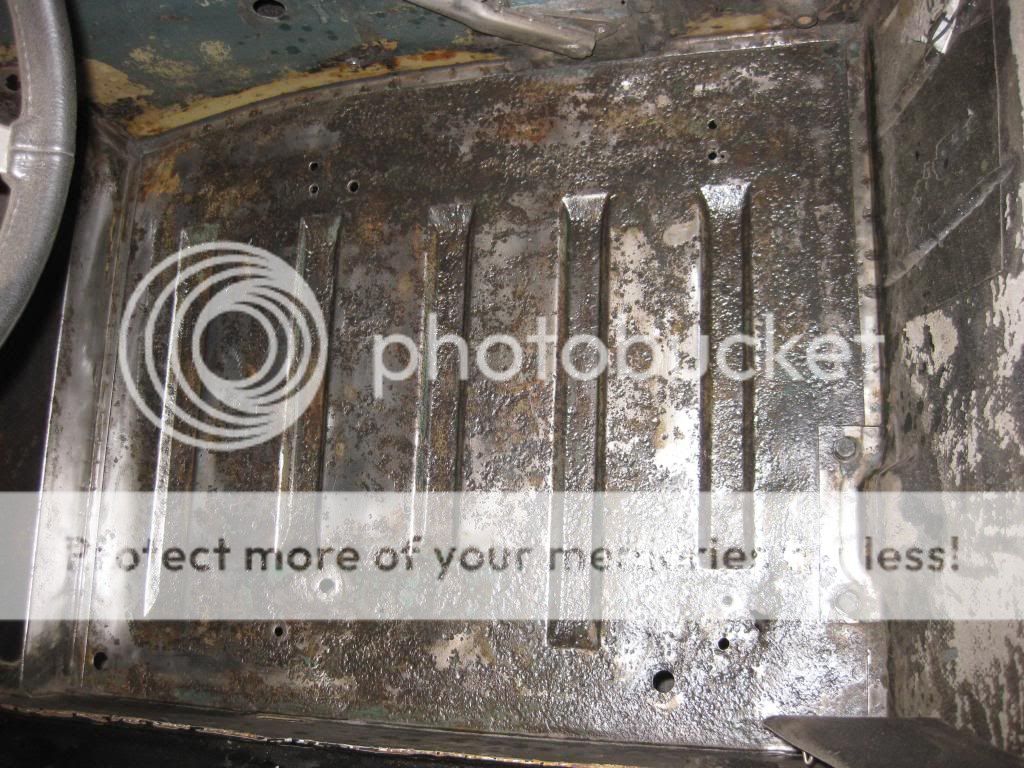
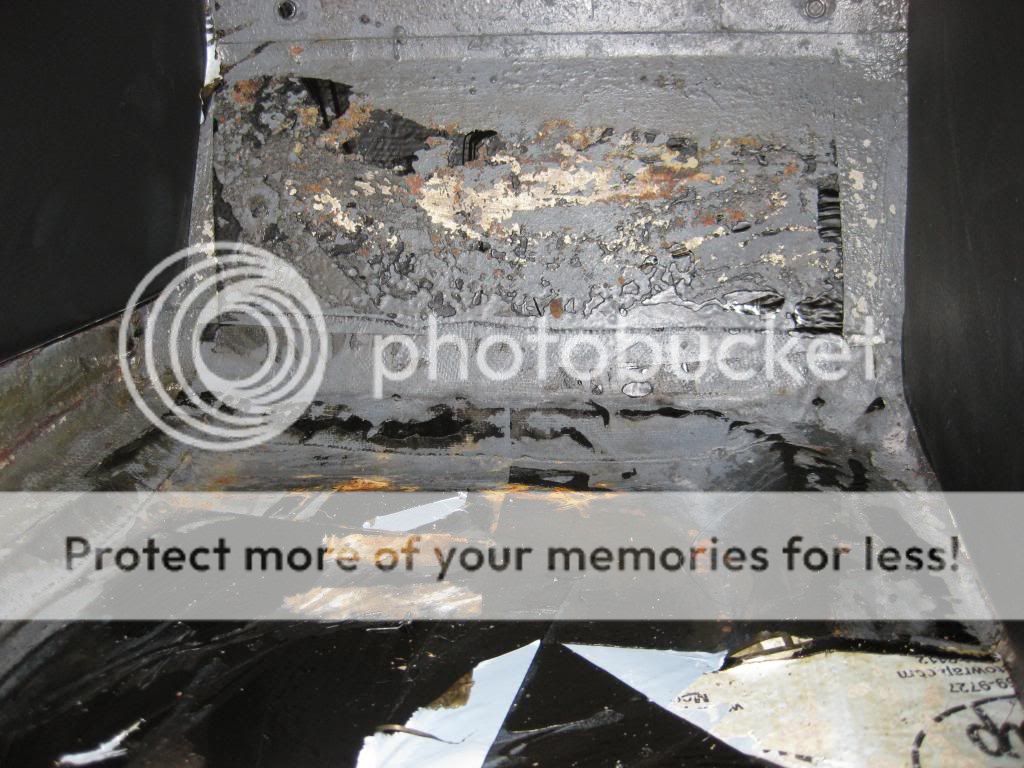
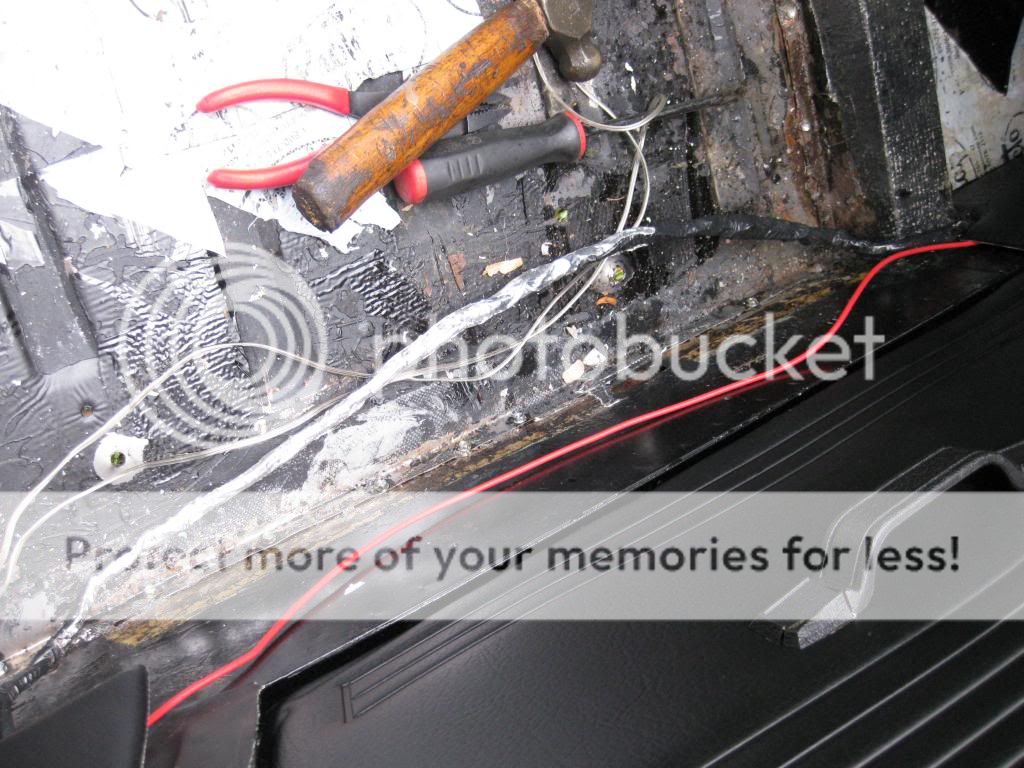
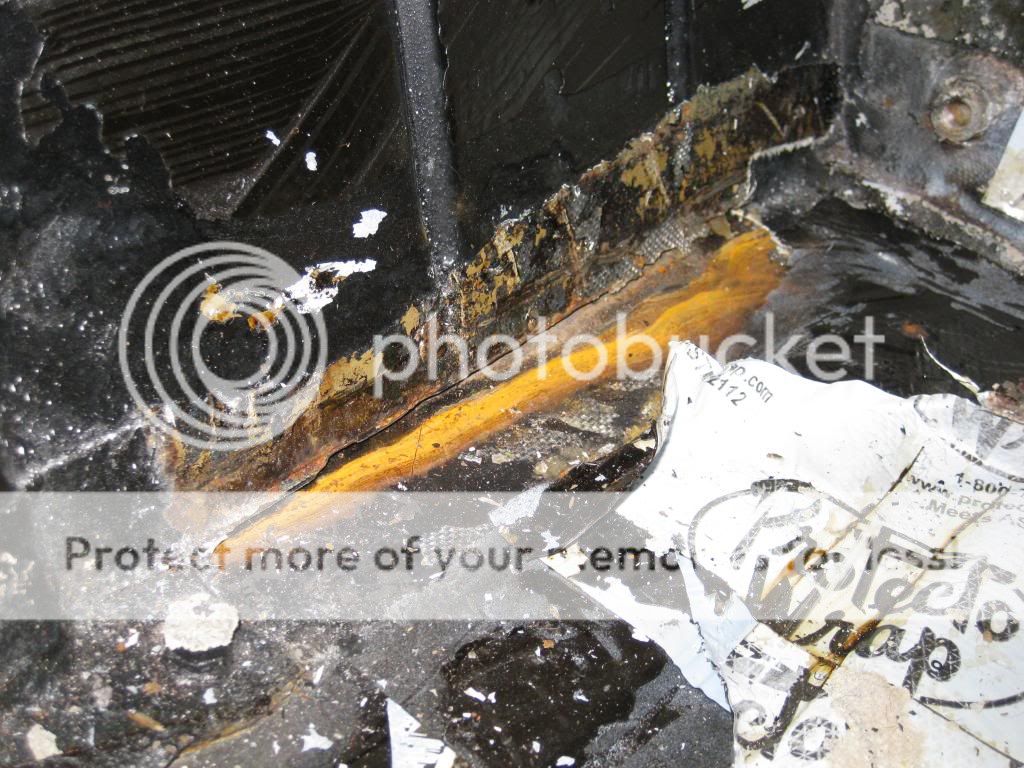
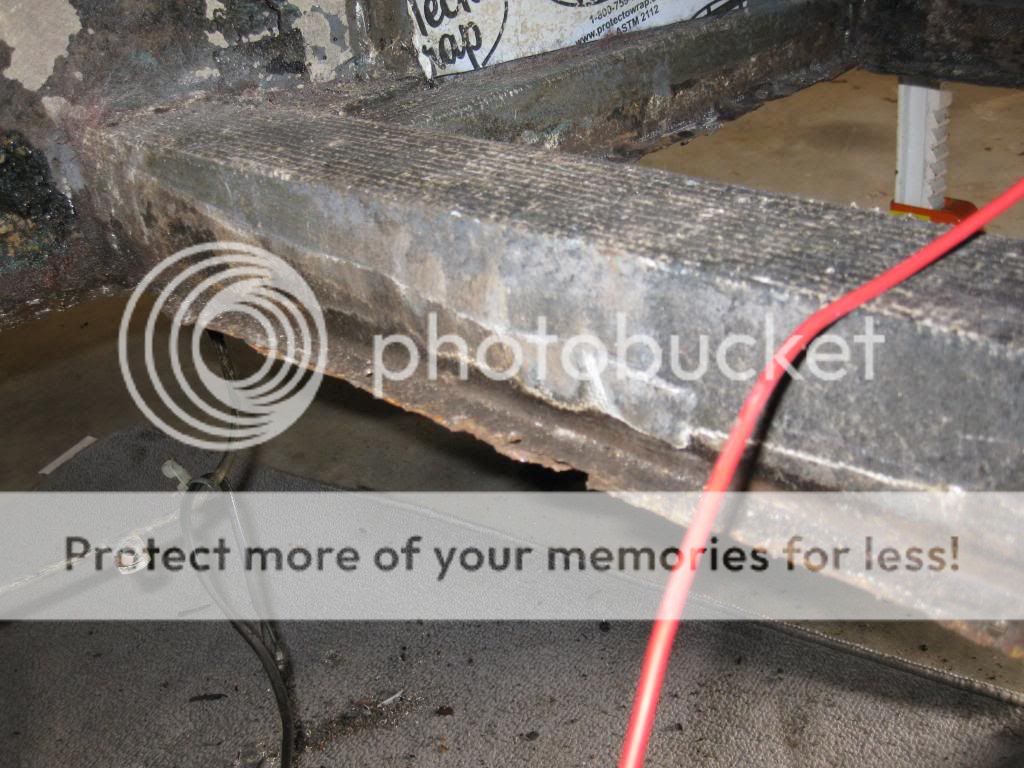
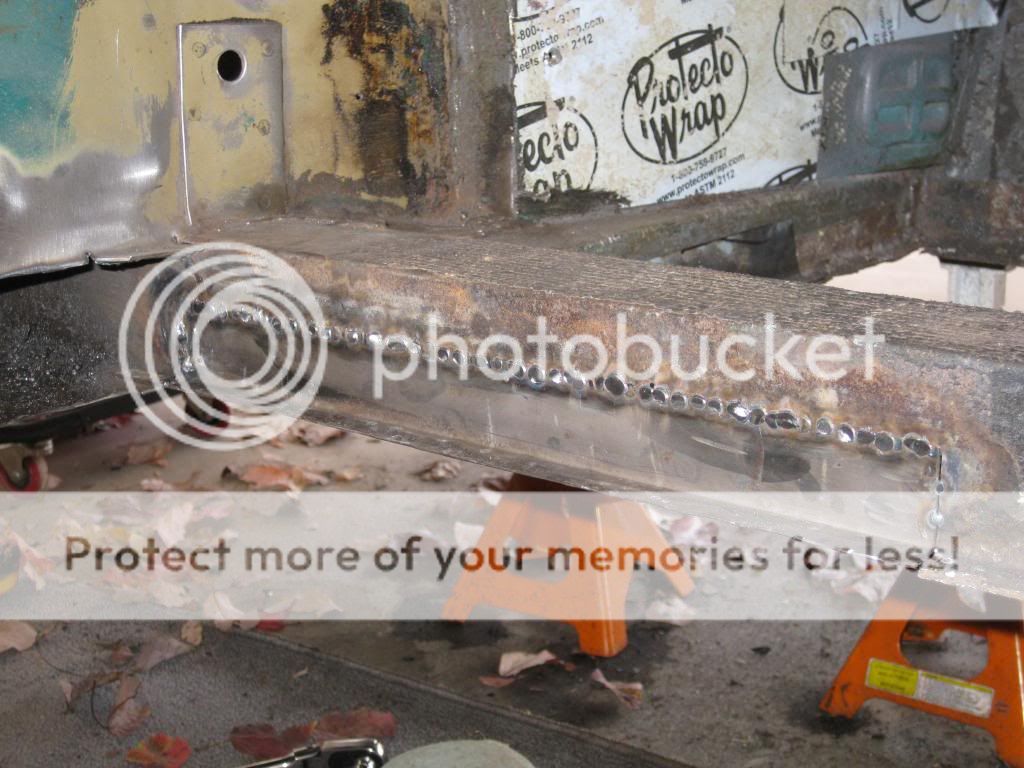
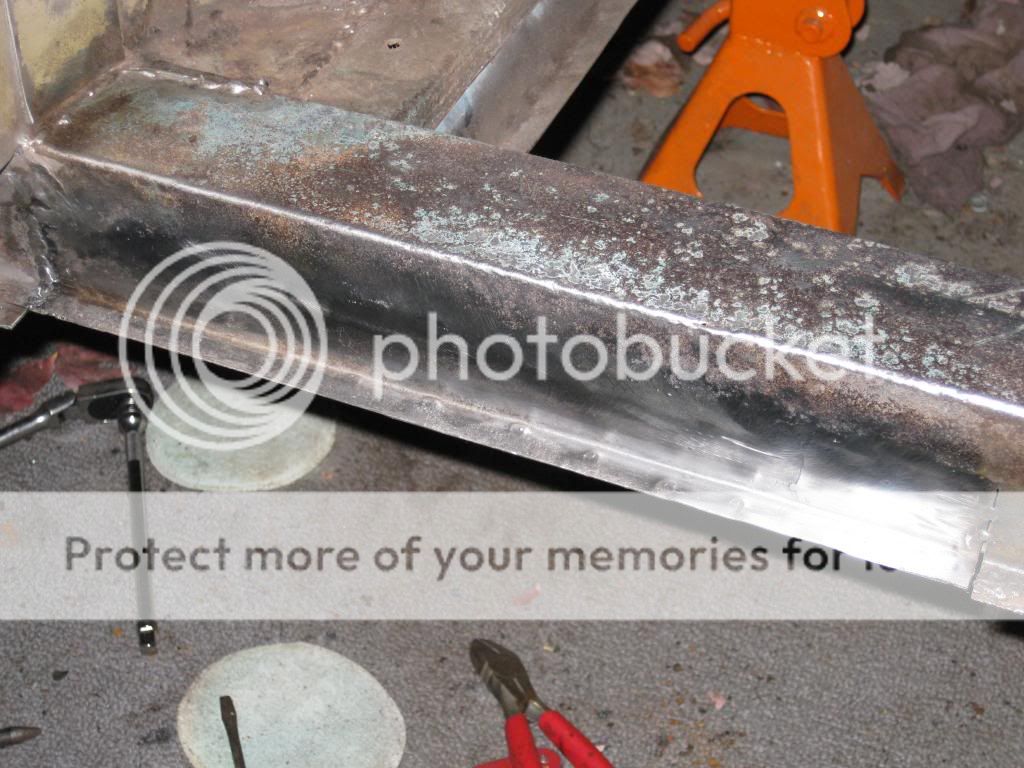
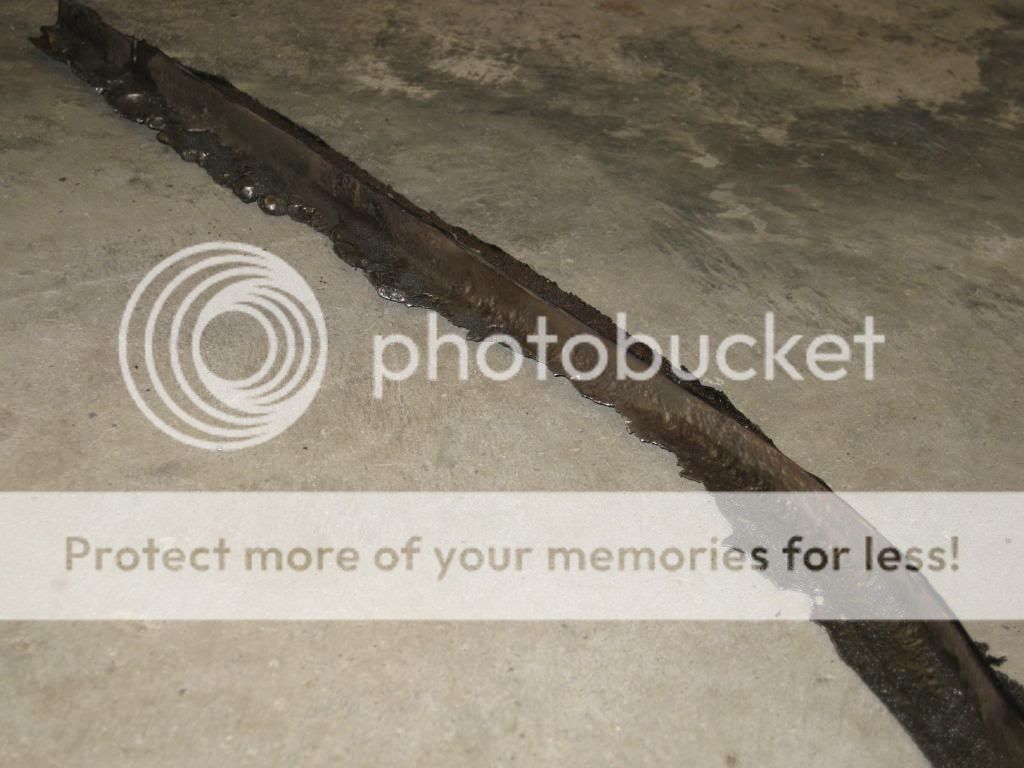
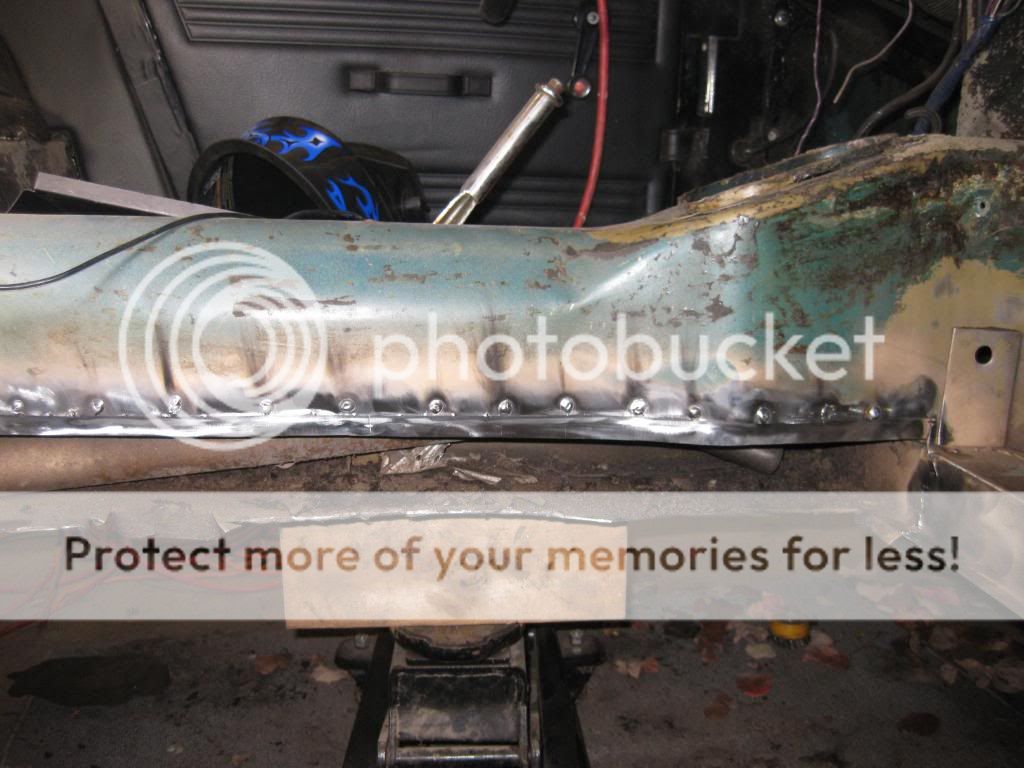
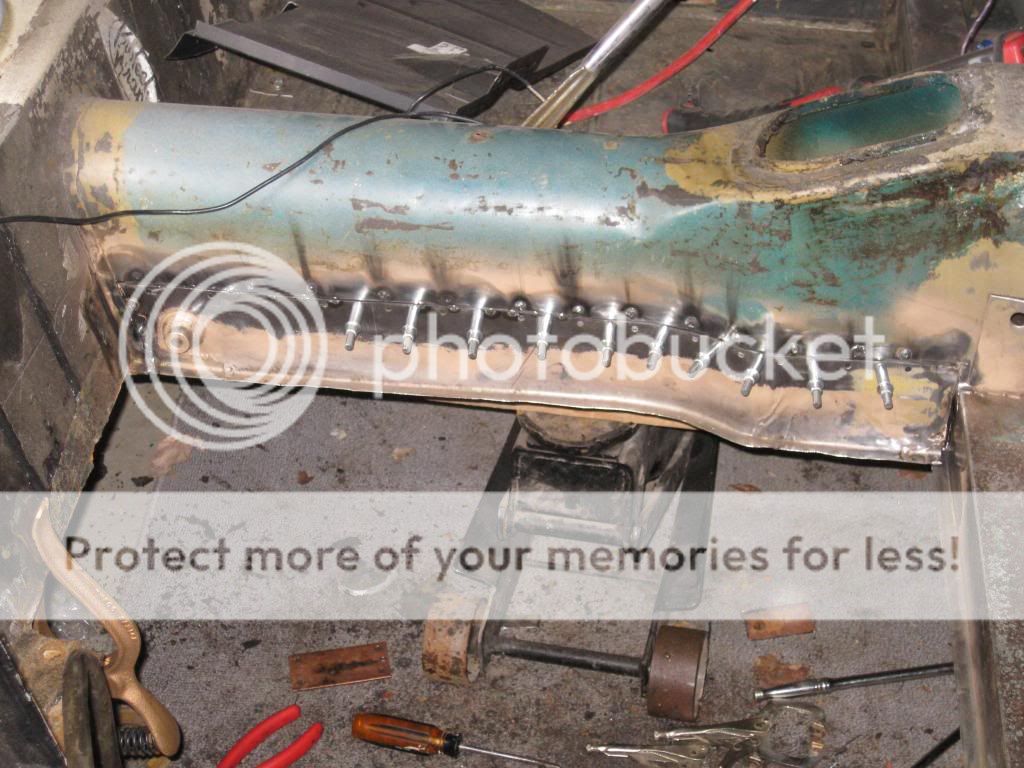
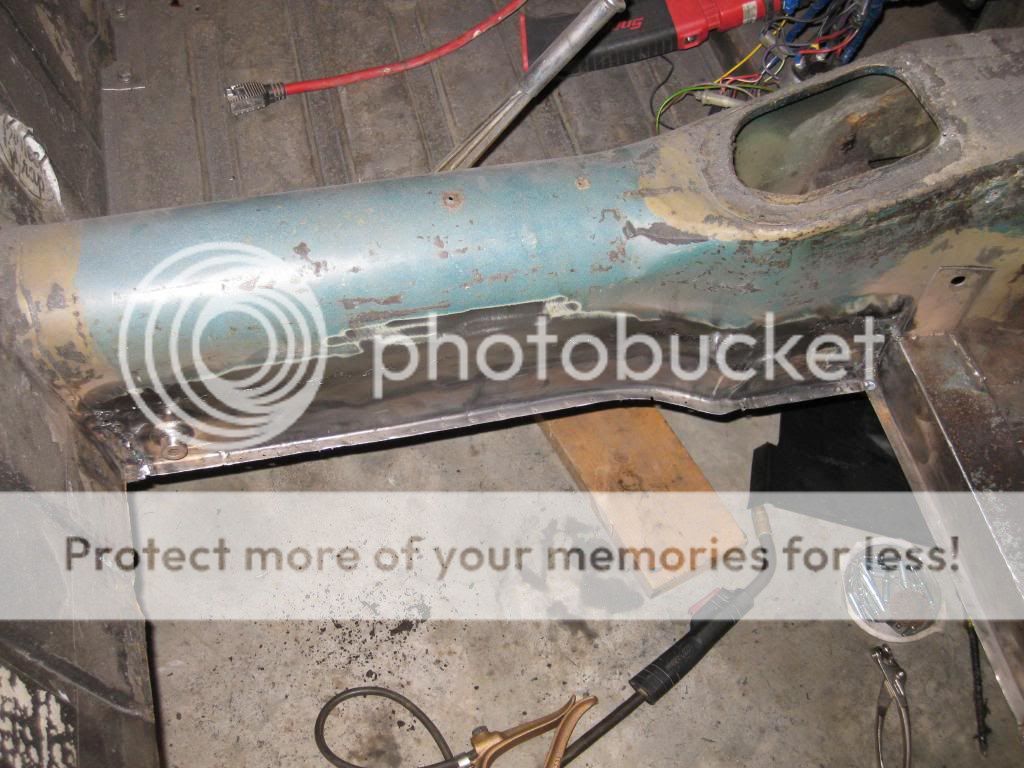
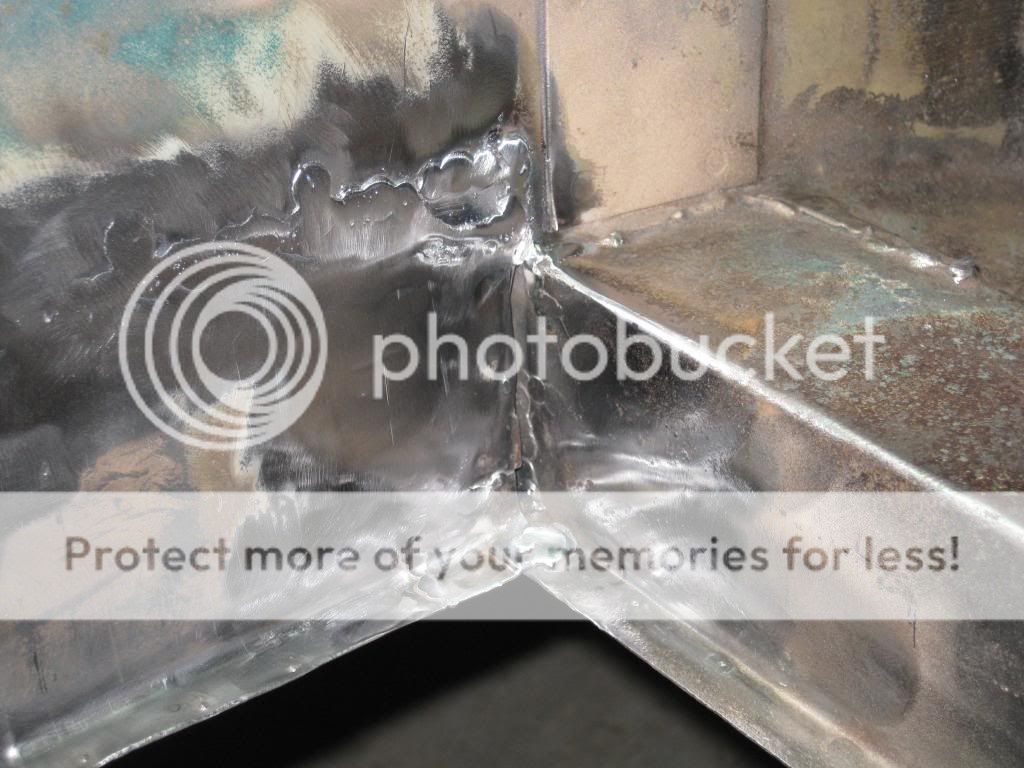
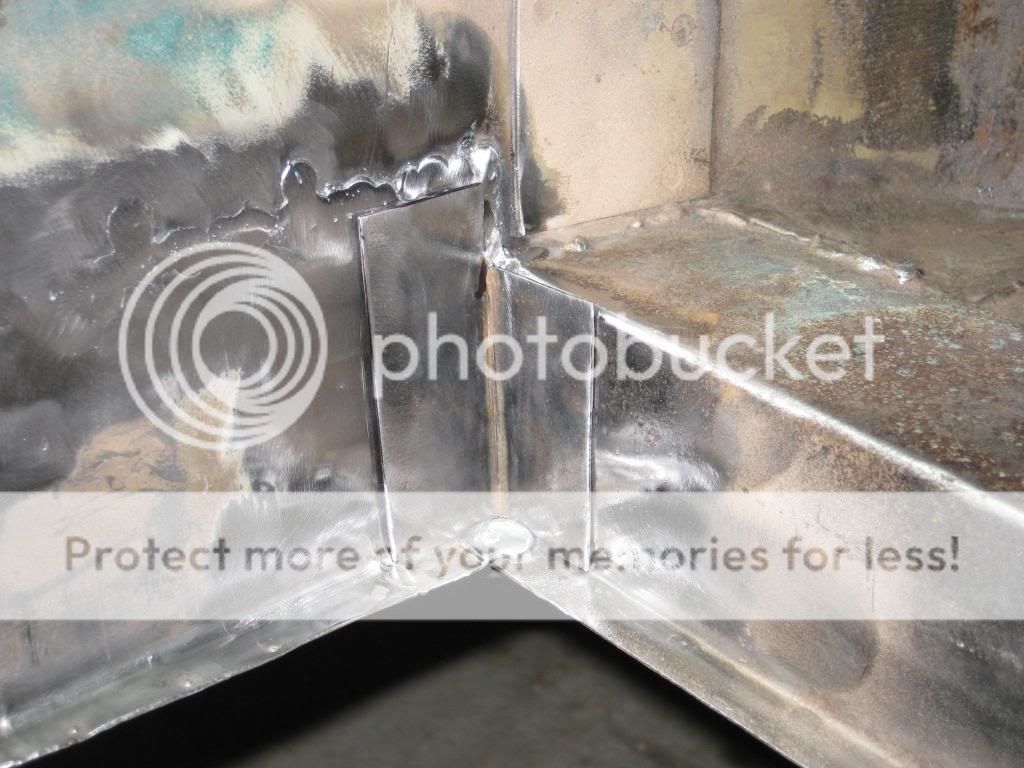
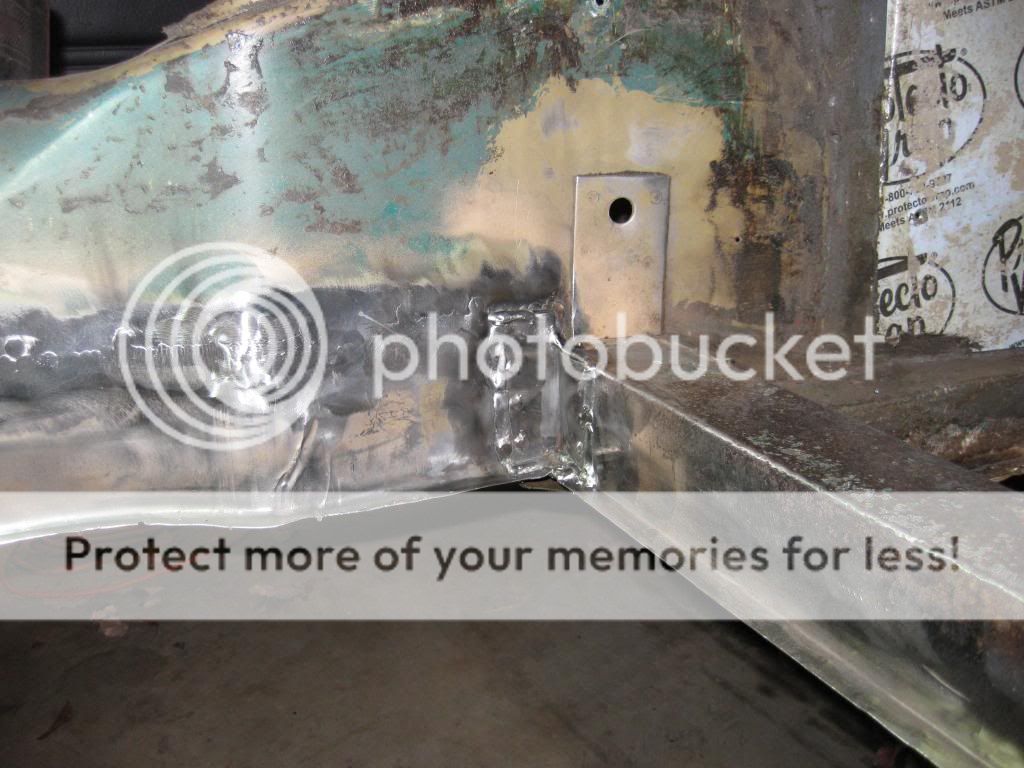
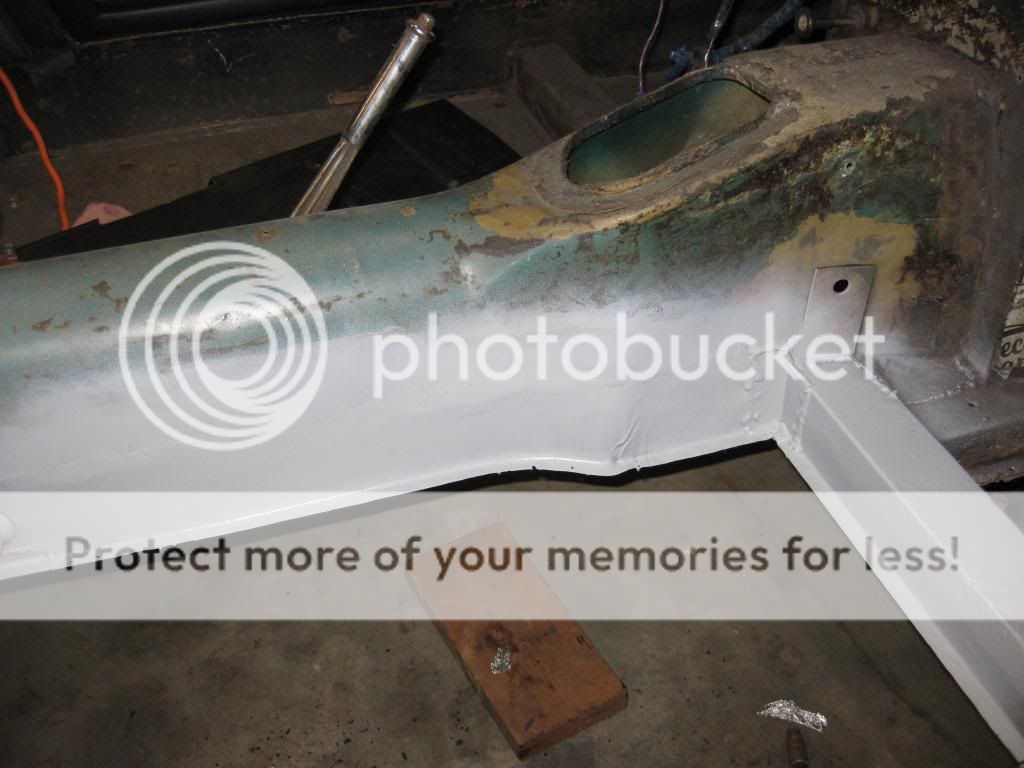
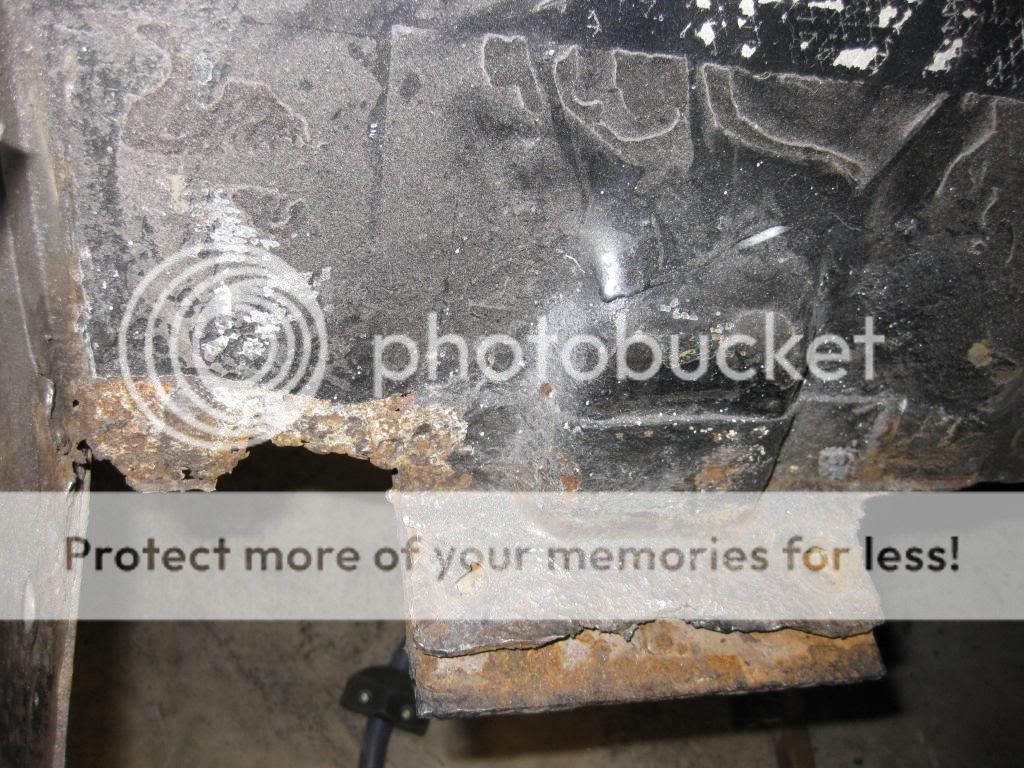
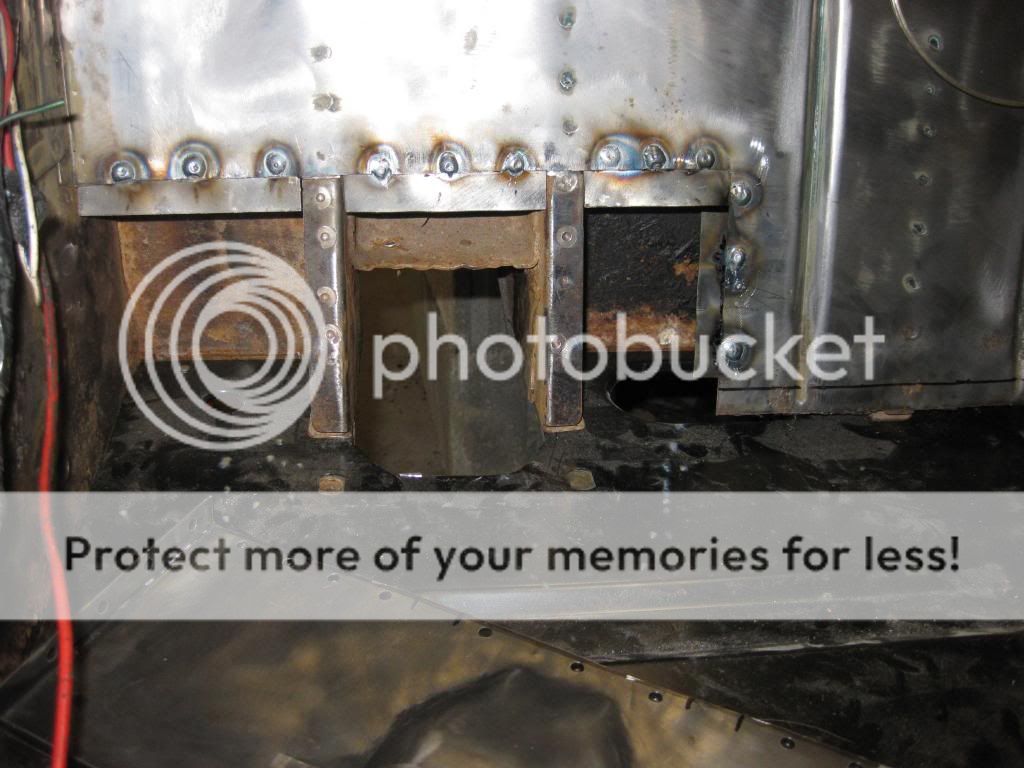
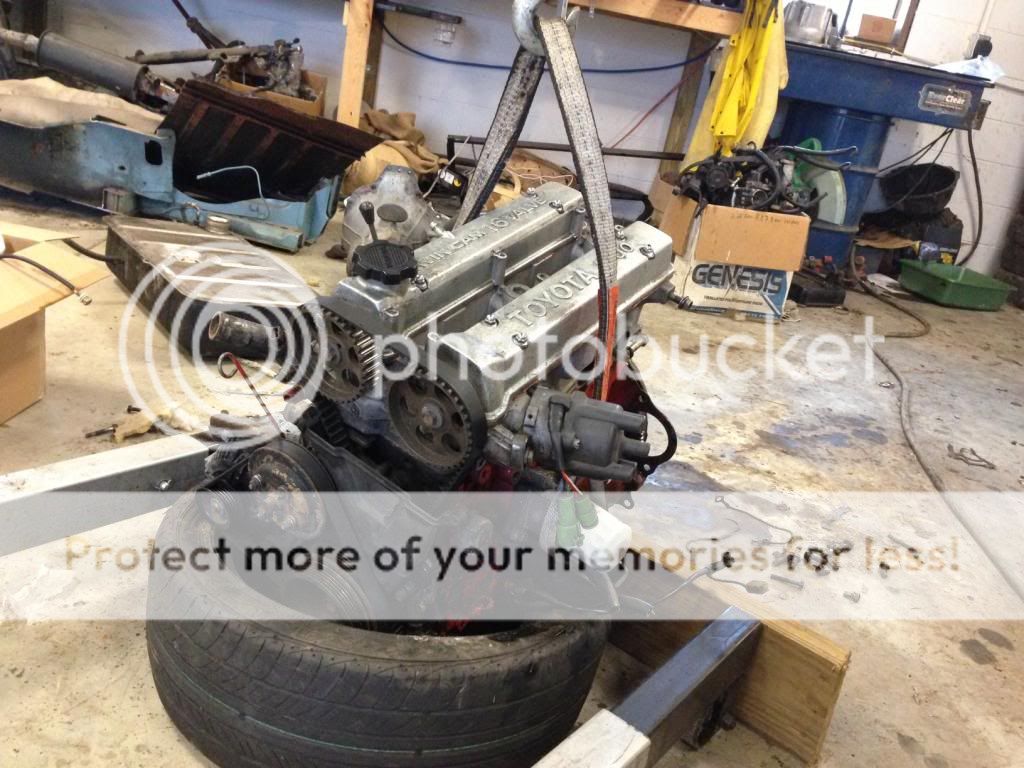
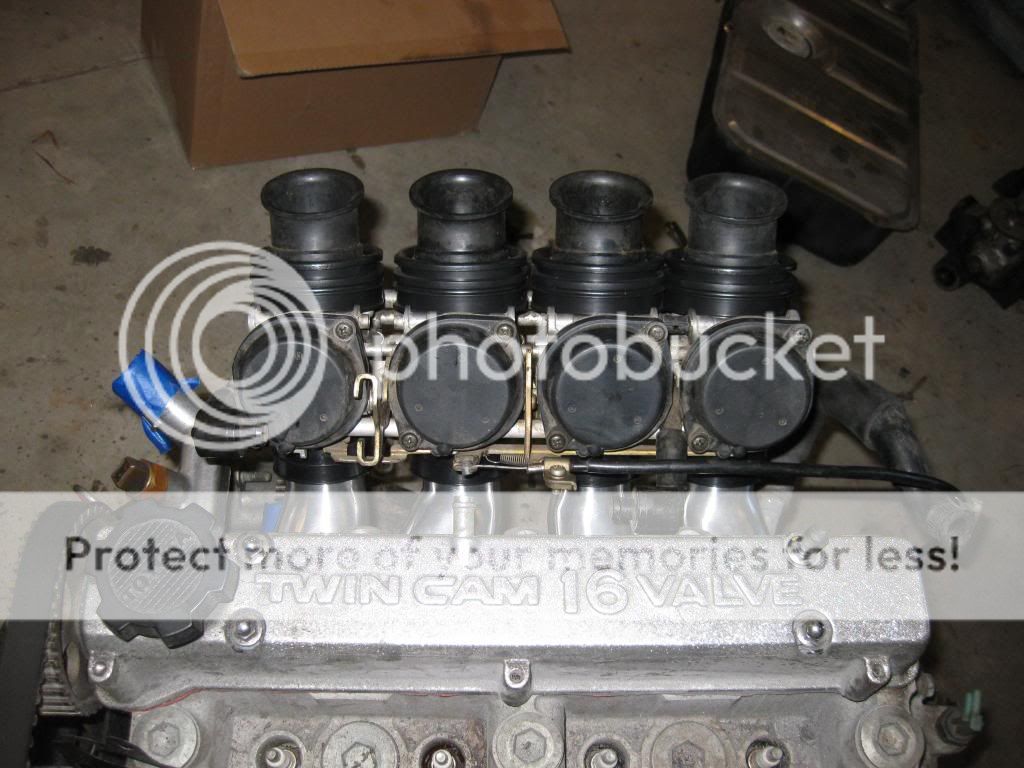
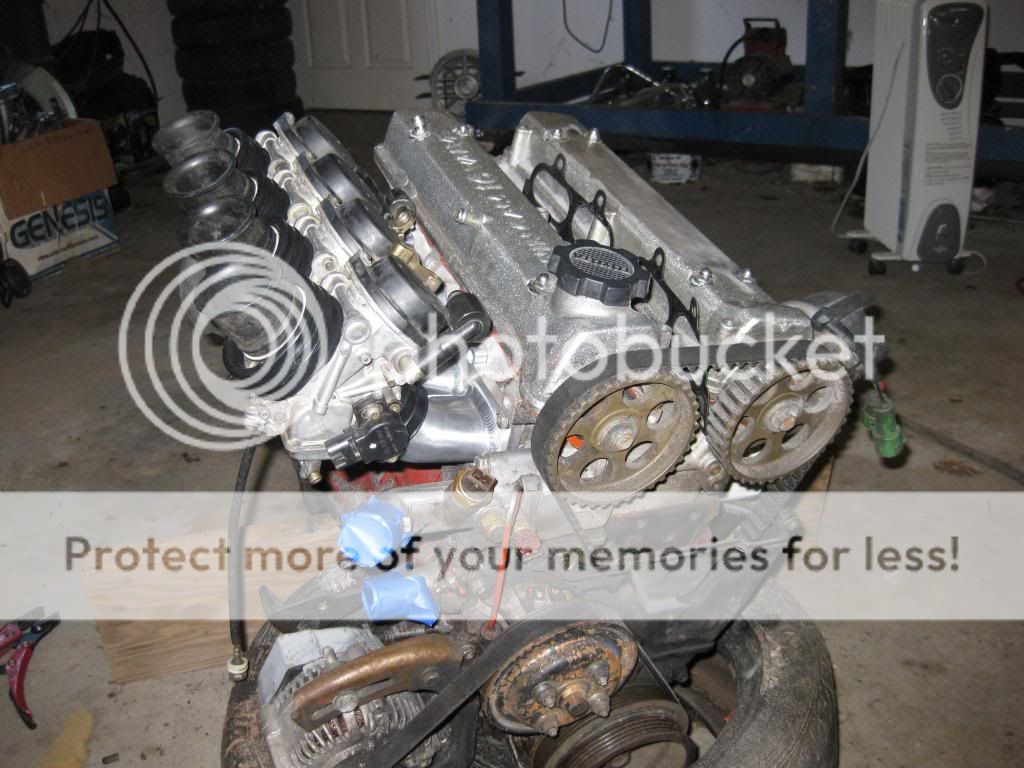
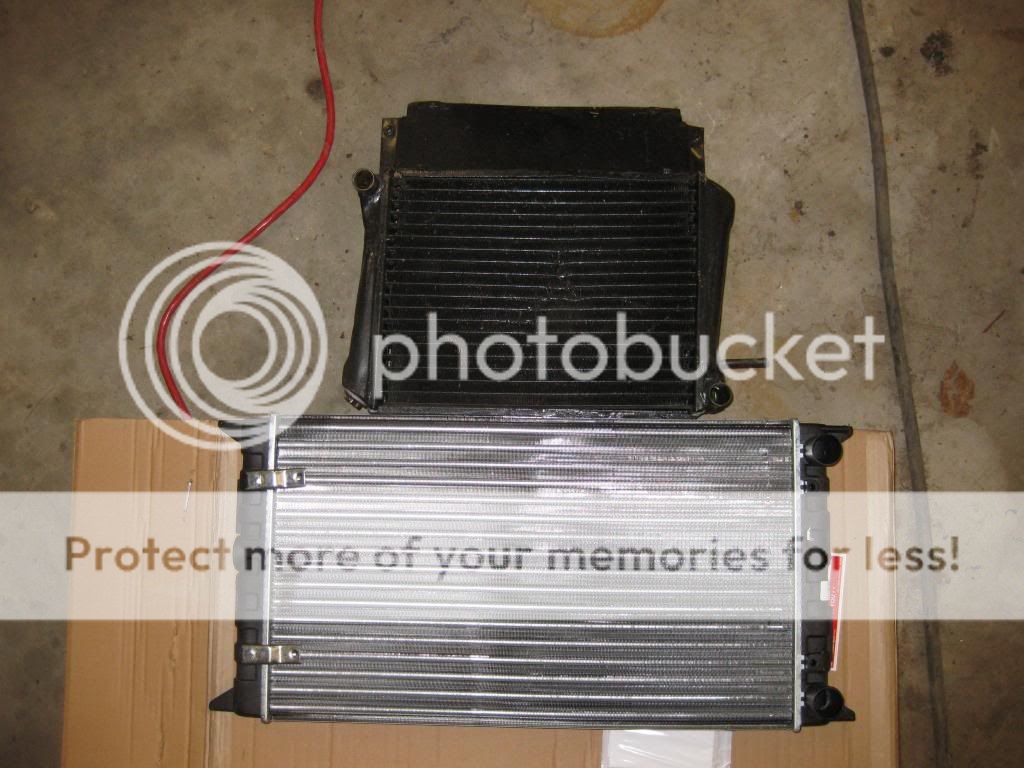
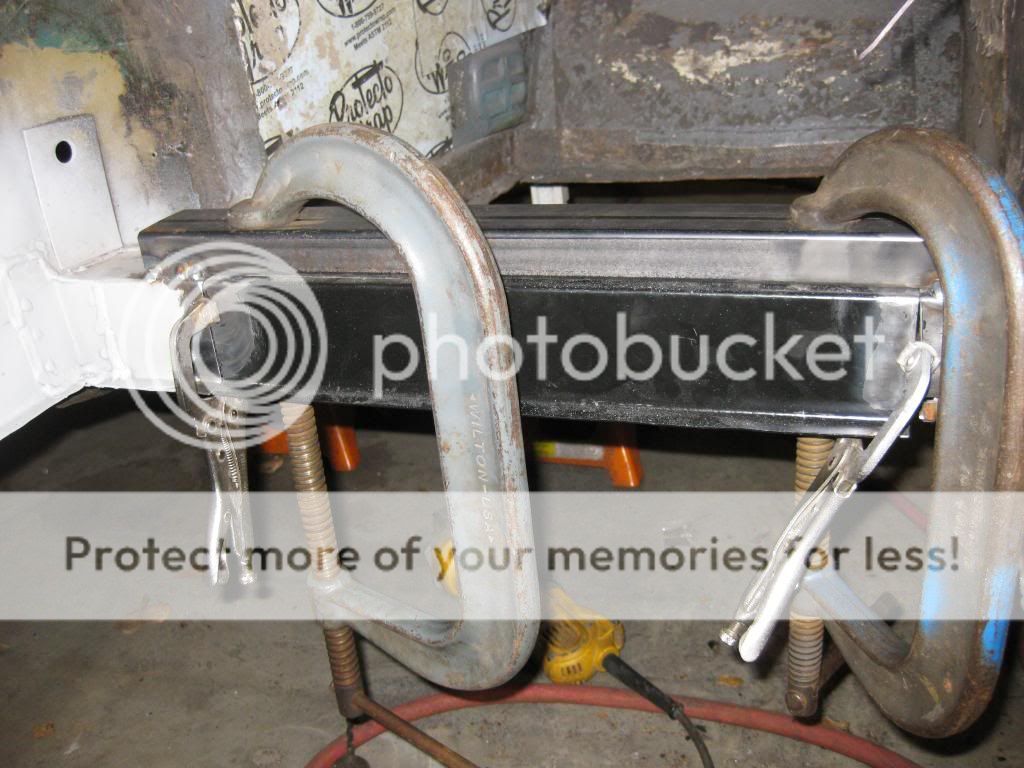
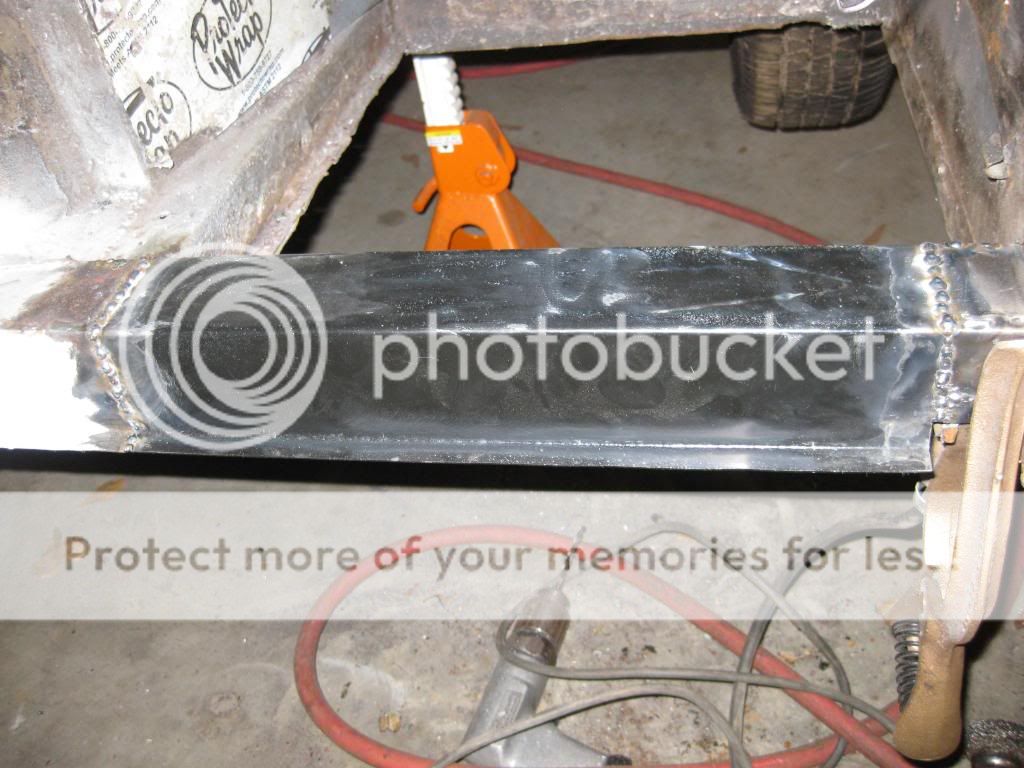
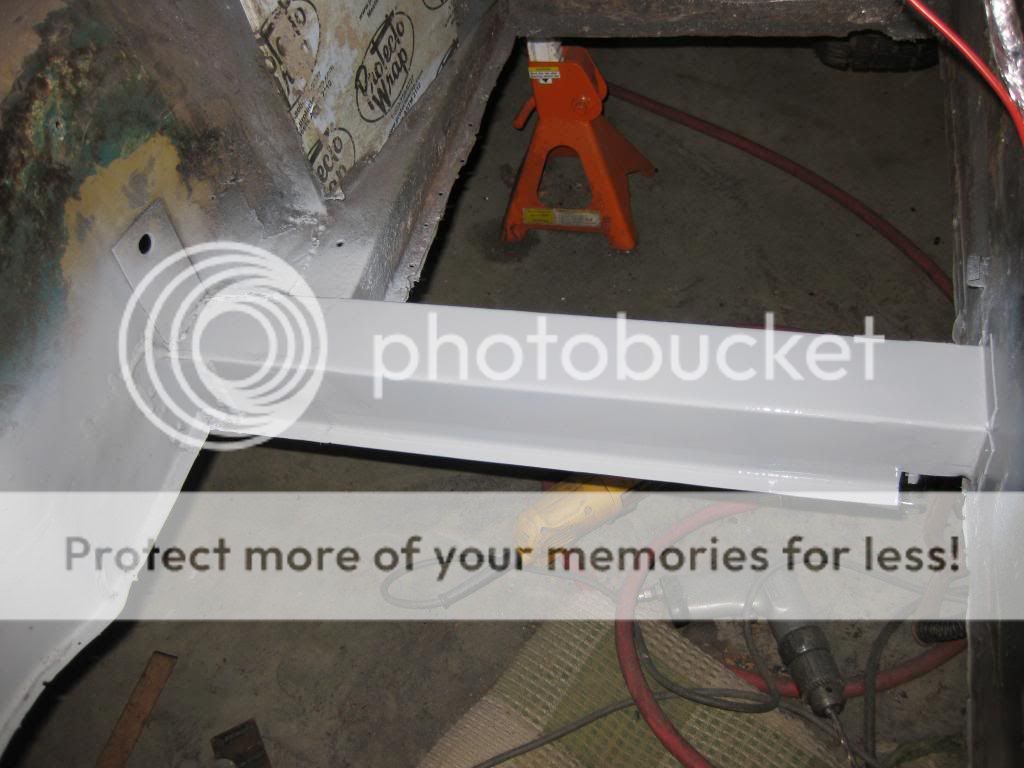
So i had another build log on this forum. it was a 1963 midget that i was going to put a ford duratec into. fully custom front suspension, all the bells and whistles. that was a bit over my head, in retrospect i was thinking too big. I was definitely not keeping things simple. i had a moment of sanity. i knew i wanted to have an spridget, I knew i wanted to do an engine swap. so i did a bit of research on what would probably be the easiest swap i could do. I came up with the toyota 4age engine. they are compact, lightweight, make good power. there are version from 135hp all the way up to 165hp engines. I narrowed my selection down to the 16v 4age found in a Toyota GTS corolla. It comes standard set up for RWD, fuel injected, and makes about 135 crank hp. The 20v version is found in the Japanese market, those are the ones that make the highest hp stock. but they are not set up for RWD standard, and are much more expensive. I picked up my 16v locally for $475, and have since sold off some parts i didn't need for $150 so far. The 20v 4age can be found on ebay and importers, expect to pay anywhere from $1000-$1600 from what i have seen. I figured the money i save on the engine i could add a bit of power with a set of cams ect. So thats the engine figured out. now for the car. I saw an add a state over from me for a black RWA MG Midget with a blown engine. the pictures of the car looked great. i thought i found my car. I chose to go ahead and negotiate a price for the car all ready because it was over 4 hours away. i only wanted to go see it once and i wanted to pick it up at that time also. this was a bad idea. After negotiating a price for the car sight unseen i drove down with a U-haul trailer to pick it up. when i saw it i could tell it wasn't what the pictures represented. the paint job was self done, or at least done by an amateur. only the exterior was repainted, it was def not taken down to the bare tub and prepped properly. lots of orange peel, and even worse, i saw rust starting to pop out from the door pillars and a few places in the rockers. i also pulled up the carpet but i couldn't see the actual floors because there was tar backed sound deadening everywhere, It seemed solid though. So i was in a predicament, i drove all this way and with a trailer. I know i should have walked away but i renegotiated with the owner for less money after telling him about my issues with the car. so here is the car after i washed it a bit.

IMG_4707.jpg


IMG_4702.jpg


IMG_4700.jpg


IMG_4699.jpg
 
So the first order of business was to see how big of a gamble i took. I wanted to get the seats and carpet out and get that tar sound deadening out. If im going to put a more powerful engine in the car i need it to be structurally sound. I started with the drivers side, after i got the seat and carpet out i saw this.

IMG_4682.jpg


Then after much work i got all the tar crap off the floor. this stuff was stuck good and was a real pain.

IMG_4832.jpg


It was actually better than i expected. all the holes seem to be from different seat mountings over the years. There is def pitting going on but the floor still seems thick and very solid. I am undecided if i will leave this floor, repair the holes, and por 15 it, or replace the whole thing. I will have some time to think about the drivers side though when i found out what the passengers side looked like.

IMG_4692.jpg


IMG_4706.jpg


IMG_4694.jpg


What i found made me sick. This side actually had a new floor, but instead of welding it in they used sheet metal screws then covered it with fiberglass tape! to add insult to injury water had gotten through the fiberglass tape. so pretty much every spot the body mounts to the floor was heavily rusted. So not only do i have to do the floor on this side i have to repair everywhere the floor mounts to. But i had the car in my garage, i made the decisions to have it here, so im going to fix it and make it my own.
 
I decided to start with a small section of the crossmember. this was going to be my first repair in the car, i was a bit nervous. I am not a master welder or fabricator, so this is all a learning process to me. i practiced on some spare metal, then jumped into the repair.

as you can see where the crossmember welds into the floor its pretty crusty.

IMG_4799.jpg


So i cut out the section i was going to repair, made a patch out of new metal, and started welding it in.

IMG_4821.jpg


Then i ground all the welds down and tried to get it all smoothed out.

IMG_4824.jpg


I was pretty happy how it came out, and i was confident enough to move on to something harder.
 
The transmission tunnel had the same corrosion going on as the cross member. This is what i cut out of it.

IMG_4862.jpg


I had an old parts car lying around so i cut a section of it out to be grafter into the car im working on.

IMG_4839.jpg


I cut a strip of metal to put behind the two pieces of metal of the transmission tunnel. the i punched holes in those sections and plug welded it. then finished by welding over the seam. i thought this would make for a stronger repair.

IMG_4847.jpg


IMG_4848.jpg


IMG_4850.jpg
 
I was left with a gap between the new transmission tunnel section and the crossmember. so i made a piece of metal to close up this gap and tie the two sections together.

IMG_4851.jpg


IMG_4852.jpg


i punched holes in the piece and plug welded it in then fully welded it

IMG_4857.jpg


Then some temporary primer to keep it from rusting while other repairs are done.

IMG_4863.jpg
 
On to the rear bulkhead i believe its called. this section is really a mess, between the rust and the person who put the last floor in cutting to much of it out.

IMG_4866.jpg


I did this repair the same as the transmission tunnel. I also temporarily bolted the floor in to get the holes lined up for the leaf spring mounts. i wanted to make sure all the holes lined up.

IMG_4946.jpg


Im still working on this repair, needs some more welding and grinding

IMG_4948.jpg
 
That pretty much catches up what i have done so far on the car. i know i have a good bit more to do but im glad i am making some progress. I have gotten some pretty good parts in for my engine. and also modified the transmission to work better in the midget.

this is my transmission, its a Toyota T50 for the GTS Corolla. I fitted the linkage and tail shaft from an earlier 1975 corolla. this moves the shifter forward about 3-4 inches, which should allow the shifter to pop out around the same spot as stock.

tailshaft.jpg


here is the engine i bought for this car. I was told it was rebuilt 10k miles ago, head skimed, everything else stock.

photo2.jpg


The plan is to ditch the fuel injection, and run a set of Yamaha R1 motorcycle carbs and a megajolt computer to control the spark.
 
As for the R1 carbs, here they are. It is really popular to use the bike carbs on car engines in the UK. It hasn't really caught on here in the states yet as far as i can tell. This does mean that these carbs can be had off ebay for around $100-$300, and as far as carbs go, they are very advanced. The main jet will have to be drilled out to 1.65mm i believe, to work with the 1.6 liter car engine.

IMG_4952.jpg


The carbs are useless if you have no way to mount them to the engine. so you will need a manifold to do that. I had mine made by Bogg Bros in the UK. They are just about the bike carb to car engine experts. The manifold came out great and was pretty affordable when you consider what it would cost to have a manifold and dual webbers for a 4age!

IMG_4958.jpg


IMG_4957.jpg


IMG_4956.jpg


They do make a manifold for the A series engine but i would imagine you would have to have a pretty built motor to need 4 individual carb boddies
 
I picked up a factory fuel pump from the yamaha R1 of the same year as my carbs. this ensures i get the correct fuel pressure and it was cheap to boot.

IMG_4953.jpg


I also got a set of aluminum pulleys for the 4age, this will help a bit with performance but mainly got the for the crank pulley. it has a 36 toothed wheel that i will use with the megajolt computer

IMG_4951.jpg
 
Keep it up Sean!! I can't wait for the next installment!! I've been interested in this power plant for some time.

Kurt.
 
So I got the bulkhead/leaf spring mount finished up today, I shot some primer on it just like the transmission tunnel to keep surface rust from forming.

IMG_4964.jpg


Since this is a patch panel being welded in, I tried to strengthen it every way I could think of to make it as strong or stronger than a factory fitting. Behind the panel I welded the patch to the bulkhead reinforcement plates. This should make things a bit more solid.

IMG_4967.jpg


I also got the radiator I will use today. It’s a replacement for a 1970s VW Sciorocco/Rabbit radiator. It is feather light being aluminum and plastic. From what I have read they work great in spridgets. I took a picture of it next to the stock radiator. Mounting it will def take some work.

IMG_4966.jpg
 
Agree, that's very cool! You do nice work as well but having fitted bigger radiators I can say that you are going to have your engineering skills tested and quite a bit of sheet metal removed to make the rad fit!

Kurt.
 
no kidding, i have a spare front valance and played around with it today to see how much cutting it would take to fit. It was allot! I think most people that use the vw radiators are either bugeye guys or they have a fiberglass one piece front end. I still have a few ideas but im still a bit of time away from having to really worry about the radiator!
 
Sean,

It's possible to get a 3 Row Radiator to fit in there. Take a look at Frank C.'s handiwork using a radiator out of a Geo Metro. Now I've Googled for a GEO Metro Radiator and you can purchase a new 3 row and the pacakaging is around 12" x 12". So much easier than trying to fit that VW Radiator in there. Pics here. https://www.spritespot.com/phpBB3/viewtopic.php?f=34&t=113

And there is a vendor out there selling Champion Aluminum Radiator for $4-500 direct bolt in. Don't cut up sheet metal that is difficult to refit and replace. Get a radiator that fits in the first place.
 
So I thought I would work on the cross member today. Aside from the small section I had all ready repaired, everything else on the bottom of the cross member was roached and needed replacing. I had planned on repairing the rest of the cross member like I did with the other section. But the top and sides of the cross member was pretty heavily pitted. So I thought a better idea would be to replace a large section of the cross member, which would take care of the whole thing in one repair instead of having to cut out sections and replace them.


I had to figure out a way to cut out the section I wanted to replace, but I also had to reinforce the car if I took a section out. So I thought the simplest way to do this would be to weld a 1x2 piece of box steel to the top of the cross member, basically taking the place of the section I would cut out. Also it will help me line up the new repair section when I weld it in.

IMG_4971.jpg


1X2 steel welded in

IMG_4974.jpg


The section to be replace cut out. I left the cross member section by the door because I didn’t want to mess with the jacking support.

IMG_4976.jpg


The section I cut out.

IMG_4975.jpg


I used C clamps to hold everything in place and get the new section lined up.

IMG_4978.jpg


Fully welded up

IMG_4982.jpg


And sprayed with primer like everything else, im happy I did the repair this way. I just have a few more things to do until im ready to weld the floor in.

IMG_4988.jpg


I do still have to weld in a small section by the outer inner sills as you can see. but i may wait to do this until i get the floor in. giving me better access to weld the floor in at that spot.
 
Back
Top