• Hi Guest!
    You can help ensure that British Car Forum (BCF) continues to provide a great place to engage in the British car hobby! If you find BCF a beneficial community, please consider supporting our efforts with a subscription.

    There are some perks with a member upgrade!
    **Upgrade Now**
    (PS: Subscribers don't see this gawd-aweful banner
Tips
Tips

TR2/3/3A 1960 TR3 A Hood stick mounting point?

Tinkerman

Darth Vader
Offline
EveningI have my hood sticks all painted and ready to mount and have no idea where they mount. The hood sticks were not on the car when I bought it. (A basket case). I have looked at the parts book but that gave me no clue, so any help you can give me will be greatly appreciated!

Thanks, Tinkerman
 
Dick
do you mean the hood stick for the hood (bonnet)? Or the hood sticks on the convertible top?
 
Dick
If you are talking about the hood prop, do you have the plate with the safety catch. Prop rod attach to the side and plate goes to the front of the hood, safety latch catches on the hood lift pin in front.

Marv
 
not meaning to hijack, but does the safety catch have a spring? Seems like it should, mine does not.
Jerry

On the convertible top , there are two cage nuts about 6 inches behind the door jam, behind the side panel. There will be soft round holes that you can feel through the fabric to find these cage nuts.
 
"On the convertible top , there are two cage nuts about 6 inches behind the door jam, behind the side panel. There will be soft round holes that you can feel through the fabric to find these cage nuts."

Sorry I meant the hood sticks for the top. Is this where the hood sticks mount? Do they fasten to the body at this point? I am getting ready to put in the dog leg upholstery panels (pre made) that came with the upholstery kit. They came with pre-punched holes for the trim screws. However at the top there are two fairly large pre-punched holes for two larger screws.
I hope that all this makes sense.

Thanks, Tinkerman
 
Dick
Look at your top frame. You should have a small plate with two countersunk holes on each side of the top frame. This is where the top frame mounts to the body and pivots on a large common screw. These plates mount at the top the body where you see the two holes in your side panel.Your need to use countersunk common head screws, I use 1.5 long one to help find the holes thru the panel and ease of mounting. If you use a hex head the frame can hang up on the heads when you try to fold the frame down.

Marv
 
Dick, you are correct. There are 2 caged nuts in the quarter panel to mount the sticks. If you are lucky, they will line up with your new trim panel. Mine were not perfect, though.
 
Hello Tinkerman,
In the image below, the mount is part number number 2.

Hood stick mounting point.jpg
 
This pic shows that plate on mine:

P1090608_zpsf0705183.jpg


...Your need to use countersunk common head screws, I use 1.5 long one to help find the holes thru the panel and ease of mounting...

I believe the original bolts had a pointy tip to help them 'find' the captive plate though, as Marv notes, a longer bolt may help.
 
Thank y'all for the info and the pictures. Much of my info problems stem from the fact that I bought a basket case car and a 100,000 mile car at that. PLUS my step son was living with us during the disassembly. So I did'nt get to see much of it before it was taken apart. On top of all of that the car was bought in 1989!
I may have more questions as we continue with the addembly.
Finally got the screws odered from the local Fastenal store. I bought SS screws just cause.

Cheers, Dick
 
Dick,
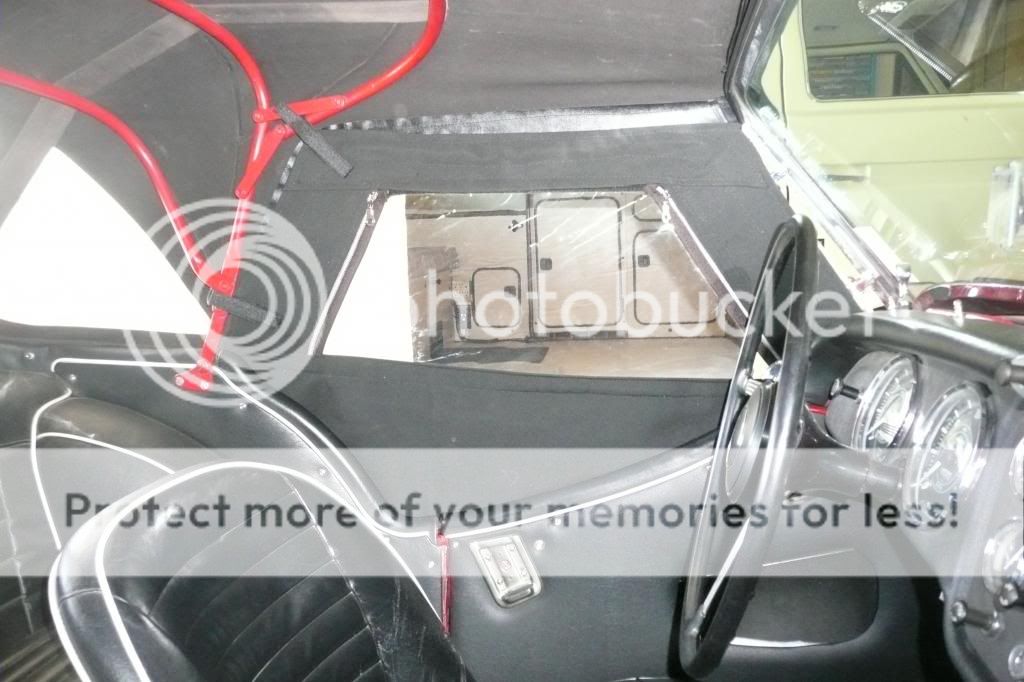
On my 59, I'm pretty sure there is a plate with two threaded holes to mount the bows triangle (each side). They allow some alignment of the bows triangle. I used allen head counter sunk fine thread screws, because they are black and can be tightened (tight) without marking the paint. Also I installed the forward screw first, and tightened it to keep the plate properly positioned (with the covered fiber board in place) before installing the rear screw through the bows. That way, it's possible to find the threaded hole when installing the bows (rear screw only). Then I removed the front screw, and used the rear to rotate the plate into position for the front one to go through the bows. When they are both installed, you can position/center both sides before tightening.

Also, it is important to have the bows positioned properly, as well as the triangle positioned properly before attempting to install the top. You want to be sure the bows will go up and down.
 
Back
Top