Graham H
Jedi Warrior
Offline
Hello David,
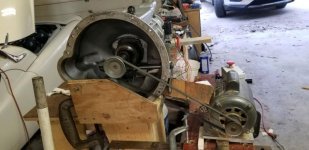
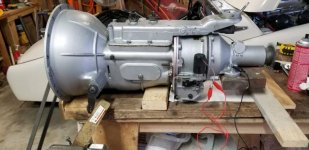
I didn't rely on sliding the chain, rather just set the box down and then slid the chain forward or back then lift and the box just moves on the balance point and because of the leverage it's not that heavy.
Don't forget to refit the throwout bearing, I put it in before getting the box back into the chassis as you do and in the process it slid off onto the floor then I entered the the input shaft without putting it back on, all good fun. Also make sure you get all the OD presser springs in the right sequence and fitted over the front locaters, some will need to be pushed with a screwdriver once you get the nuts on the long studs.
I was living in hope after my second box removal that it would be the last but no, four times, unfortunately I started with a box and OD that someone else had played with and it took a long time to get all the nasties out of it, all good now fingers crossed.
Graham

 Hi Guest!

 smilie in place of the real @
 Pretty Please - add it to our Events forum(s) and add to the calendar! >>


