• Hey Guest!
    British Car Forum has been supporting enthusiasts for over 25 years by providing a great place to share our love for British cars. You can support our efforts by upgrading your membership for less than the dues of most car clubs. There are some perks with a member upgrade!

    **Upgrade Now**
    (PS: Upgraded members don't see this banner, nor will you see the Google ads that appear on the site.)
Tips
Tips

TR4/4A My 4a's introduction & project[s] thread

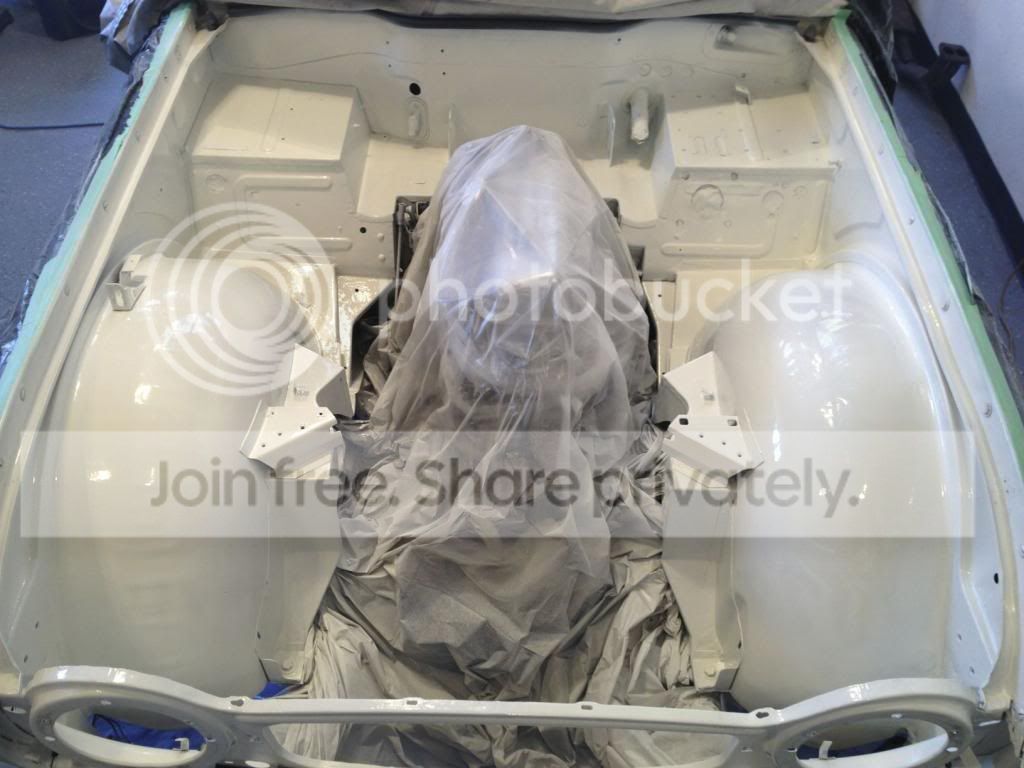
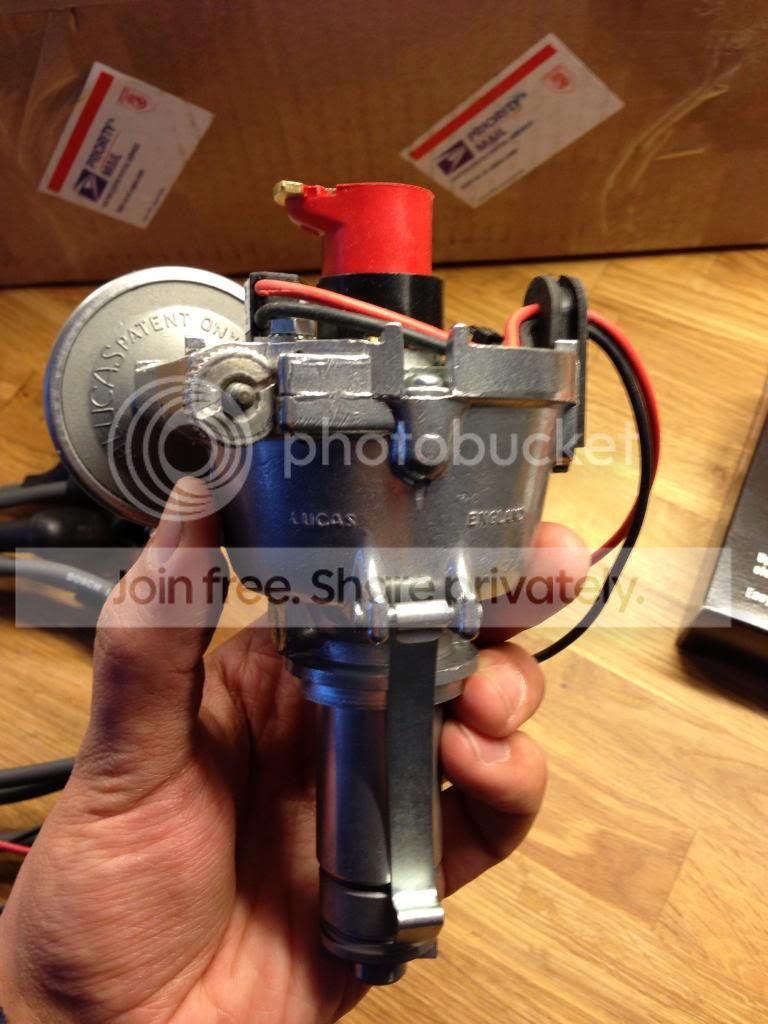
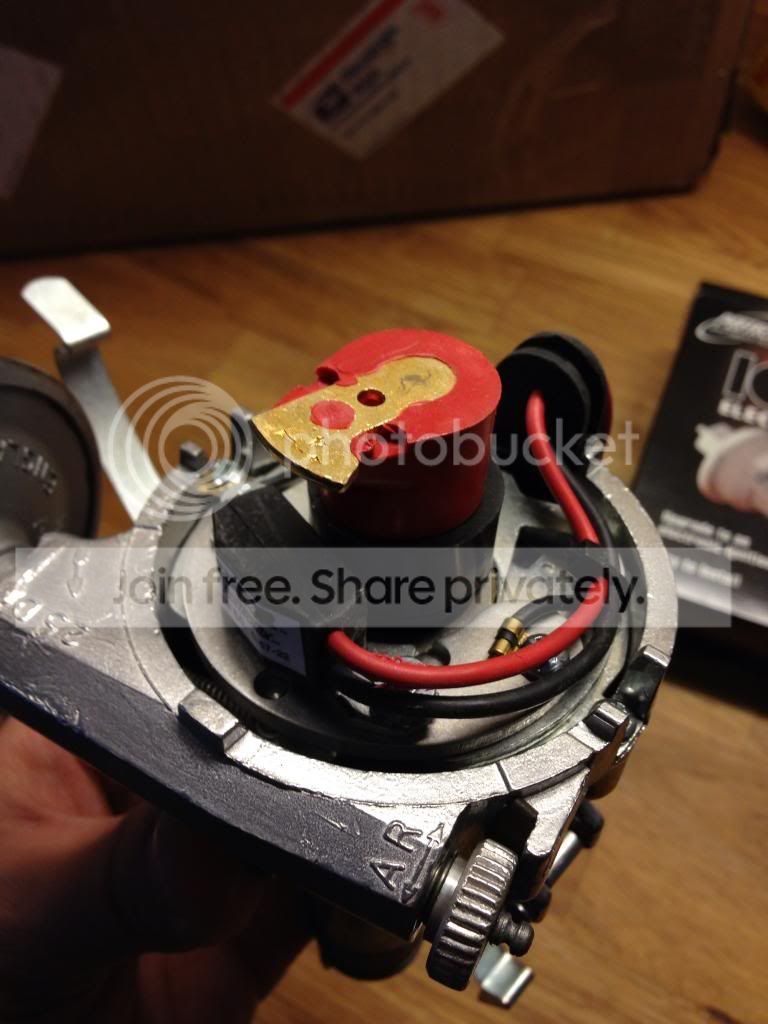
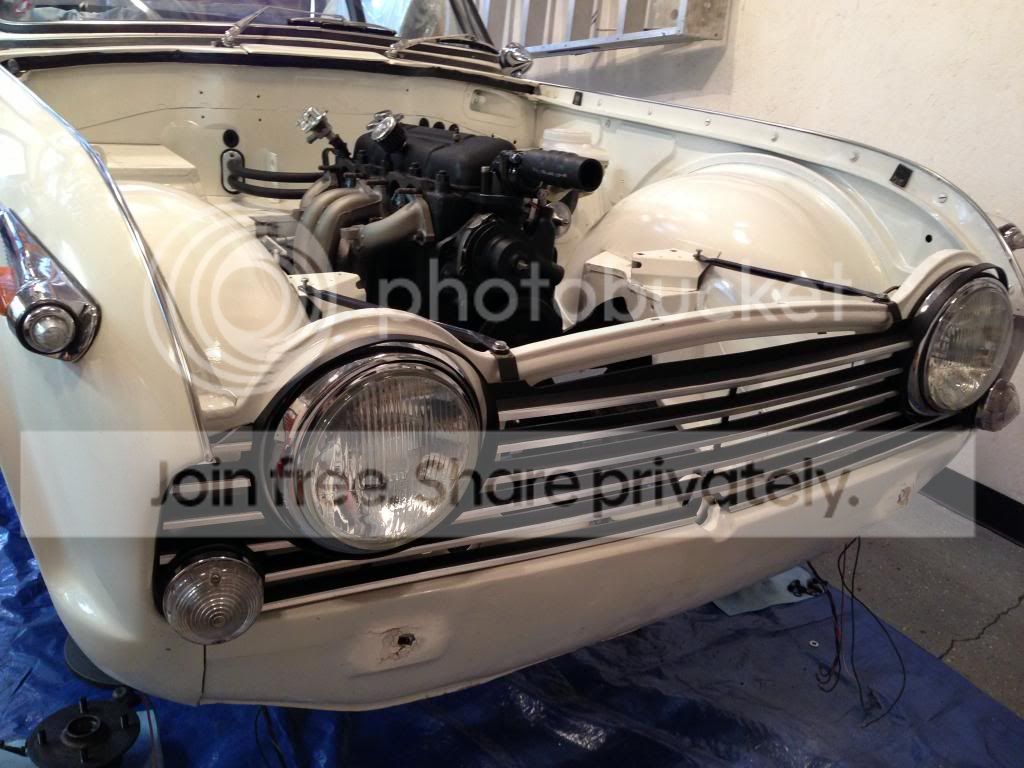
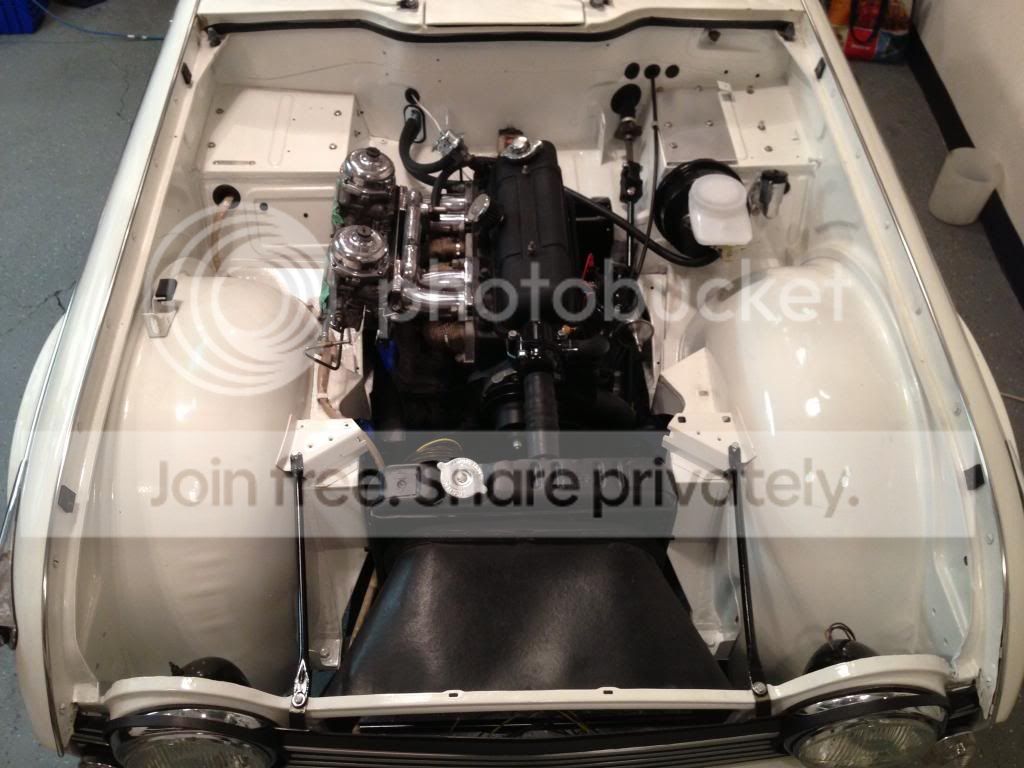
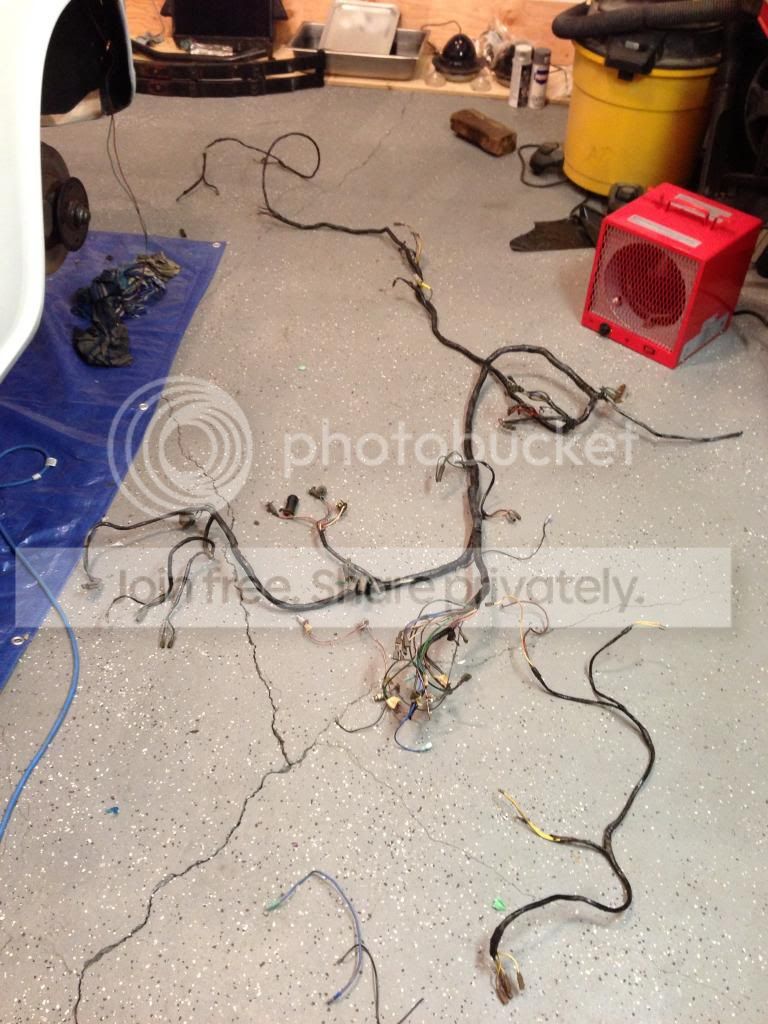
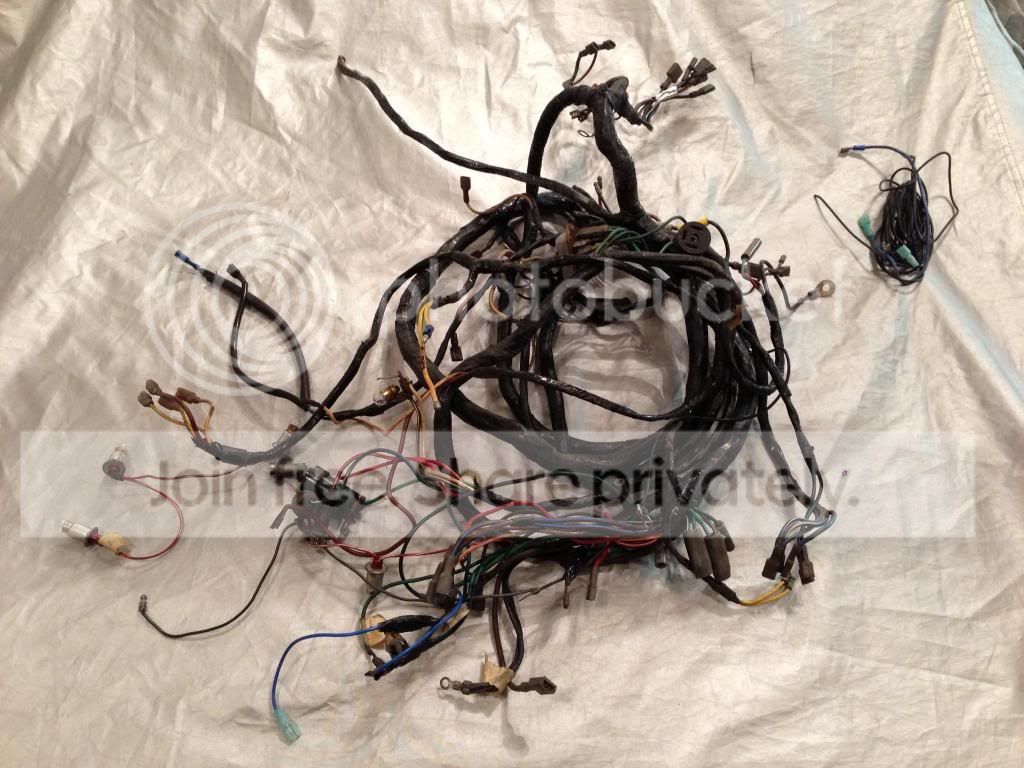
In making room in the engine compartment for a clean respray, the harness was removed, and then eventually completely removed from the car! I've decided to go ahead with the full re-wire using Dan Master's Powerblock kit (Advanced Auto Wire). Only makes sense to invest the right way!

no turning back!

image_zps717c5953.jpg


image_zps5b5708fb.jpg


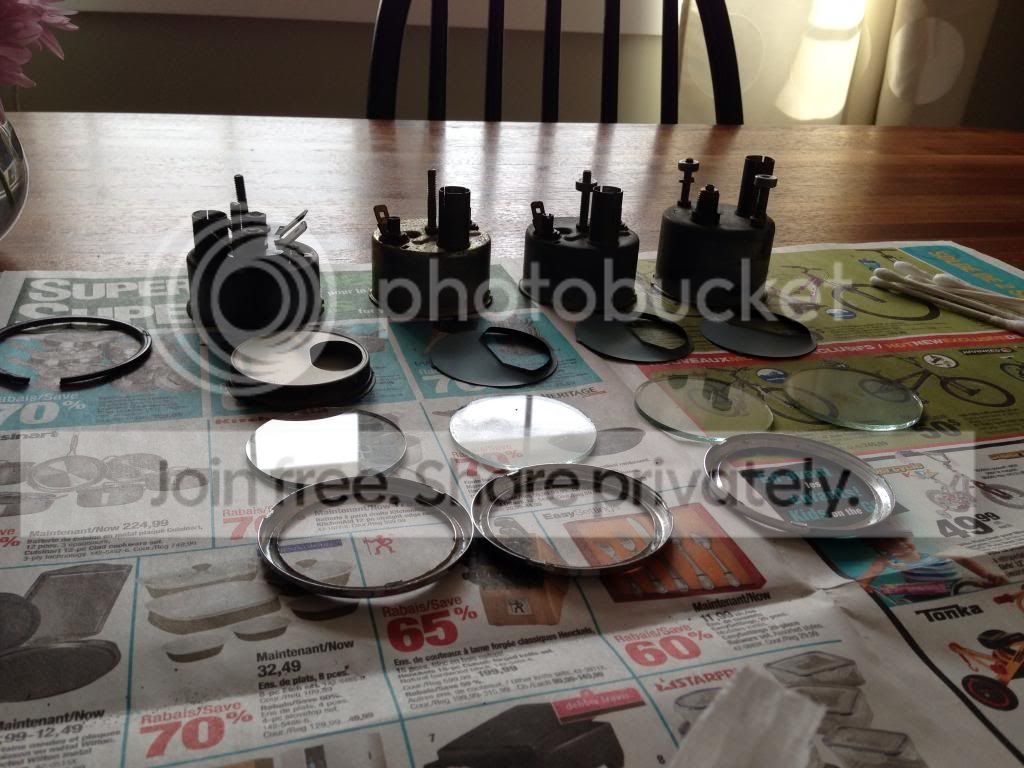
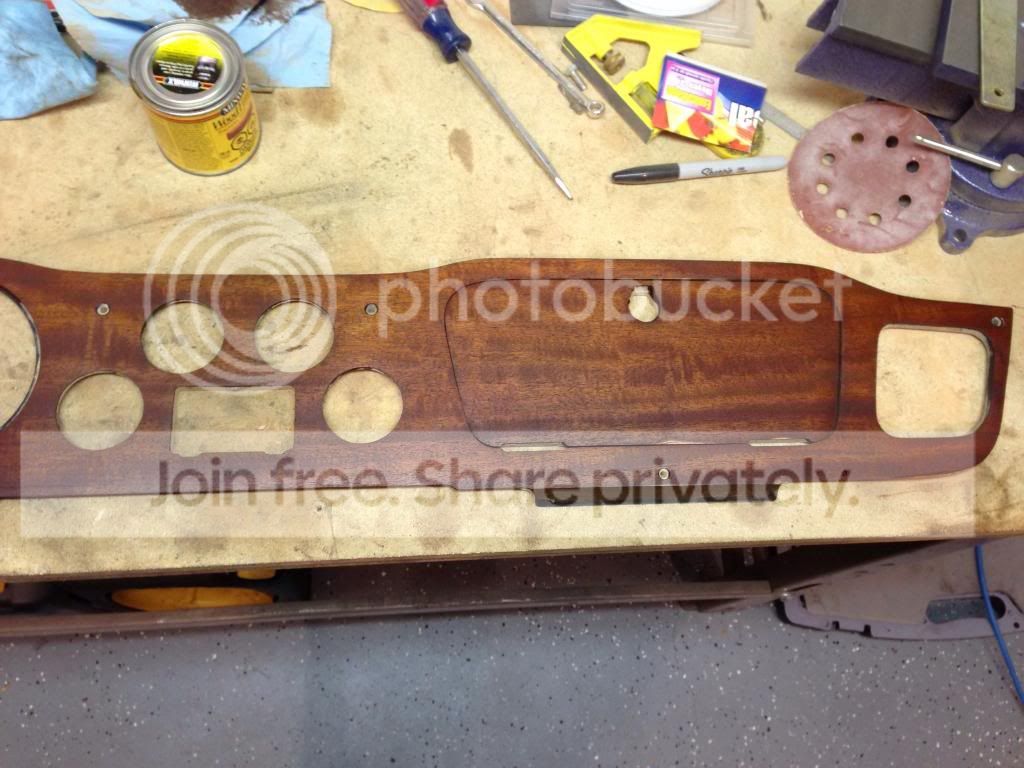
I also gave the old dashboard a shot - replaced somewhere in the last 20 years, the finish has become faded and dull. I was considering a new walnut dash or even venturing into veneering it myself, however I thought it would only make sense to see what I could make this look like with about 20$ in stain and varnish.

image_zps69d4d6fa.jpg


After sanding it down with a random orbital with 80, 220 and then 400, I stained it with some minwax.

image_zps3976d422.jpg


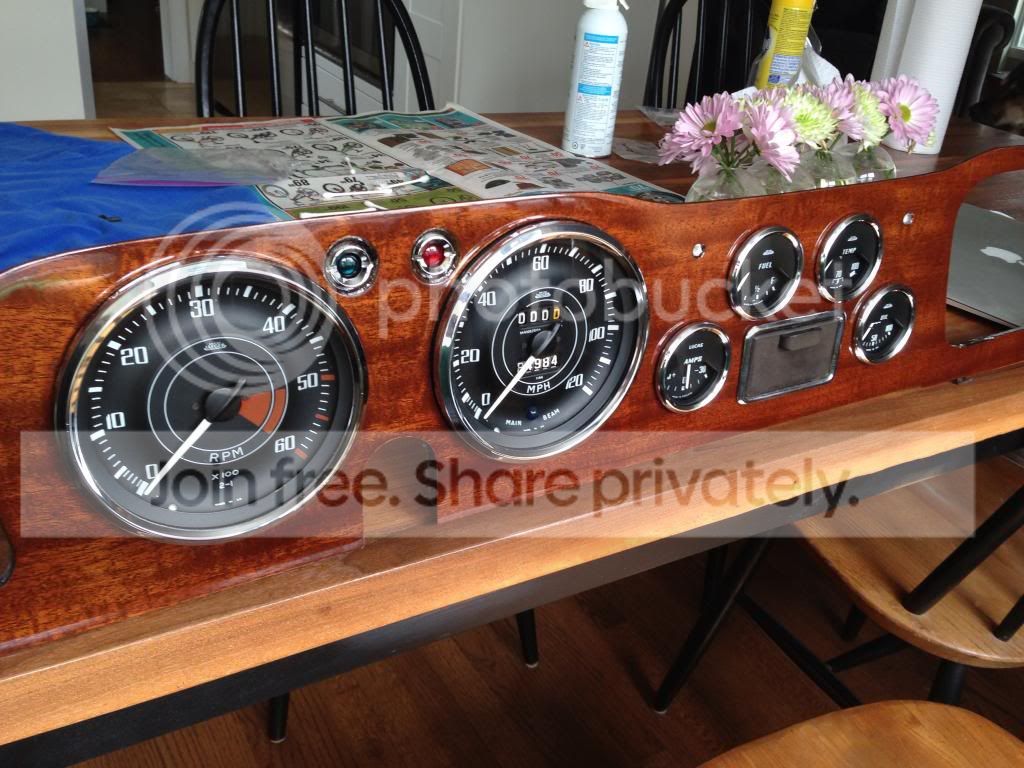
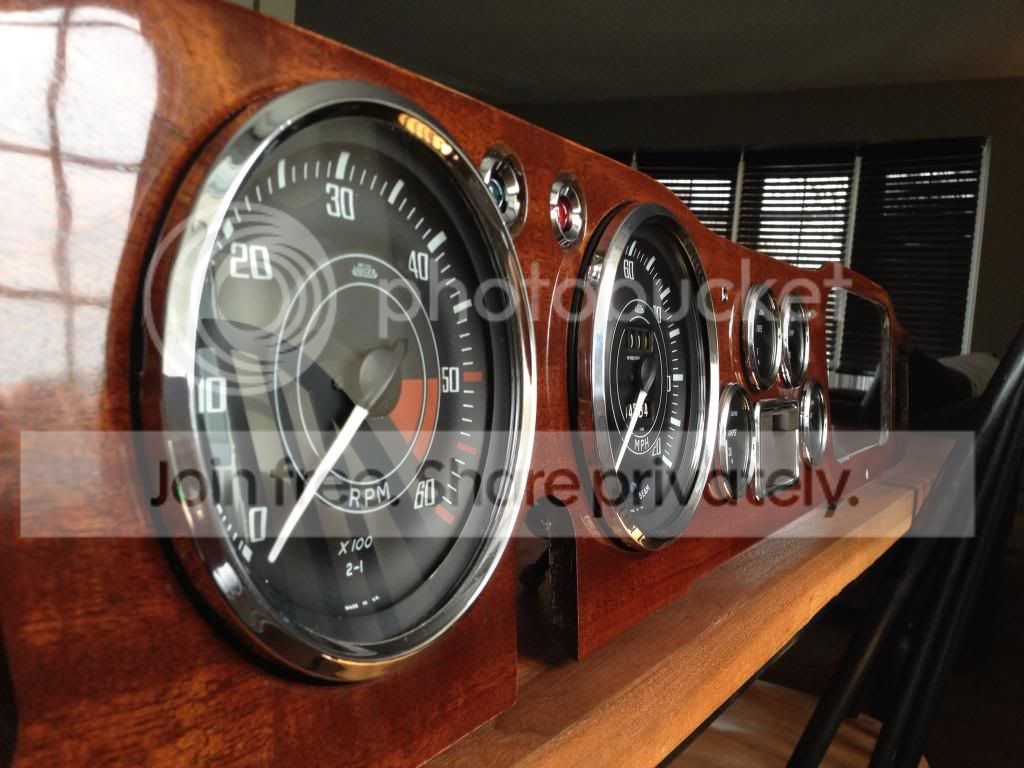
Next was the varnish, and boy did it pop!

image_zpsa7cf8d24.jpg


image_zps2e264057.jpg


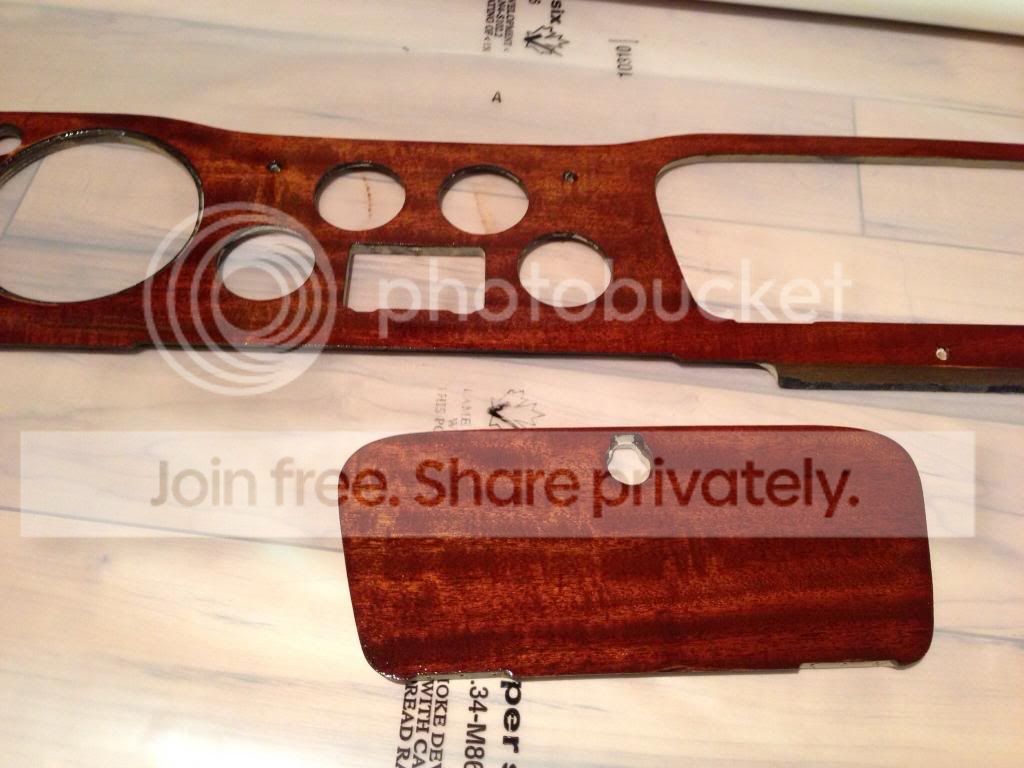
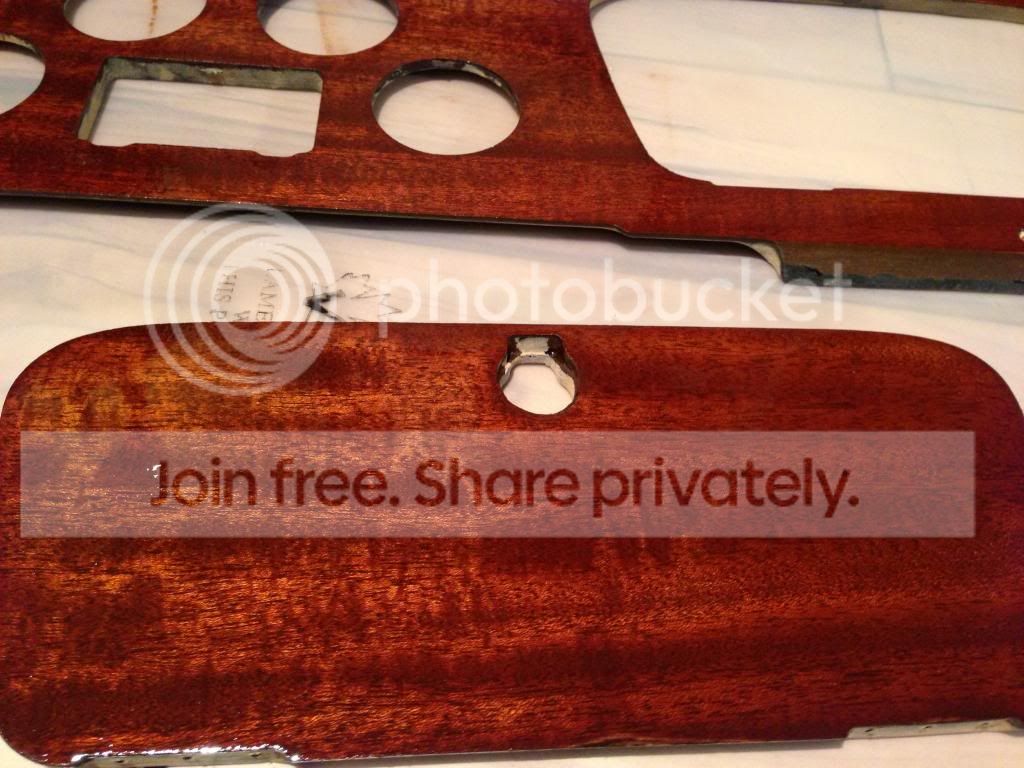
Now even though it looks quite good in those photos, the challenge ahead is to nail the look of glass on that finish without any pitting or lumps. The good news is this finish appears to be quite forgiving to sanding between coats, so I will give it as many coats until I get there!

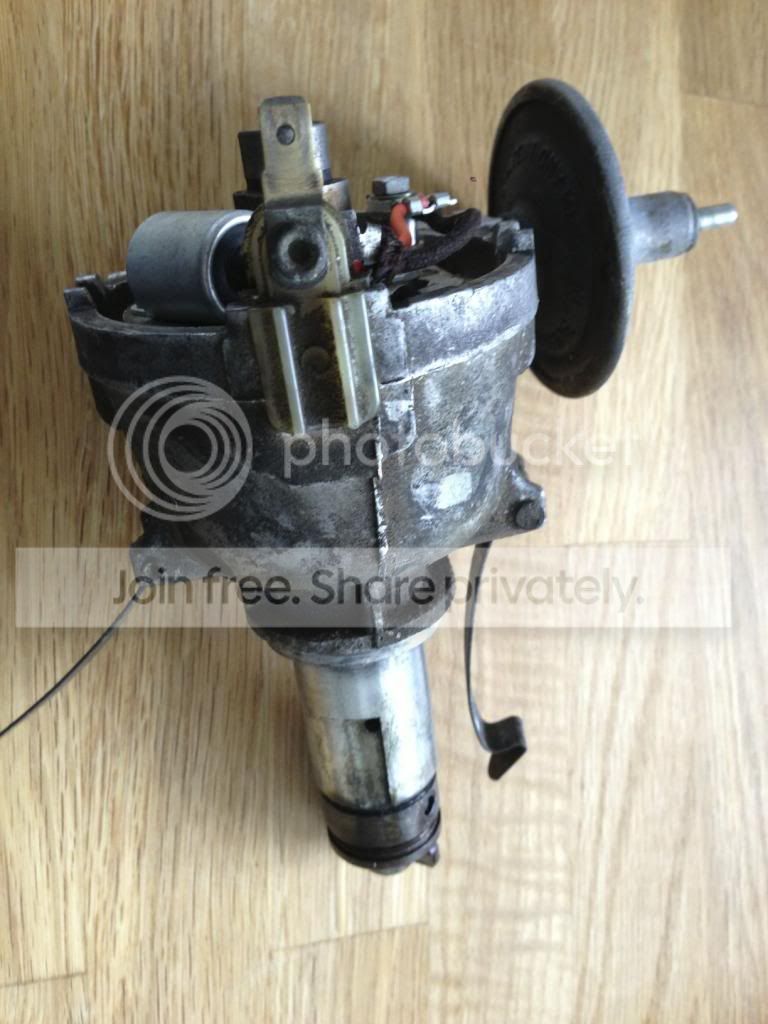
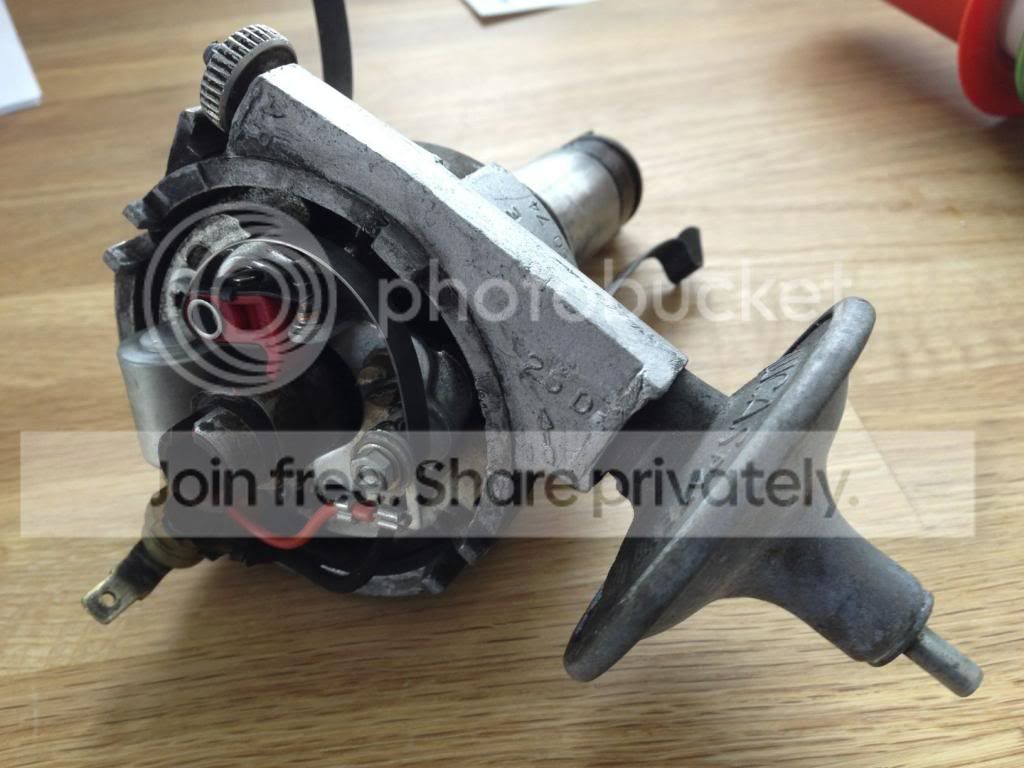
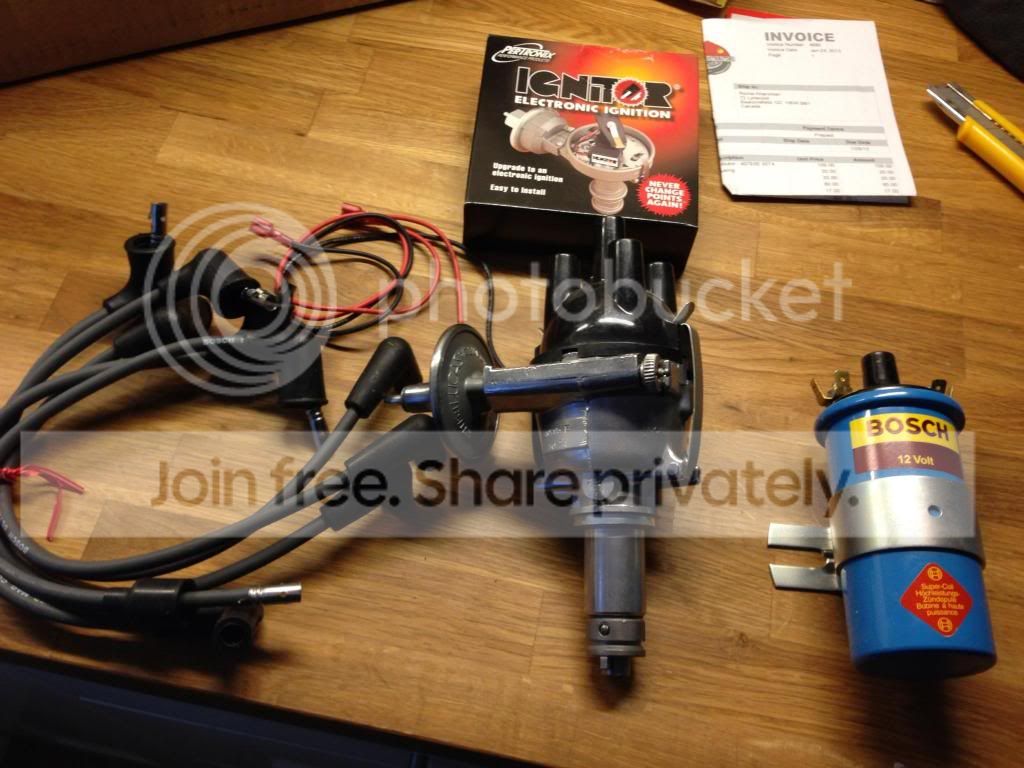
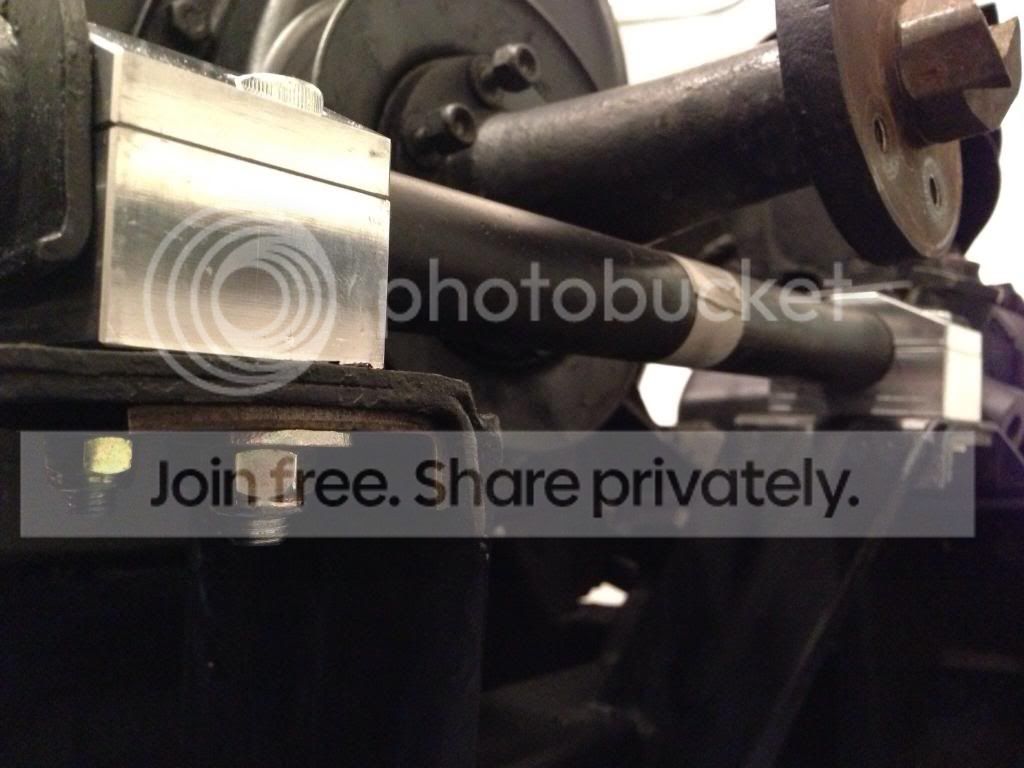
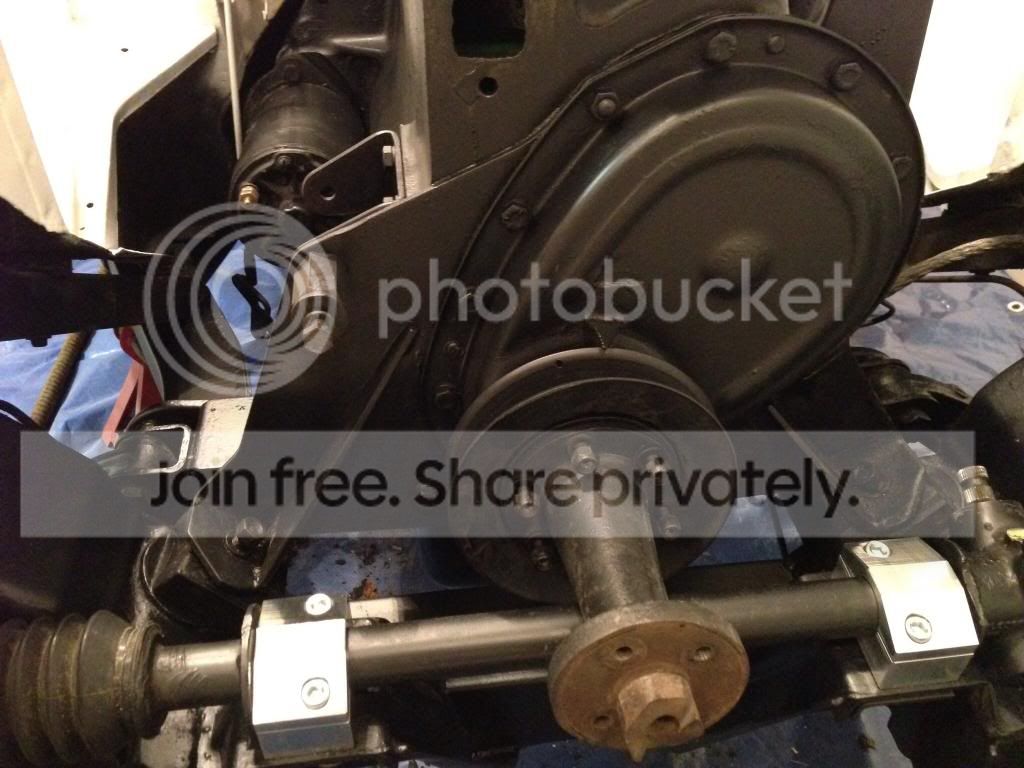
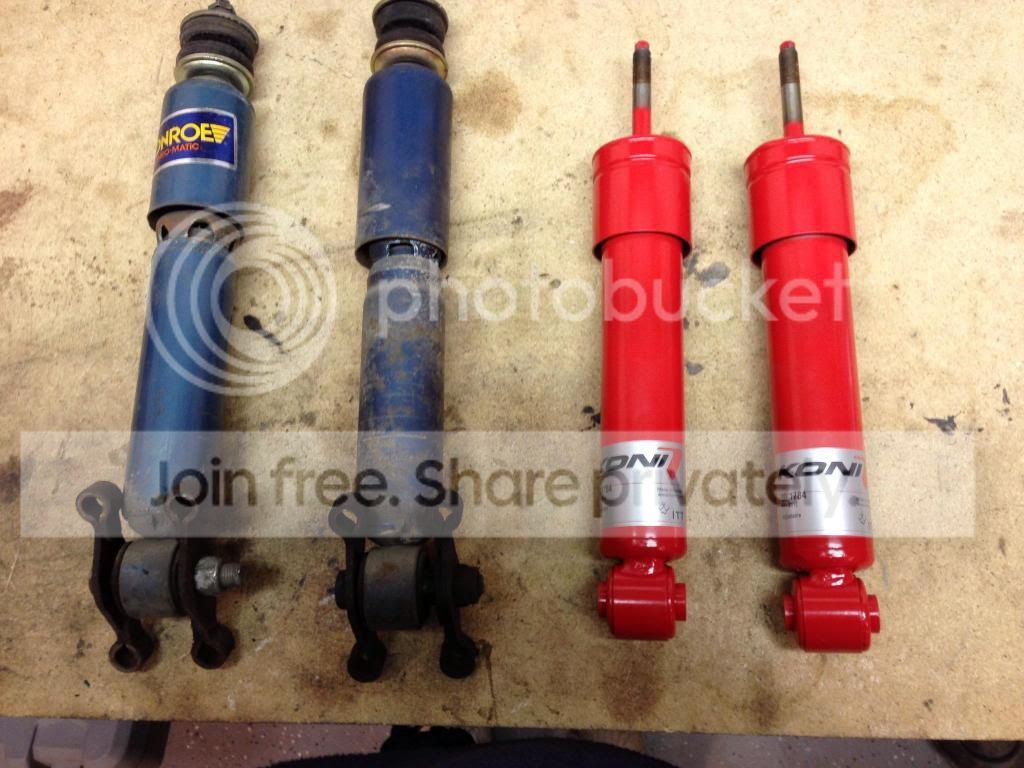
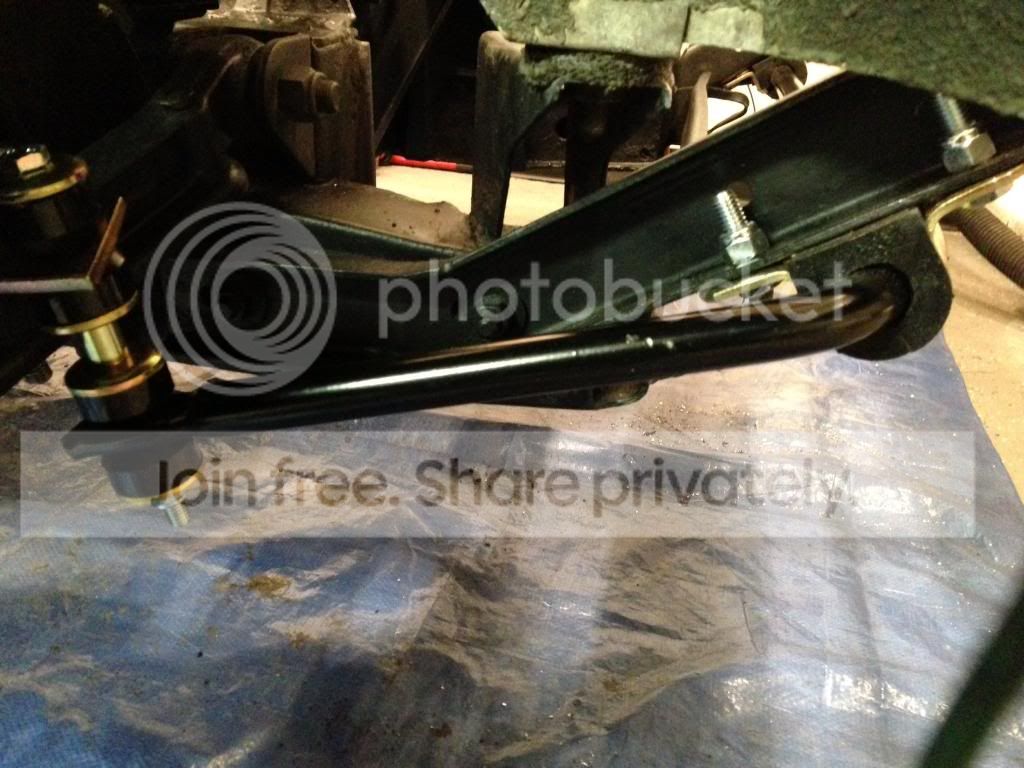
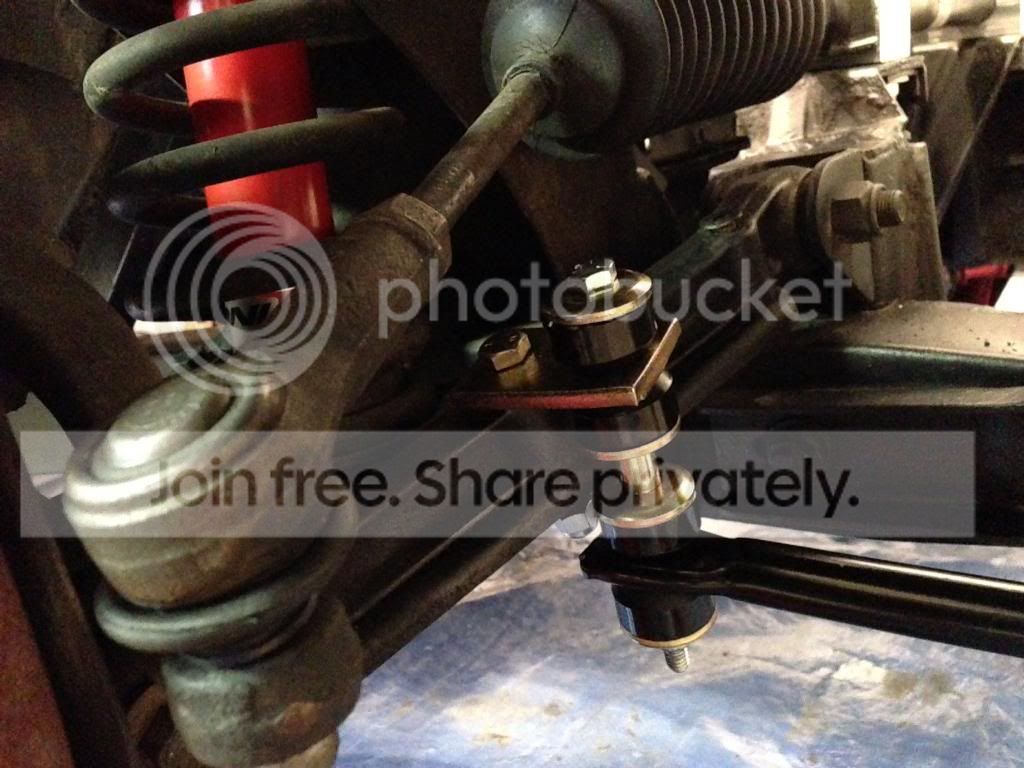
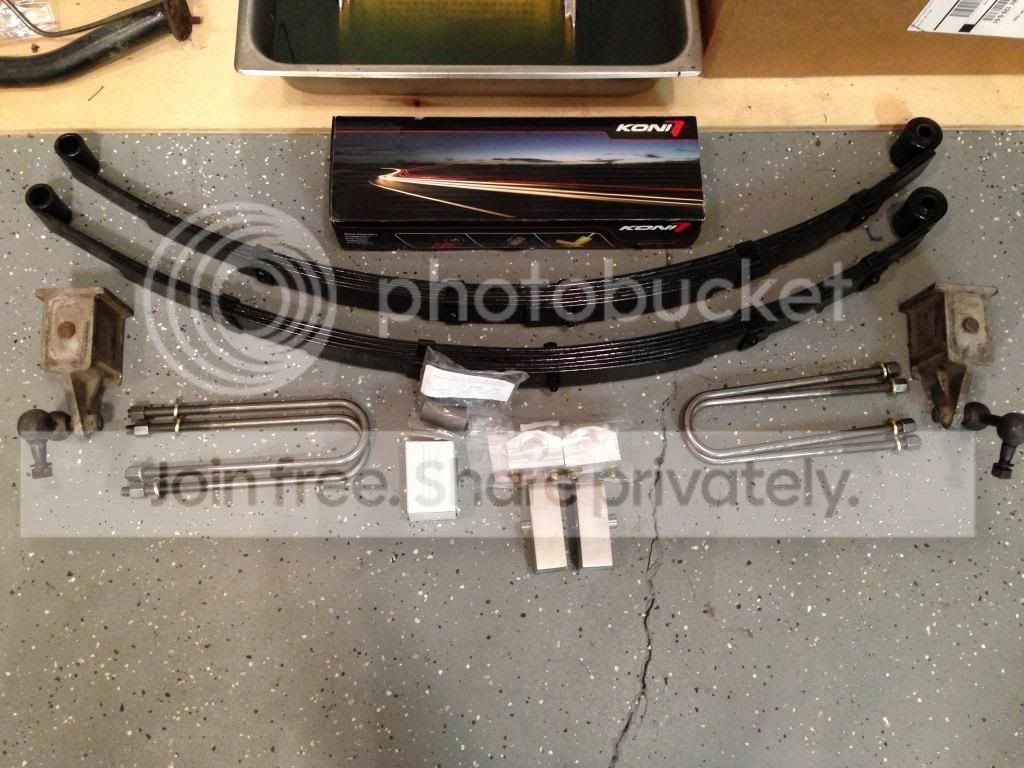
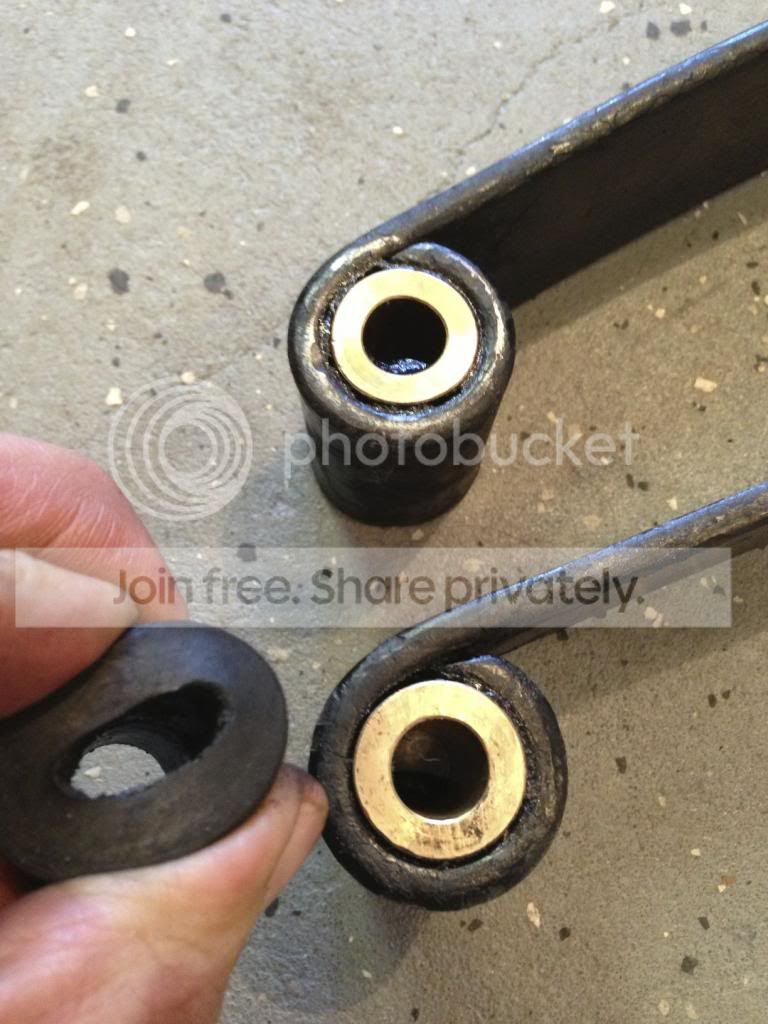
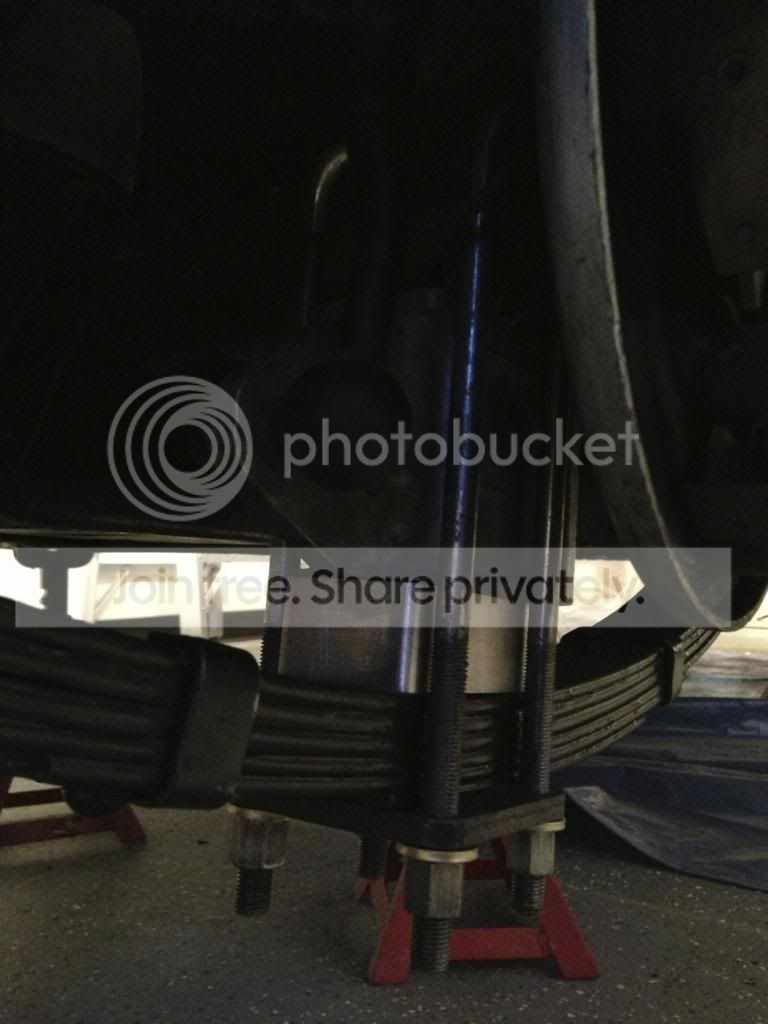
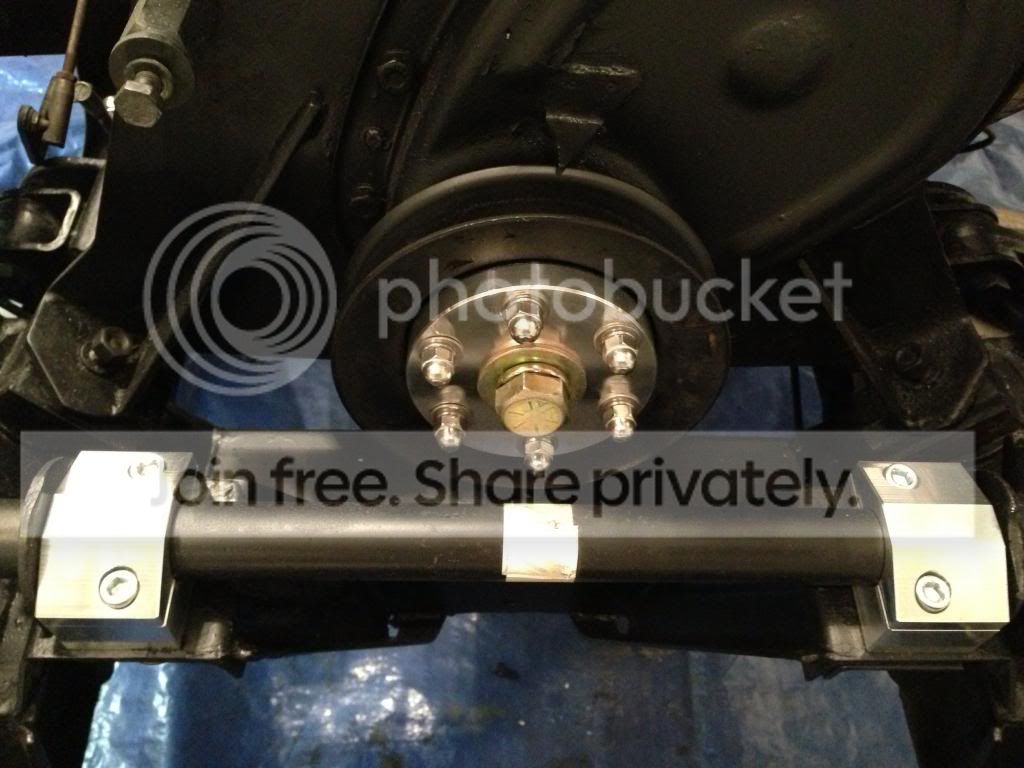
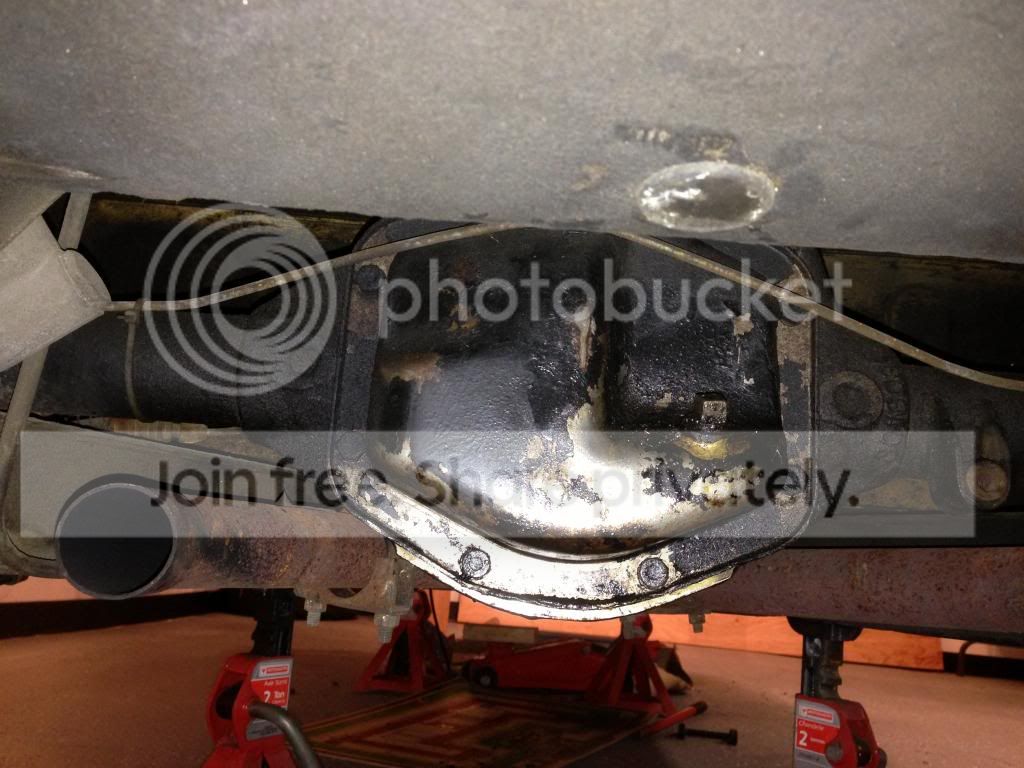
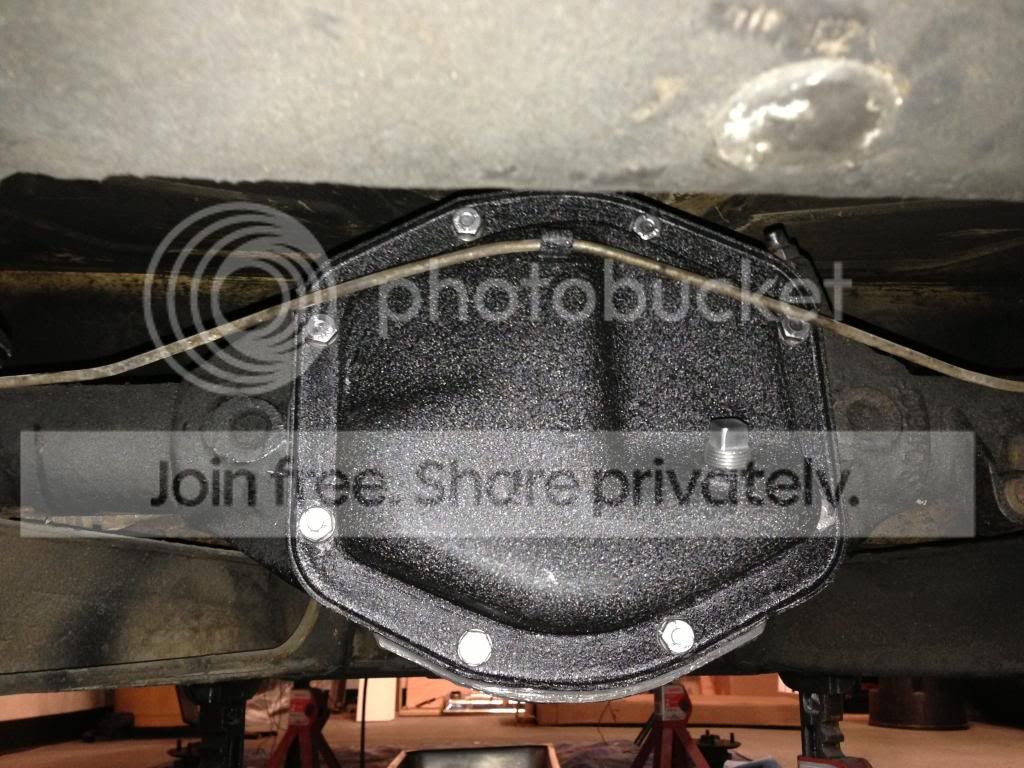
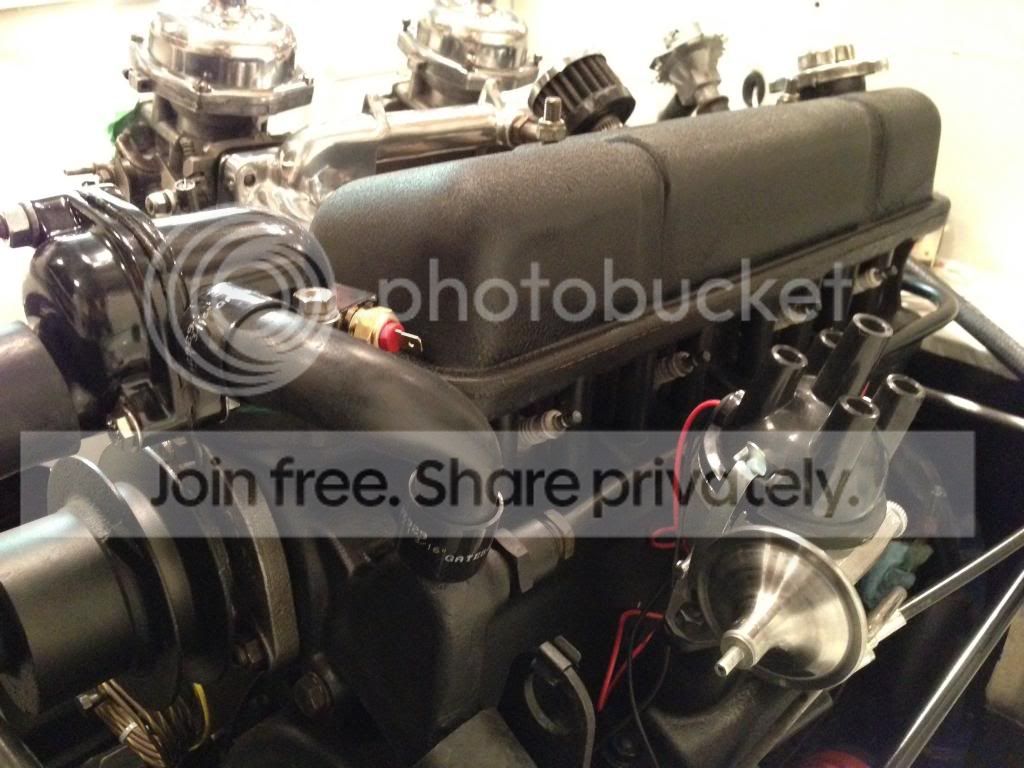
In the next few weeks I will be finalizing underwood paint, mocking up hydraulic lines, reinstalling rear end with upgraded bushings and sway bar. After will be installing the new wiring harness, front shocks, sway bar and springs and then getting the engine accessories all back together!

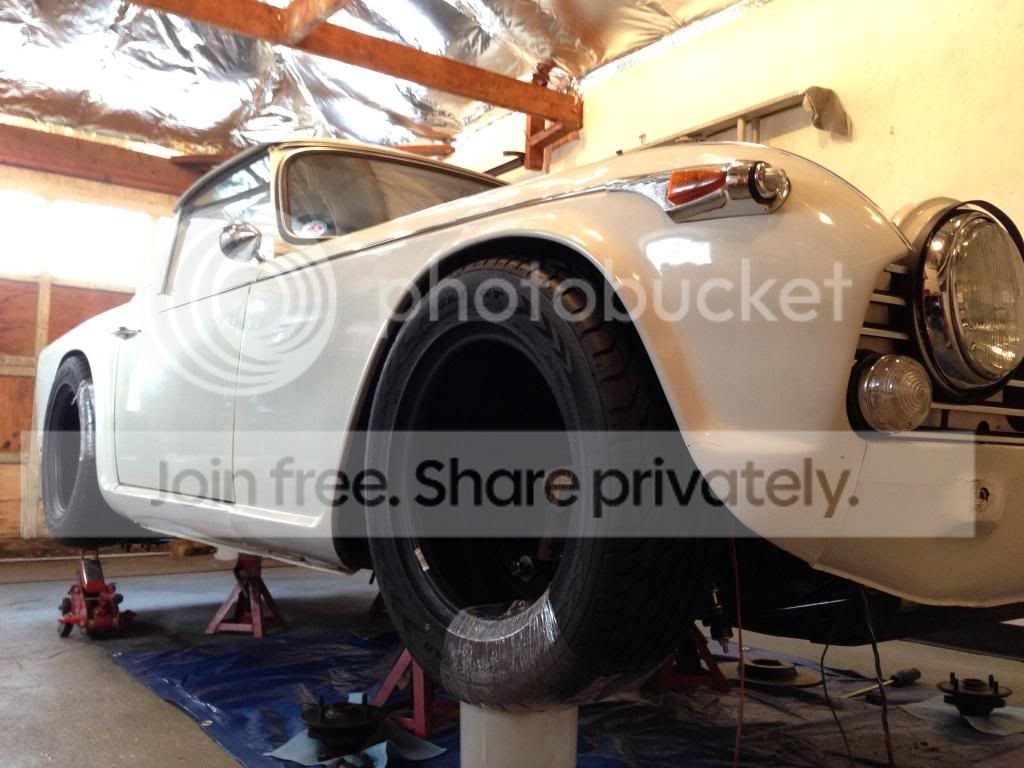
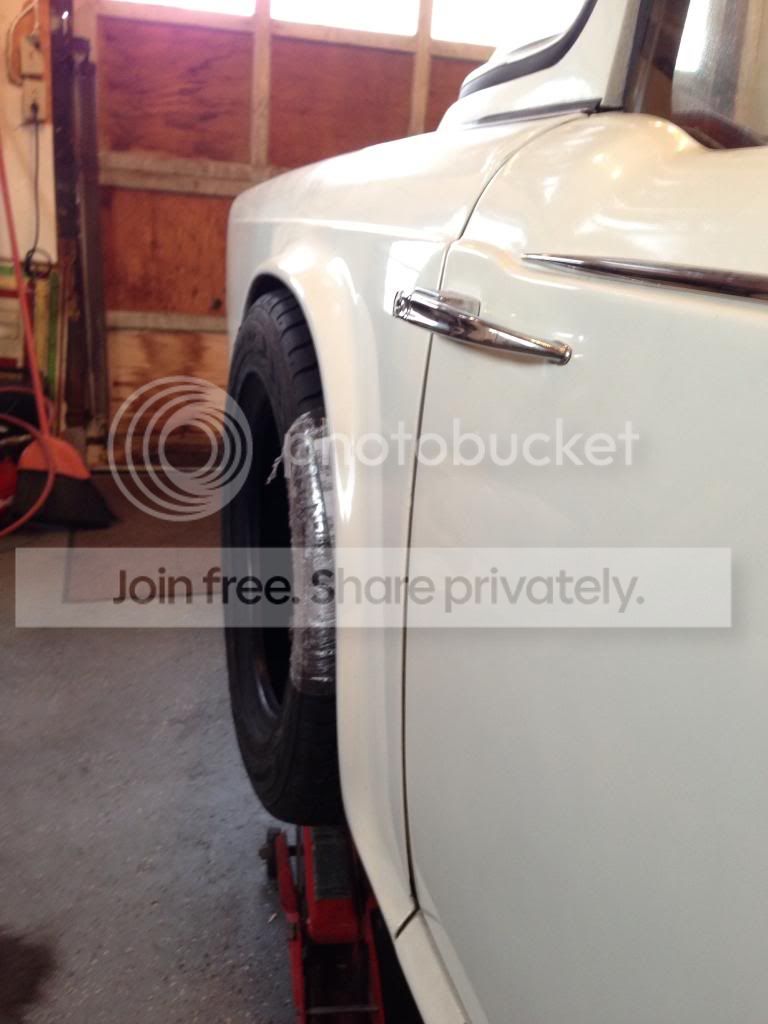
And finally, I've decided that I will be making the switch from the 6" Dayton 72 spoke wire wheels to a set of 15x6 VTO classic 8's. Anyone nearby interested in a mint set of Dayton's!? :smile:
 
Has anyone here refinished their dash that might have any tips to share on nailing that glass finish?
 
Today's update: finished painting the engine compartment!

IMG_3161_zps2d18809a.jpg


Shortly underhood reassembly & engine cleanup can begin!
 
Looks great, I love a nice clean engine compartment!
 
Some more updates!

First off, nothing but great things to say about the work from Jeff @ advanced distributors. Super fast turnaround time and amazing attention to detail. Here are some before & after shots of my distributor!


IMG_3042_zps6b5ac096.jpg


IMG_3040_zps0bff4532.jpg


And After....

IMG_0238_zpsd6c5dae2.jpg


IMG_0241_zps6c496177.jpg


IMG_0240_zps5d42b0e7.jpg


Equipped with a pertronix unit, new detachable bosch wires and rotor and coil. Very excited for this!
 
And back to the car...

Did some cleaning up under the bonnet and am at the phase where I can start putting stuff back on instead of taking it off!

On goes the solid steering mounts..

IMG_0257_zps815d076a.jpg


With the front end all ready for the Patton Fan Eliminator kit...

IMG_0254_zpsc54c9ac7.jpg


On goes the new Koni's up front...

IMG_0251_zps2213b421.jpg


On goes the Addco front Sway Bar

IMG_0262_zps004b8724.jpg


IMG_0258_zps804690ba.jpg


IMG_3318_zps5a1c8e1a.jpg


Getting the rear components ready for installation (spacer blocks and new longer u-bolts and rear axle locator kit)

IMG_0242_zpsde5dc482.jpg


IMG_3258_zpsb52b8744.jpg


IMG_3364_zpsdfa80c81.jpg


Next will be to start assembling the new TR6 dual circuit upgrade, and getting that engine back together!

In other news, I've yet to decide to keep the Dayton wire wheels or go with the much lighter VTO Classic 8's. Wondering what everyone's thoughts are!?
 
Mike, Great photos and will help many members in projects not yet under taken.
On the final for the dash, give it a 4 O steel wool rubbing on the last 2 coats and use a spray can of gloss poly for the last 3 coats and have it warm 75 F. A tack cloth after sanding is a must.

Wayne
 
So the "rear axle locator kit" is just metal bushings for the rear spring eyes? No Watts link or Panhard rod?

Also, to my uneducated eye, that appears to be a TR3 fan extension. I thought the 4A version had a groove to clear the steering rack even after the motor mounts sag a bit?

Wheels are kind of a personal choice. Depends on whether you are building for "show" or "go", IMO. Wire wheels practically scream "British sports car", but lighter (and stiffer) wheels will get you around the track faster.
 
Also, to my uneducated eye, that appears to be a TR3 fan extension. I thought the 4A version had a groove to clear the steering rack even after the motor mounts sag a bit?

My TR4A extension had a groove after the mounts sagged. But so much of my car was unoriginal (even though it was only 15 years old when I got it), that it is certainly possible that I didn't have the original extension.
 
Also, to my uneducated eye, that appears to be a TR3 fan extension. I thought the 4A version had a groove to clear the steering rack even after the motor mounts sag a bit?

Randall,

I didn't think they came that way from the factory (ie with the groove).

Scott
 
The other fan extension giveaway is the bolt. 4A didn't come with a bolt to engage a starter handle as there was no hole in the radiator. Jury is out on the groove although both of mine have it. Looks like a TR4 part to me also.

Don't forget to oil between the spring leaves periodically unless you've used ptfe in between the leaves.
 
I checked my (fairly early) TR4A Spare Parts Catalogue last night and it lists two different extensions for the 4A, apparently depending on whether a metal or plastic fan was fitted. Both illustrations don't show the groove (although that doesn't prove anything, the illustrations are frequently copied from earlier catalogs if they are 'close'). Or there may have been a third part fitted later on in production.

Another mystery :smile:
 
Interesting discussion going on! As you could probably tell, originality is not my biggest focus! However for whatever it's worth, I cannot confirm that it was necessarily an original part as when the engine was rebuilt in 98 we opted for a plastic fan where the extension may have been swapped at the same time.
 
Well I'm definitely due for an update! Some progress has been made and I'm definitely hoping to have her ready for May! The weather is warming up!!!

First off, I received the Fan Eliminator kit which really cleaned things up quite nicely! :

IMG_0306_zps26ddd2be.jpg


Also took a chance to clean up the diff cover as I freshened up the fluid (trying out Pennzoil synchromesh in both trans & differential: have read lots of great things and it IS yellow metal friendly and considered a substitute for GL4!). Here's a before & after shot:

IMG_2571_zpsc0c2007f.jpg


IMG_3580_zps4ccdc719.jpg


After looking all over the place for a second hand TR250 grill (I just love that look) I decided to give my own grill the 250 treatment for the time being. I'm quite pleased with how it came out and I think it'll look quite nice with the car all put together! :

IMG_3572_zps5c392759.jpg


Once I realized how clean everything else had become I had no choice but to take care of the radiator. It was still working great but had a few coats of paint along the years with some chipping paint underneath it all. I used a scotchbrite pad on my grinder and was able to take the tanks all the way down to metal to allow for a quite respray:

IMG_0334_zps6b633a37.jpg


IMG_0335_zps0795415c.jpg


Onto some other projects! Inspired by the great work and write-up on www.74tr6.com I gave my gauges a once-over to clean up that 50 year old haze and freshen up the gaskets. Once placed in the dash things definitely looked a whole lot cleaner. Not bad for a can of pledge & $20 of gaskets for www.nosinger.com!

IMG_0337_zpsbc020ff9.jpg


IMG_0339_zpsfc1890f3.jpg


IMG_0340_zps2e384e5b.jpg
 
Regardless of the controversy, I decided to go from the wire wheels to a set of alloys - I always loved that panasport look! After researching all kinds of tire options, I felt that 205/60-15 was the size I preferred the most - low profile but not "rubber-bandish". Also helps that I could find a huge amount of examples as that is the tire size of choice amongst racers! I chose the highest performance tires I could possibly find in that size (believe it or not there are no summer only tires in this size, only "ultra high performance" all seasons). Here they are, the Goodyear Eagle GT's mocked up to give me an idea of how they look:

IMG_0326_zps78fbbd38.jpg


IMG_0331_zps58b95b2d.jpg


IMG_0330_zpsc4bac2b7.jpg


(Definitely stuffed in there a little more aggressively than realistically plausible)

For wheels I had originally planned on 15x6 VTO classic 8's but unfortunately the warehouses are all sold out. After much playing around with a straight-edge and referencing from the 6" Dayton's I had, I chose the 15x7 model. Hopefully they should get here in the next couple of weeks and she can get back on the ground!

Back to the engine. As we know, these non-crossflow heads definitely create some warm intake air temperatures and heat is never a good thing. I decided to take all measures possible to reduce those temperatures when it comes to the manifolds. Keeping the original 4-2-1 manifold, I ground it smooth and wrapped it with some DEI "titanium" header wrap:

IMG_0320_zps8b04b7ef.jpg


IMG_0321_zps6450fb29.jpg


IMG_0322_zpsb3e8ce7d.jpg


Skip a few steps (cleaned up the accelerator linkage, wrinkle-finished a spare valve cover, re-polished and port-matched the intake manifold, installed an A.R.E. heatshield, and here's what the engine compartment is looking like as we speak:

IMG_3787_zps4d098a8f.jpg


IMG_3794_zpsb3a91d75.jpg


IMG_0348_zps8c57fe86.jpg


IMG_0347_zps6f6240ad.jpg


IMG_0350_zps4bada02e.jpg


IMG_0346_zps32ee7b56.jpg


Despite it's lack of originality at all angles, I hope you all like it!

It'll be a fun month!
 
Will you have to run the breather pipe that the TR3 engines came with if you have that valve cover breather installed? Great looking engine. :smile:
 
Thanks Karl!

At first I was considering making my own breather setup but then realized there was a goodparts kit that looked great. As I wanted to avoid dropping my oil pan this year, I decided to opt for the early draft pipe from the tr3/4 I picked up on eBay. This tube alone should make a world of a difference in relieving that tremendous crankcase pressure which that little filter alone could not handle (I had oil seeping out of the rocker cover bolt holes!).

What are you doing for a breather setup?
 
Back
Top