• Hey Guest!
    British Car Forum has been supporting enthusiasts for over 25 years by providing a great place to share our love for British cars. You can support our efforts by upgrading your membership for less than the dues of most car clubs. There are some perks with a member upgrade!

    **Upgrade Now**
    (PS: Upgraded members don't see this banner, nor will you see the Google ads that appear on the site.)
Tips
Tips

TR4/4A My 4a's introduction & project[s] thread

richie

Senior Member
Offline
My TR4a projects...

Hi all,

I thought I would formally introduce my car & project(s) to the forum with a project thread along with a little history on the car. My father purchased the car around 20 years ago from the previous owner who had completed a cosmetic restoration minus a frame-off. My father had the mechanicals all rebuilt including a full engine overhaul, transmission, overdrive, rear end, bushings, brakes & such. Over the last 10 years it didn't see more than 500 miles a season until he officially and generously passed it over to me! I had always been working on my own projects however never put much wrench time into the old car until now, and that's pretty much how it all starts.

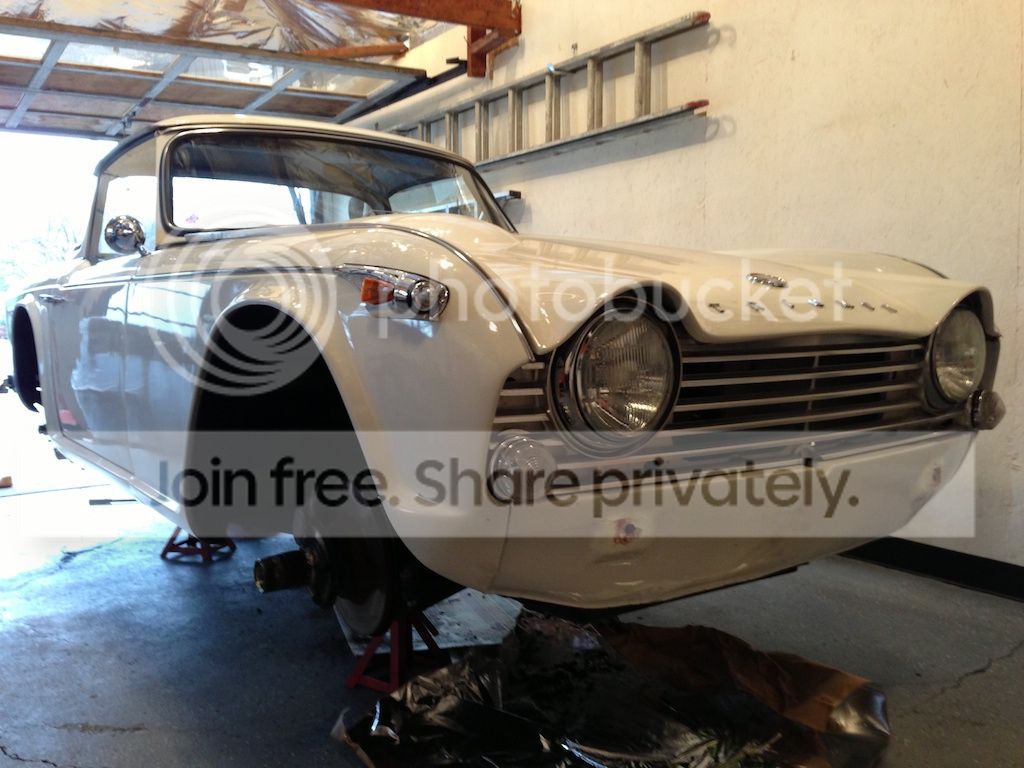
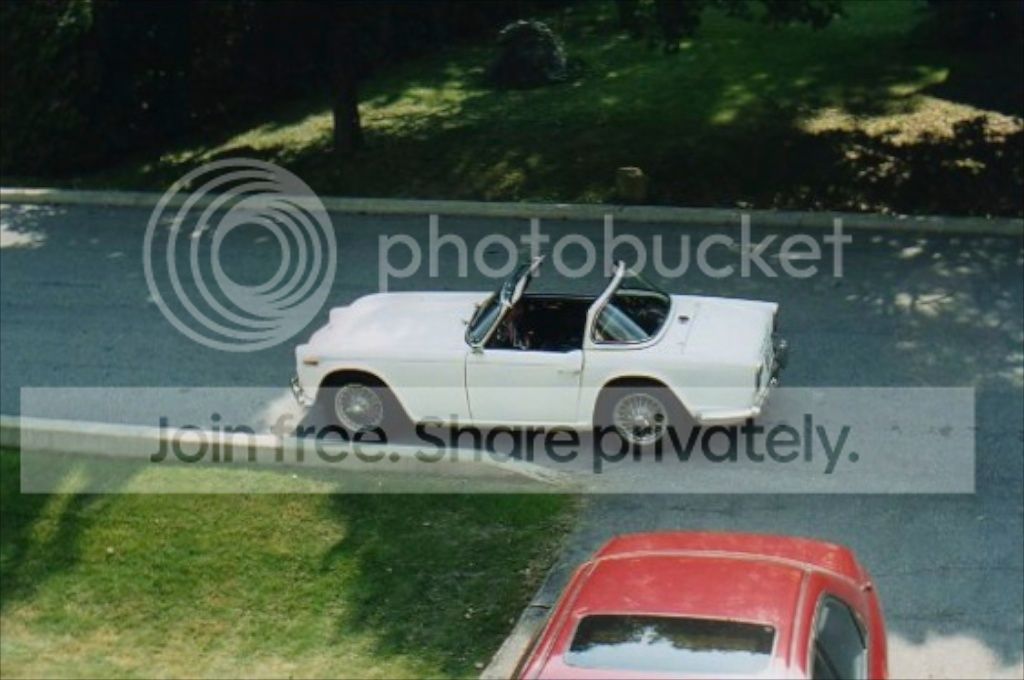
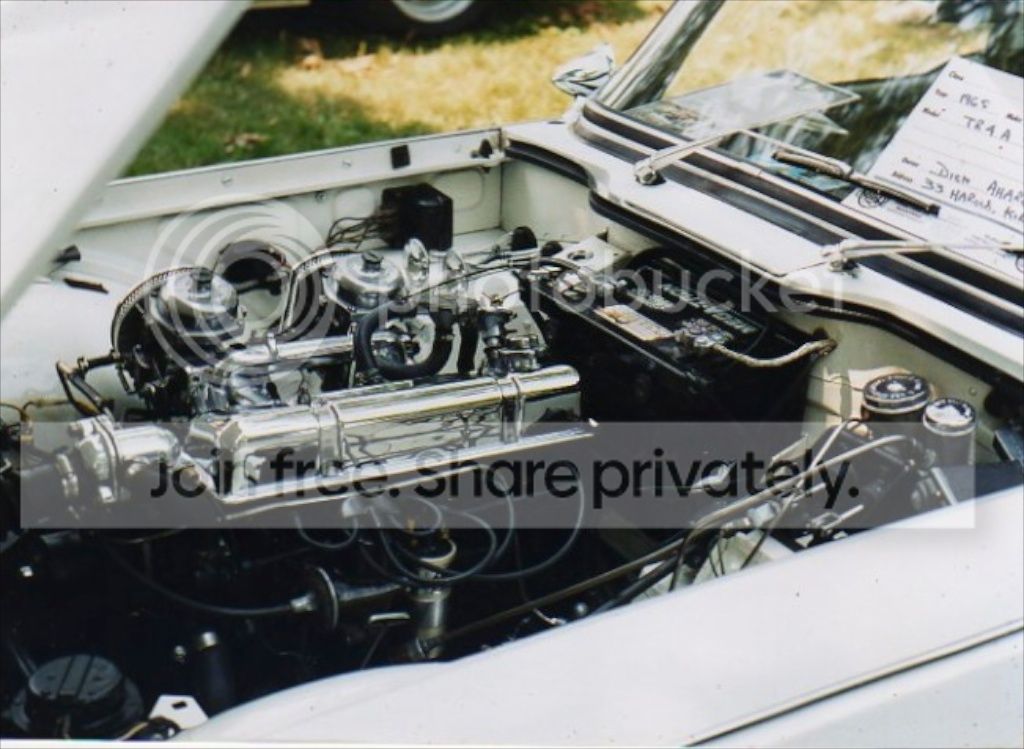
She is a Californian '65 TR4a solid axle fitted with Strombergs and an Surrey Top. Here's what she looked like the day he drove her home:

IMG_2133.jpeg


IMG_2134.jpeg


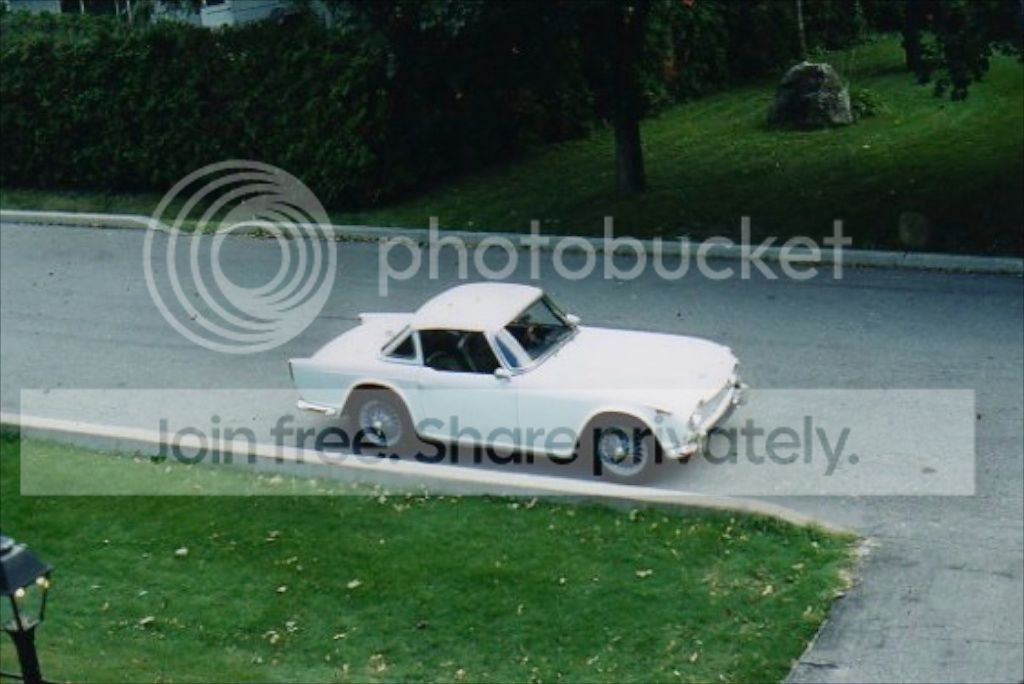
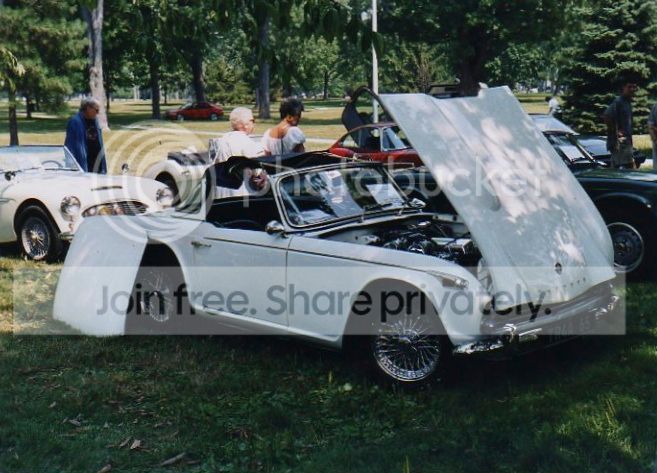
Here's after the rebuild of the mechanicals along with her new 15x6 Dayton's

IMG_2129.jpg


IMG_2130.jpg


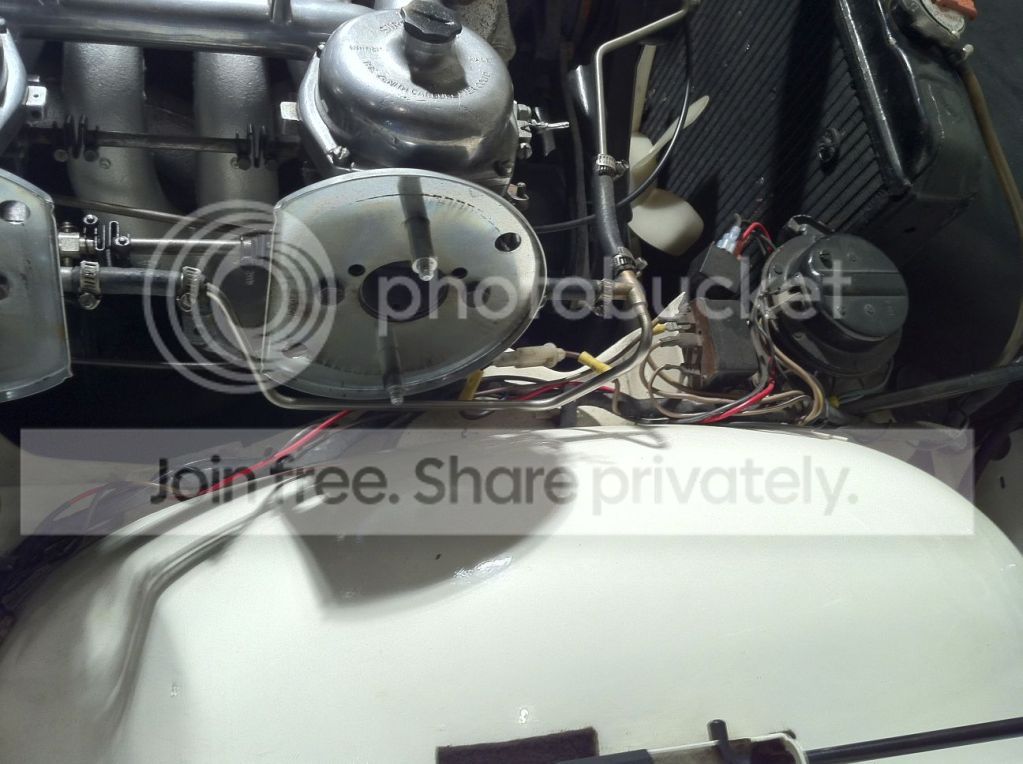
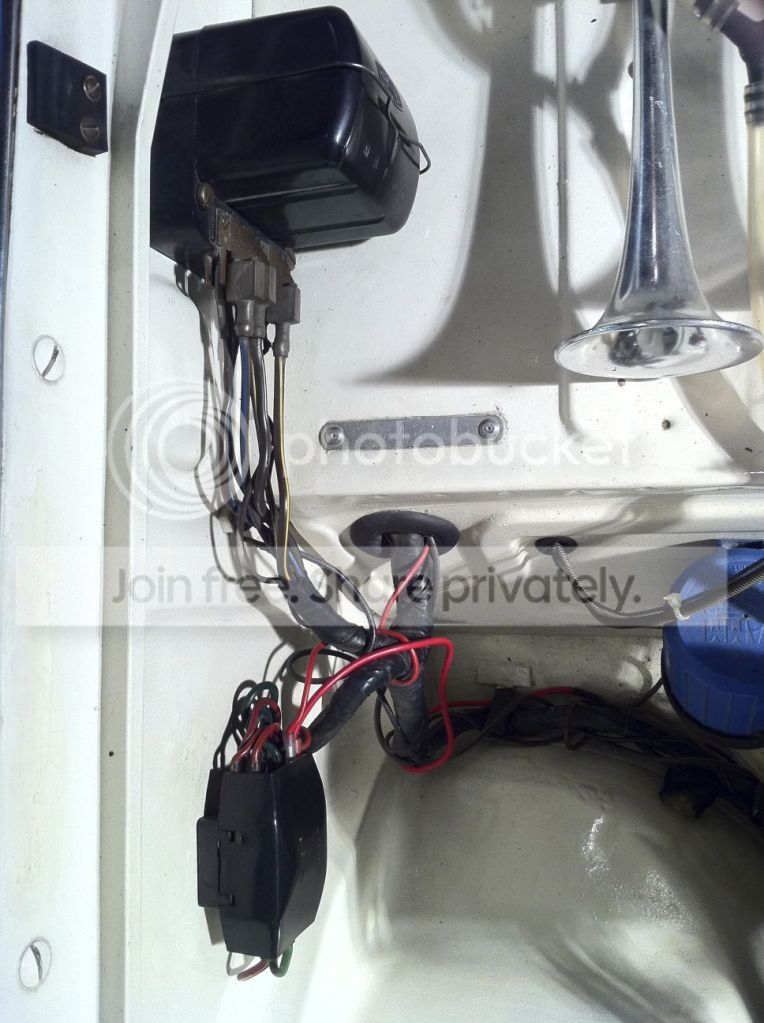
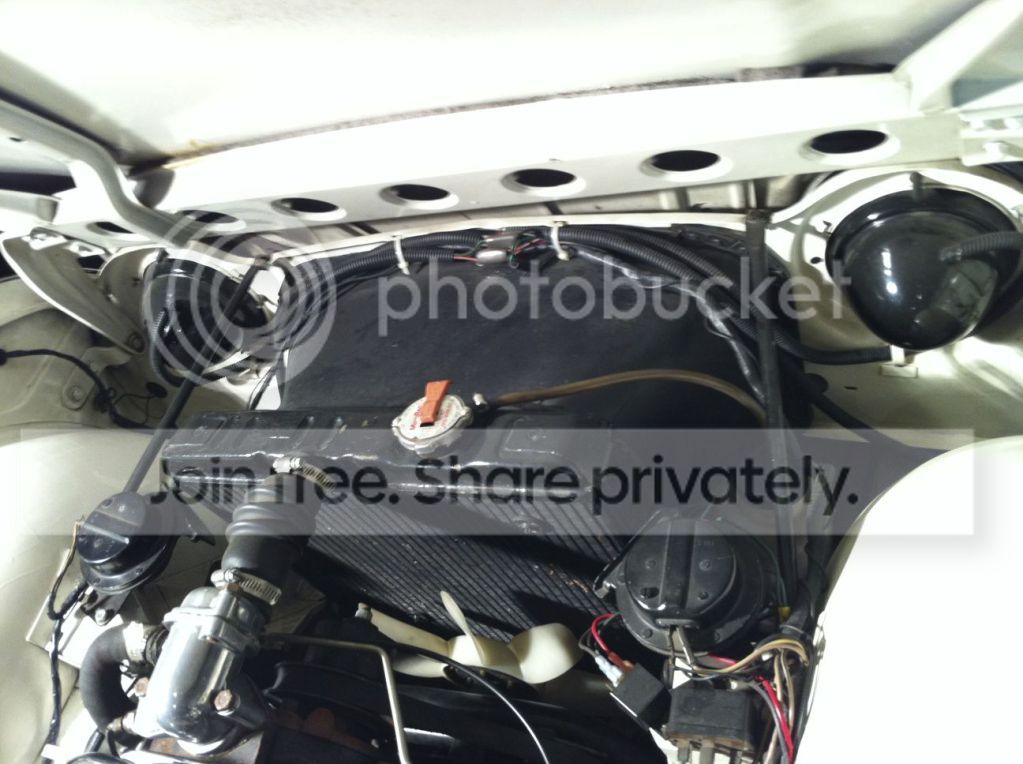
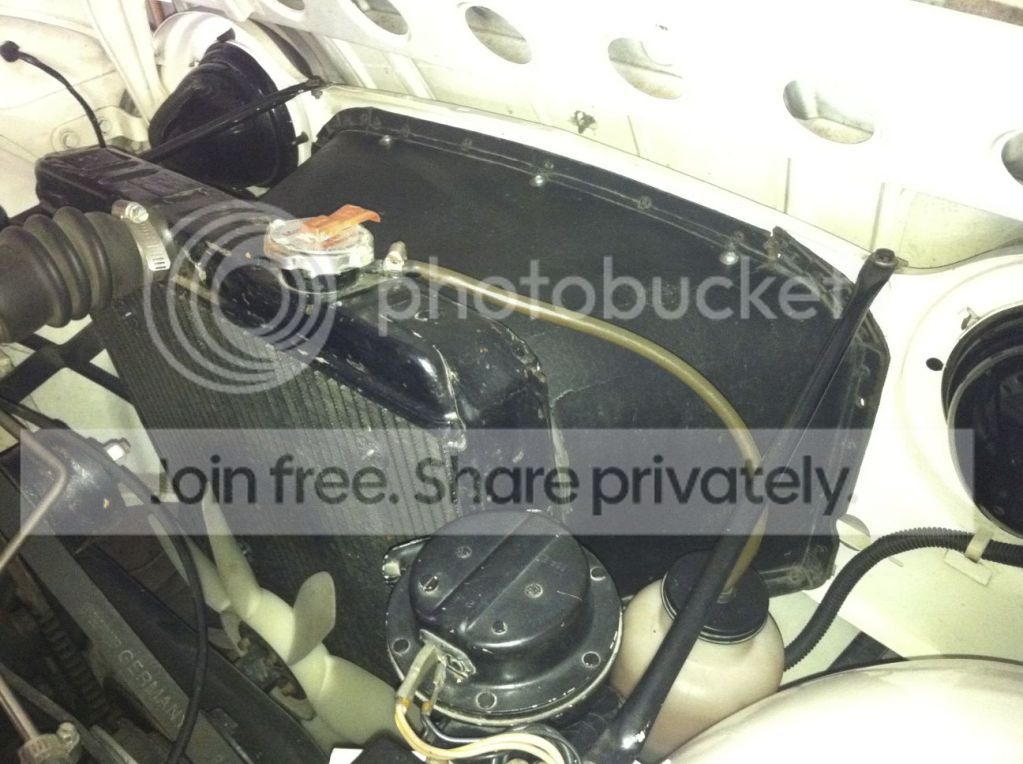
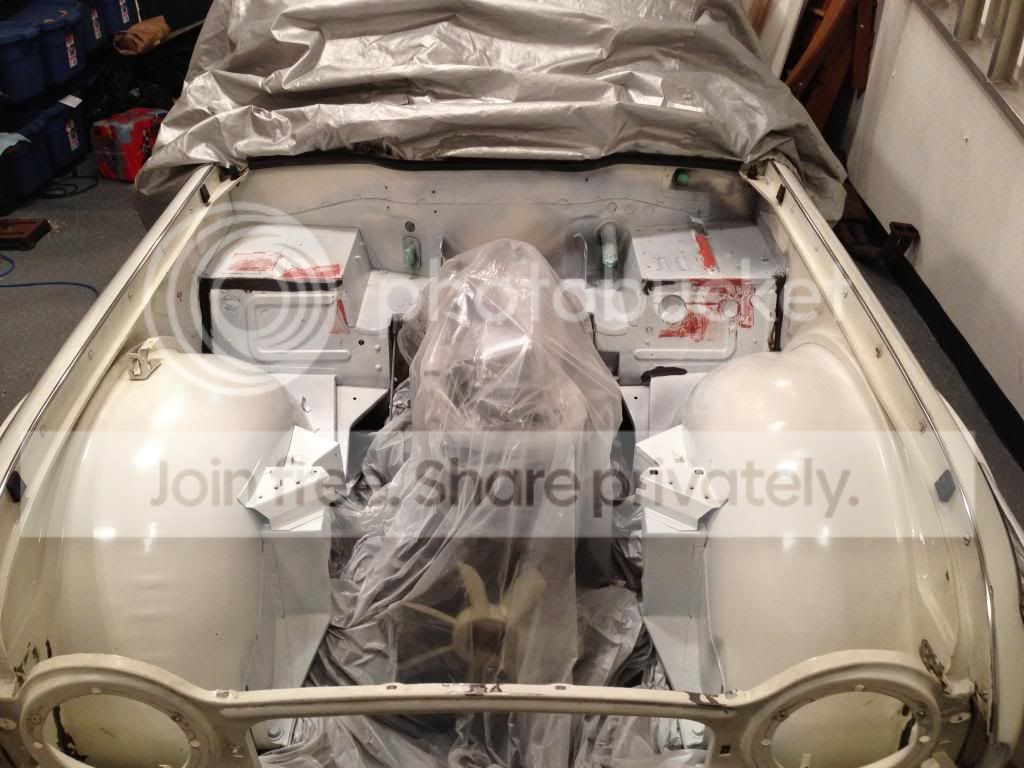
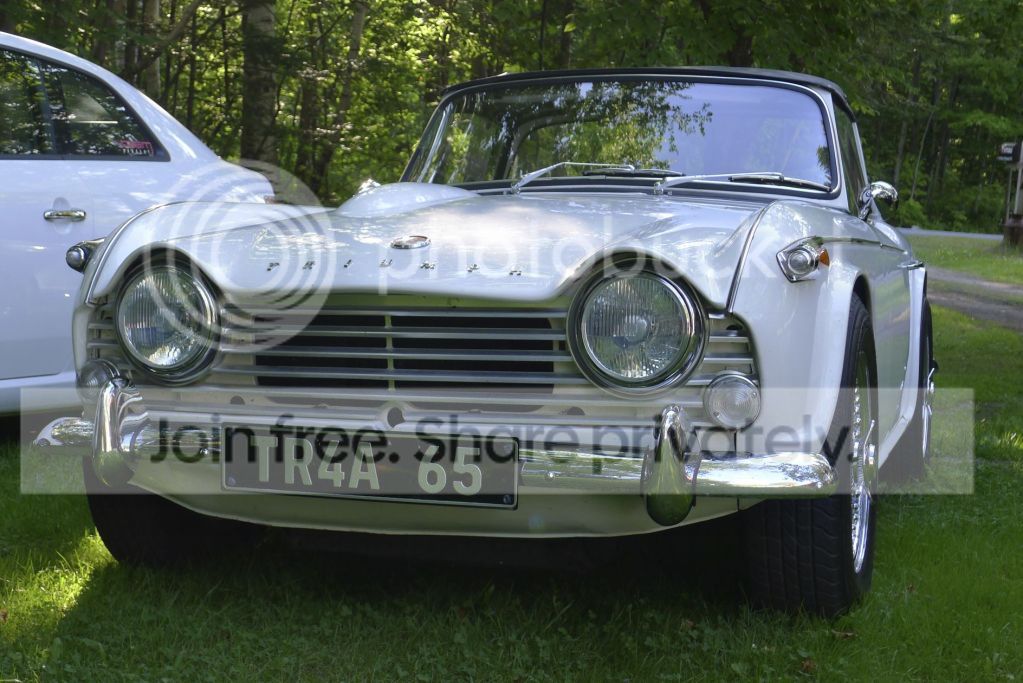
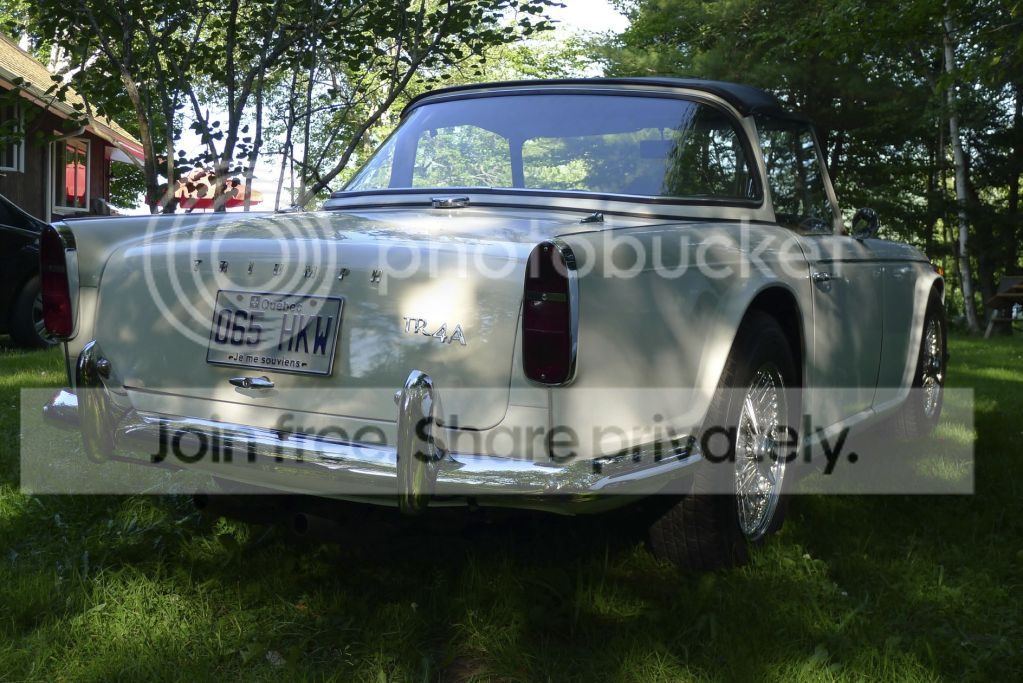
Fast forward to the last couple of years with some better quality images...

b1bafe70.jpg


0b835208.jpg
 
Last edited:
The work over the last couple of years were pretty superficial, starting with a cleanup of the rats nest of wiring from a few too many DIY additions...

db81ce30.jpg


910bdc39.jpg


05c50261.jpg


Which got cleaned up into something a little more coherent!

IMG_0009.jpg


86ebf2f5.jpg


Shortly after was a much needed fix of the notorious steering column bushings which were upgraded using Arthur Lipp's fantastic delrin upgrades. Along with the delrin bushings, I opted to install new traditional bushings as added support. Here's what the 45+ year old bushings looked liked along with my tool of choice to hammer the old bushings out!

7d5bed4f.jpg


5f55e919.jpg


At the same time I opted to replace the rubber coupling with a solid TR6 joint.

a6a78dd3.jpg


ab0f0342.jpg


If you've been putting off this job for a while, I can't say how much it transformed the feel of the car. This winter part of the next wave will be to replace the lower rubber coupling with a second solid joint.
 
Last edited:
Now as anyone knows, everyone needs a great workplace to work on their projects, and this year I stepped it up and did a mini garage overhaul to really create a nice environment for the winter months. My garage is detached and was previously unheated, however I did have a 60A service.

After some paint work and insulating the roof with batting and reflective vapour barrier, the old garage has definitely become a whole lot more pleasurable to work in!

IMG_0037_zpse51d3f20.jpg


IMG_0041_zpsea99032e.jpg


IMG_0068_zpsddd479e2.jpg


IMG_0075_zps705960ea.jpg


IMG_0080_zps53a750dd.jpg
 
Now onto the plan!

One day I intend to give her the frame off and paint job that she deserves, but until then, my near term goals are simply to improve the driving experience without being afraid to modify outside the box of tradition or originality. The car is sticking around forever, so why not make it into a car I can really enjoy?

This winter the plans are as follows:


  • Suspension
    • Adjustable Koni's up front
    • New uprated & shorter front springs from TSI
    • Addco sway bars front & back
    • Level out rear ride height with custom spacers & u-bolts machined by BCF's own PeterK
    • Solid aluminum steering mounts & column joints
    • Rear leaf "locator kit" with brass shackle bushings
  • Exhaust
    • New stainless steel dual outlet "sport" exhaust from Rimmer Brothers
    • Stainless carb heat shield from ARE
  • Brake hydraulics
    • Upgrading to a powered dual circuit system using TR6 pedal assembly & booster
    • Possibly upgrading to Toyota 4-pot calipers & braided lines
  • Engine
    • Engine compartment respray
    • Respray block, radiator & accessories
    • Maintenance: New 6 vane water pump, fuel & radiator lines using Gates Powergrip clamps
    • Possible alternator upgrade, SU swap from Strombergs
  • New shoes
    • Considering going to Panasports or Rota RB's in either 15x6 or 16x7
    • If no alloys, will do at minimum a tire upgrade from 195/75 to 195/65 or 205/60's
  • Refinish the dash and possibly swap out steering wheel with leather wrapped from GBparts

Here are a few shots of the old and new exhaust from Rimmer Brothers

IMG_0160.jpg


This seems to look a little nicer...

IMG_0187.jpg


IMG_0189.jpg


And here's what she looks like at the moment!

IMG_01691.jpg


IMG_2594_zps2a65c1f5.jpg
 
I've begun the mockup of the TR6 pedal assembly which fits quite nicely. Mounting holes are of course quite different however I have chosen to use the TR6 mounting holes and will be reinforcing and blocking off the old Master Cylinder area with a CNC'd aluminium plate I ordered from discountsteel.com

Here is the TR6 pedal assembly with a scribed outline of the existing TR4 pedal mounting holes:

IMG_2687_zps2c792215.jpg


Here is the existing area ground down to reveal a tear in the sheet metal over the years. A 3/8" aluminum plate will be fitted to evenly distribute the clamping force and sandwich the new pedal assembly firmly in place.

IMG_2690_zps7cac66e6.jpg


IMG_2691_zpscfaaaeb5.jpg
 
Last edited:
Agree, what an enjoyable read. Always have been a fan of the solid axle 4A and do like your plans for the future upgrades (although personally I wouldn't bother with the carburetor swap) .
 
Last edited:
(although personally I wouldn't bother with the carburetor swap) .

Definitely a tough call. Next winter a full engine buildup is planned and in hopes of getting the max performance, Webers are definitely iconic. With much research in successful and competitive race cars, it seems SU's are neck in neck with the Webers at performance levels. Never quite seen any Strombergs under the bonnets of any race cars which lends me to believe there must be a reason for this!!!

I've never found a really great article or thread with the two being compared at a very technical level outlining why one would be better than the other (especially when it comes to high performance builds). I'm sure there are some great opinions and comments out there!
 
Great looking car, I've always liked a 4 with a surrey top on it. Good luck this winter.
 
Nice of Dad to pass along his baby to his baby! Seems like a very solid car. What's the reasoning for the TR6 to the TR4 pedal box?
 
I would echo the question about the pedal box, didn't know TR6 was different. I would also echo the comment about Strombergs v. SUs, from what I have read contemporary road testers couldn't tell the difference between Stromberg and SU carbs, a lot of the bad reputation the strombergs get is because of the later emission control (CD2 and later) Strombergs, the early ones are very similar to contemporary SUs in adjustment, flow, etc. Lastly, the steering column U joint, I thought they all had rubber u joints, are you sure the metal piece is a stock TR6 item, I am interested in making a similar change, but need to figure out where to find the part. Nice car by the way, had a solid axle 4A for many years, one of my favorite cars.
 
What a lucky guy, your Dad should be happy to see you having so much fun, as I am sure he did.

Wayne
 
I've contemplated a conversion to dual circuit braking such as you are doing, that should work well once you get it in place. I also put the TR6 style coupling on my TR4, but in my case it was the lower coupling only - the original doughnut style was impossible to get tight on the steering rack so it added play and was probably an accident waiting to happen - I think its a good conversion to do as well.

And +1 on the early Strombergs - very simple and easy to setup, they are working well on my TR4.
 
Nice of Dad to pass along his baby to his baby! Seems like a very solid car. What's the reasoning for the TR6 to the TR4 pedal box?

Reason for the switch is to accommodate the actuation required by installing the TR6 master cylinder and servo/booster unit.

The way the TR4/4a pedals' fulcrum is located, you actually are pushing the pedal, but it's then reversing the direction of the force onto the master cylinders. The TR6 servo and master cylinder are instead located in front of the pedals, therefore the pushing of the pedal needs to be directly translated to a push into the MC.

"A picture is worth a thousand words"

Servo0.JPG
 
I would also echo the comment about Strombergs v. SUs, from what I have read contemporary road testers couldn't tell the difference between Stromberg and SU carbs, a lot of the bad reputation the strombergs get is because of the later emission control (CD2 and later) Strombergs, the early ones are very similar to contemporary SUs in adjustment, flow, etc.

Very good info here, encouraging to know that it's not worth the hassle the more info like this I obtain!

Lastly, the steering column U joint, I thought they all had rubber u joints, are you sure the metal piece is a stock TR6 item, I am interested in making a similar change, but need to figure out where to find the part. Nice car by the way, had a solid axle 4A for many years, one of my favorite cars.

The TR6 & 250 had a solid joint at the lower connection but a rubber at the top. The TR4/4a of course had two rubber joints. I ordered the TR6 part x2 and installing the updated part couldn't have been easier. You'll just have to get the appropriate fasteners if missing.

Thanks for the kind words. Got to hear my Father tell the story of the solid axle TR4a & surrey top very often at all the british shows growing up, so I definitely appreciate it's uniqueness!
 
Doh! on the steering linkage, I have a TR250, and you are right, the lower metal, the upper is rubber, dang, helped a friend tear apart a TR6 a couple months ago, could have grabbed one. On the carbs, it is probably easier to describe by comparing the early Strombergs on the TR4 and 4A to the SUs, they are very similar except for float chamber location and the big difference a piston rubber diaphragm in the Stromberg vs. a piston in the SU. The diaphragms are a potential trouble spot, and I would replace an old stiff one, but have never had any trouble with them in years of service once replaced. Other than that they have an idle adjustment screw on the side and mixture adjustment on the bottom, the choke is a little different. The CD2 used in TR250s and TR6s comes in several flavors but all have all sorts of extra valves and adjustments and temperature compensators, less range of adjustment (if any) for mixture, more places for things to get out of adjustment and or leak, harder to diagnose problems for those reasons, that being said they work OK once set up, but I and many prefer the simplicity of the early carbs, but the early SUs and Strombergs share that simplicity.
 
The TR6 & 250 had a solid joint at the lower connection but a rubber at the top. The TR4/4a of course had two rubber joints. I ordered the TR6 part x2 and installing the updated part couldn't have been easier. You'll just have to get the appropriate fasteners if missing.

Like Randy, I too swapped the lower one in my TR4A for a solid TR6 one but never thought about doing the same for the upper one as well!

Great story and pictures. Definitely keep us updated on the progress!

Scott
 
Well I thought I'd post an update since!

I've completed the rough work to mount the new servo and master cylinders along with the aluminum strengthening plate (which in hindsight appears to be a little overkill!). After the cutting and necessary holes were made, I've begun preparing with some minor body filler and seam sealers in preparation for a new underwood respray!

image_zps64a846f0.jpg


The setup off the car:

image_zps73052508.jpg


image_zps62f0e3a9.jpg


image_zps82edb30e.jpg


image_zps20b3442f.jpg


image_zps4474f44b.jpg
 
Back
Top