

 Hey Guest!


Offline
One of the quirks of living in a house that is 175 years old is that it has quirks. One of the most noticeable (in the 1993 addition) is that the door to the garage is in the primary bedroom. Needless to say Mrs JP is not crazy about this arrangement. So, earlier this summer we started putting in the mud room that always should have been there. Then along came the gardens and then I broke my ankle so, it wasn't until this fall that it all started up again. The wall is built and the bedroom side of the drywall is up. (The mudroom side is waiting for a decision about where a wall sconce is going.)
Quite by accident a Youtube host I follow mentioned a product called Muddskip.
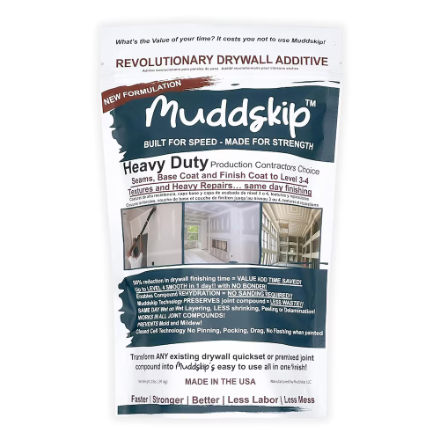
You add it to the drywall mud and it kind of changes the mud to more of a plaster. The more you work it the better it gets and you can spray it with water to reactivate it. While it takes the amount of time to dry as the mud it is mixed with, the company claims you can mud in half the time - and you don't need to sand. Not sure entirely how true those claims are (I did have to sand it) but, for an amateur it really is a game changer. It spreads beautifully and you don't have the typical situation where working the mud more makes it worse. As well when sanding, the sanded bits are bigger so it falls to the ground instead of spreading through the house.
In addition to the Muddskip, I also got one of these:
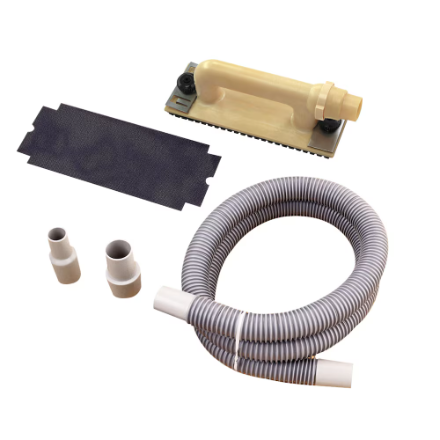
a sanding block with a hose that fits into my shopvac. Between the two it is an entirely different experience.
Here is the evidence:
After 1 1/2 hours sanding drywal mud, this is what my arm looked like.
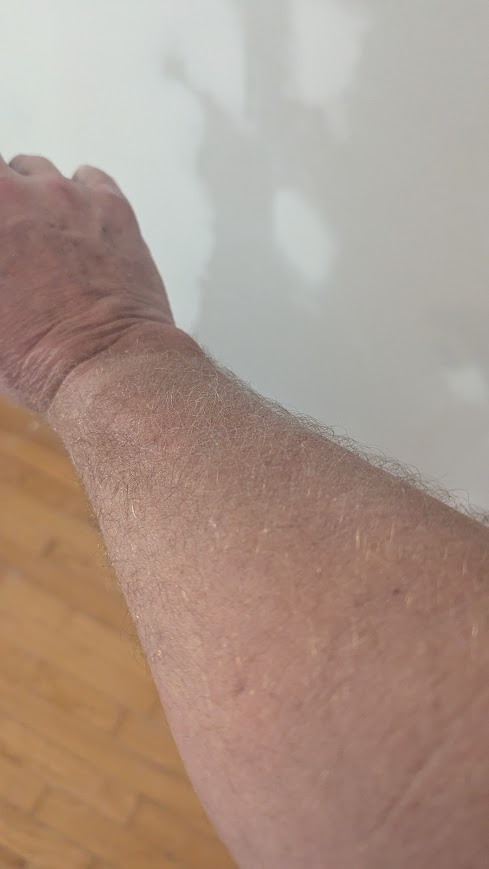
and this is what the floor looked like
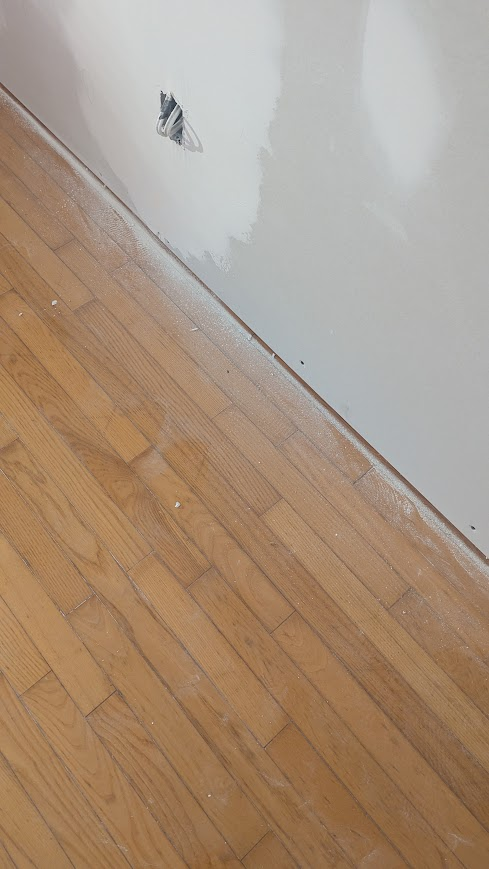
amazing. Two big thumbs up.
Quite by accident a Youtube host I follow mentioned a product called Muddskip.
You add it to the drywall mud and it kind of changes the mud to more of a plaster. The more you work it the better it gets and you can spray it with water to reactivate it. While it takes the amount of time to dry as the mud it is mixed with, the company claims you can mud in half the time - and you don't need to sand. Not sure entirely how true those claims are (I did have to sand it) but, for an amateur it really is a game changer. It spreads beautifully and you don't have the typical situation where working the mud more makes it worse. As well when sanding, the sanded bits are bigger so it falls to the ground instead of spreading through the house.
In addition to the Muddskip, I also got one of these:
a sanding block with a hose that fits into my shopvac. Between the two it is an entirely different experience.
Here is the evidence:
After 1 1/2 hours sanding drywal mud, this is what my arm looked like.
and this is what the floor looked like
amazing. Two big thumbs up.


