• Hi Guest!
    You can help ensure that British Car Forum (BCF) continues to provide a great place to engage in the British car hobby! If you find BCF a beneficial community, please consider supporting our efforts with a subscription.

    There are some perks with a member upgrade!
    **Upgrade Now**
    (PS: Subscribers don't see this gawd-aweful banner
Tips
Tips

TR2/3/3A Help Wanted In Cleaning Corrosion Off SU Carbs

SASSAMON

Senior Member
Offline
Hello All,

I am rebuilding my SU H6 carbs that are on my TR3 this winter. They were overhauled with new throttle shafts in 2000 so I am going to replace the gaskets and seals for now.

My question is what have people done to remove or reduce the corrosion that has formed on the outside of the carbs?

Any and all suggestions welcome and will be considered.

Roger
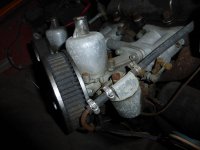
carbs_small.jpg
 
Disassemble, scrub off the corrosion with Brillo or SOS soap pads, then polish...Mothers Mag & Aluminum Polish is good; so is White Diamond Metal Polish.
 
I purchased a one gallon can of carb cleaner from Auto Zone for around $29.00 which came with a basket inside the can. I was able to disassemble the carb and soak the complete unit over night and it came out very clean inside and out. I then used mag wheel cleaner on the outside and was pleased with the results.
 
Disassemble, scrub off the corrosion with Brillo or SOS soap pads, then polish...Mothers Mag & Aluminum Polish is good; so is White Diamond Metal Polish.

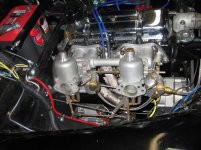
I used the Brillo method also, but didn't polish them. The steel wool with soap left them with a nice, natural aluminum finish. Of course, if you want more shine them by all means polish. I also did the intake manifold and other aluminum parts the same way.

IMG_0666s.jpg
 
Before you take them apart spray them with a good cast aluminum foaming wheel cleaner. A few cycles should make them look great without hand polishing them.
 
Art, two questions, where did you get your steel braided line and are your bowl lids on backwards?

There are two types of float bowl lids for the H6 carbs. The later type that you have which uses rubber hoses and steel tubes, and the earlier type like mine which uses the braided lines with the banjo fittings. I don't know exactly when the changeover occurred, but since your commission number is lower then my TS23677L, you don't have the original lids. Just for the heck of it, I looked at the Moss site and original SU early lids are available at the princely sum of $79.99 each. Funny, but only the rear later type lid (with one tube) is available from Moss.
 
I was not having much luck with a lot of elbow grease and a wide variety of metal and aluminum polishes. Fine steel wool followed by polish did the trick.
 
Art, I have the correct lids for both my 2 and my 3, all the documentation I've seen the banjo fittings are pointed towards the engine not the air cleaners. The change over to push on fittings is ~40,000
 
Yeah, they are on backwards, but with the headers that I put on, I wanted to keep the fuel line away from the heat as much as possible. I also wanted easy access to the fitting going into the front banjo.. If the car sits for a long period of time, sometimes the gas goes flat (even with Sta-Bil) so I'll add fresh gas, remove the inlet into the banjo and then pump out some of the stale gas into a small container using the hand lever on the fuel pump. It's usually just what's in the lines, maybe a pint at the most. I go through this after every winter. I suppose Triumph had a reason to put them the other way, but I don't know what it is.
 
Art, I have the correct lids for both my 2 and my 3, all the documentation I've seen the banjo fittings are pointed towards the engine not the air cleaners. The change over to push on fittings is ~40,000
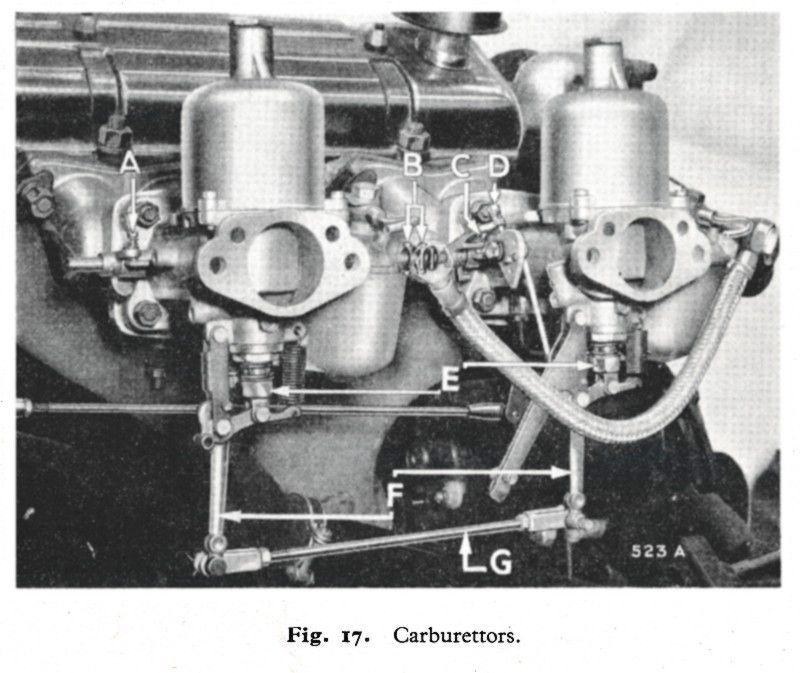
Then have a look at this.

FIG%2017%20CARBURETTORS%20COOK1.jpg~original
 
Another duplicate post. Sorry, I don't know what is going on, but BCF is acting very weird for me today. Please ignore.
 
Art, I have the correct lids for both my 2 and my 3, all the documentation I've seen the banjo fittings are pointed towards the engine not the air cleaners. The change over to push on fittings is ~40,000
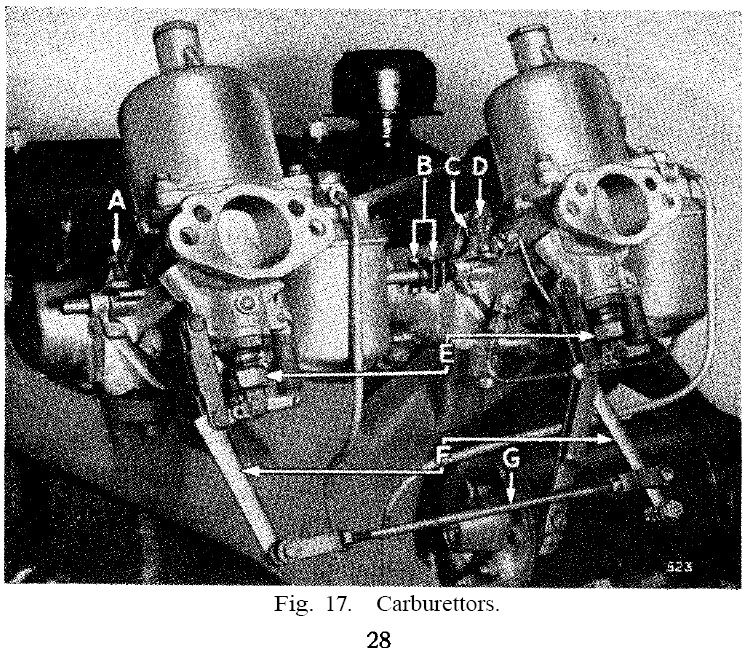
PS, here's the earlier arrangement, from the previous edition, showing the TR2 carbs and their fuel line arrangement:

Fig%2017%202nd%20edition.jpg~original
 
Sorry, duplicate post. Please ignore.
 
Randall,

Your Fig. 17 illustration shows the position of the inter-carb link being offset from the jet levers much clearer than the other illustration that you have provided in other posts.

I would recommend that this illustration be used in the future.

Thank you for sharing your knowledge and experience with others.

Roger
 
Those are just the photos from the Driver's Instruction book (later known as "Practical Hints for the Maintenance of the Triumph T.R.3" but the same part number). I suggest to every TR owner that they get a copy of the edition suitable for their car's vintage, as it contains a lot of information that is not found (or is flat wrong) in other places.

The first one (with the flex lines under the carbs) is from the 3rd edition (but is the same as the 4th edition); while the other one with the hard lines behind the domes is from the 2nd edition.

Eventually, I hope to make them all available (well, at least the versions I have), but at the moment I've only got the 6th edition (suitable for TR3A after TS60,000)
https://drive.google.com/open?id=0B2H2NJt34OffNjQ4MTkyNjItZTVmYi00M2U2LWJhYWUtMjEyZDgxMzUyNzUw

There is also what appears to be the 3rd printing of the 2nd edition at the front of the Bentley
https://drive.google.com/open?id=0B2H2NJt34OffYWZiN2VlZGMtNTkxMi00NGUzLWE4NzMtMGRkODRkYzU3MDU1

I even spent some time today working on the new scanner. Got it to make one of the above scans, but the software still isn't right.
 
Back
Top