GTP1960
Jedi Knight
Offline
A little more info regarding these TRF door seals:
the quality is good., but the main seal on the bottom of the door is wrong.
i clipped on the lower door seal, passenger side. It is the long wedge shaped piece with a channeled ridged back.
spent a lot of time getting it just right, Only to find the door will not close.
so I did a thread search & found the identical problem discussed back in 6/2011, here is a comment by CJD (John):
Just a follow-up for anybody interested.
Got the doors put on yesterday, and Don is 100% correct. The new lower seals are a waste of time. Just for my own edification I tried the doors with the lower seals, frontways...backways...and even shortened them. The doors absolutely will not shut with the lower seal installed. I even tried forcing them closed, to the point of almost bending the doors. No luck, at least with the seals I got...
John
i have found a work-around & I will put on my blog later.
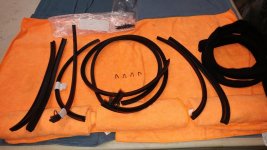
(TRF door seal kit)
Apparently the bottom door seal has been wrong for quite a while.
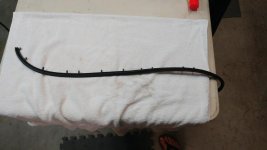
However, the TRF kit is made of good materials.
it consist of:
fuzzy seal. Designed to fit between the inner panel and the A-post (from the side of the glovebox all the way to the floor)
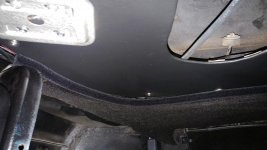
there is enough fuzzy seal to also run the length of the B-post, at the back of the door frame, between the inner panel.
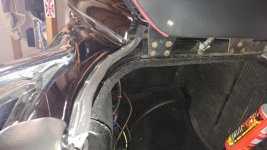
(A-Post )
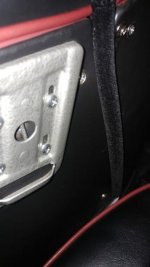
(B-Post draught fuzzy seal)
incidentially, the kit also supplies two spade shaped seals, (x-section) that I believe were correct for the TR2 & early TR3's. These seals are an alternative to the fuzzy seal on the B-post.
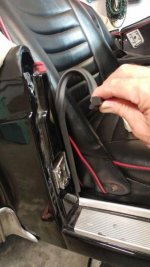
short versions of the clip on bottom door seals are provided to run from the inner door frame, front /top.
the pieces are about 18" long and clips are supplied.
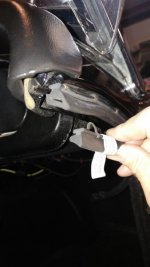
(I did not replace my original clip on top door seals as they are still in good shape)
i discussed the lower clip on door seal at the beginning of this entry. I am going to see about glueing it in place or using the rocker panel cover (preferable) to fix it to the door frame rocker panel.
not " correct" of course, but may control the door rattle, which is my goal. I never drive in even remotely bad/wet weather.
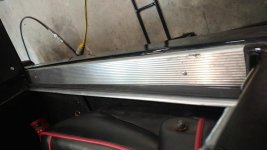
(The channel ridge of the clip seal fit nicely under the lip of the rocker panel cover. I used "3M Super weatherstrip adhesive" to glue it down.
I positioned it with the widest section of the seal at the top to get the most purchase with the door. Door closes firmly & feels more stable)
the last seals in the kit are the soft U shaped crush seals for the B-post/ back of door. These simply glue in place on the lip of the door, behind latch mechanism.
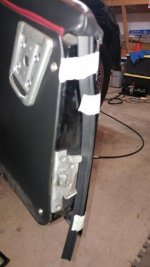 I positioned this seal with the widest section glued in the curve of the door lip.
The narrowest section (with the lip is the part that contacts the frame). Be careful not to glue all the way to the outer edge of the door, as this seal is designed to crush inwards & to much glued surface would cause a problem )

 Hi Guest!

 smilie in place of the real @
 Pretty Please - add it to our Events forum(s) and add to the calendar! >>